Sashimi
Reefing newb
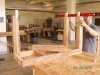
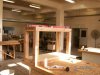
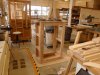
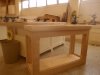
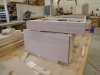
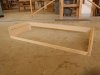
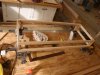
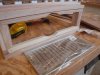
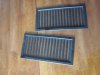
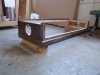
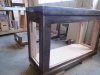
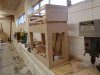
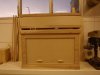
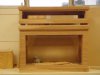
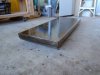
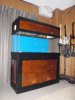
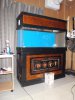
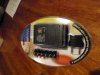
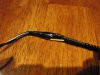
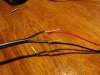
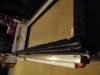
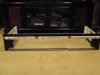
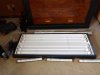
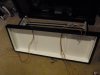
I spent the past 3 years converting my freshwater tank into a salt water tank. I made a stand and canopy to provide easy access to equipment and lights. In a few hours, I should have enough RO/DI water to finish filling the tank and turn on the equipment. Enough chit chat, how about some pictures? A montage of the past 3 years, so-to-speak.