Barry's 120 Gallon Reef

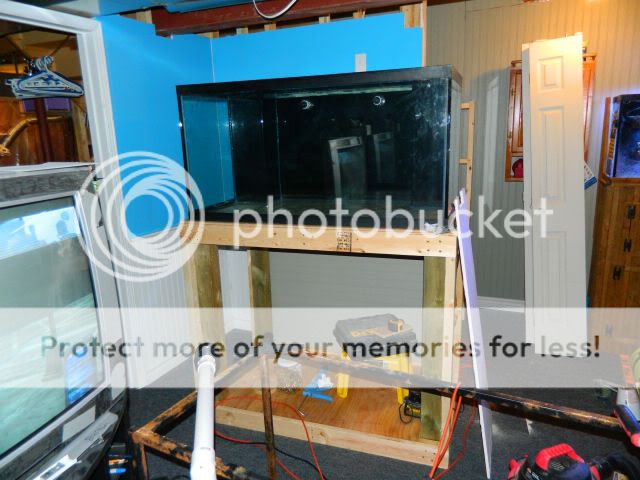
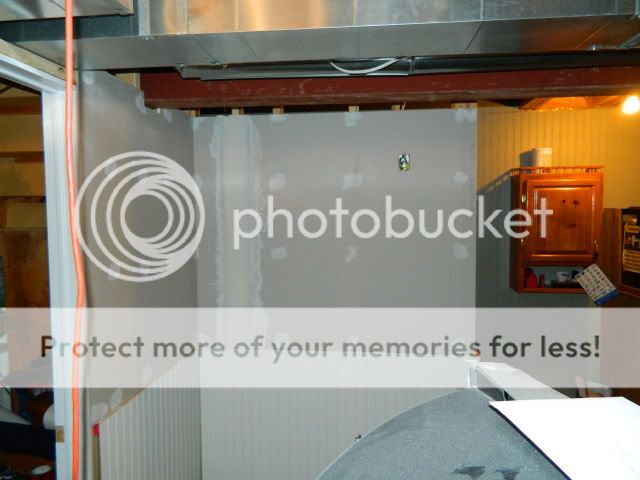
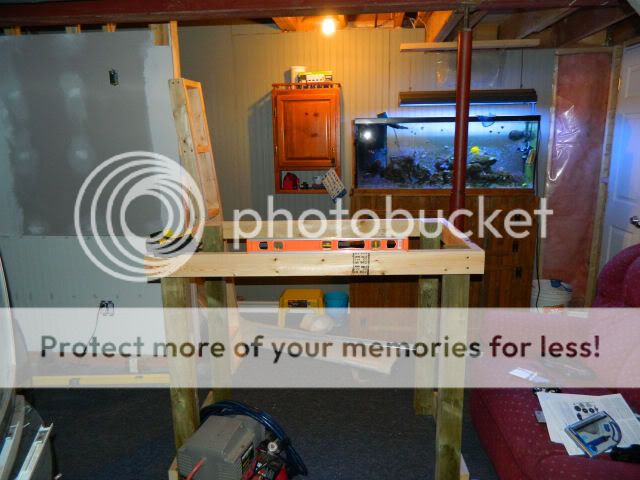
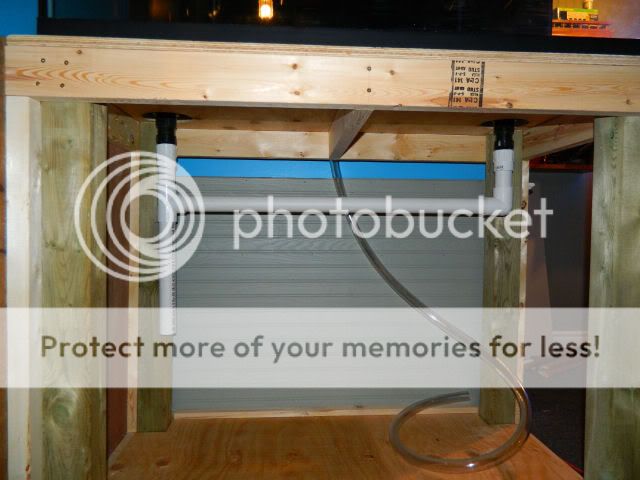
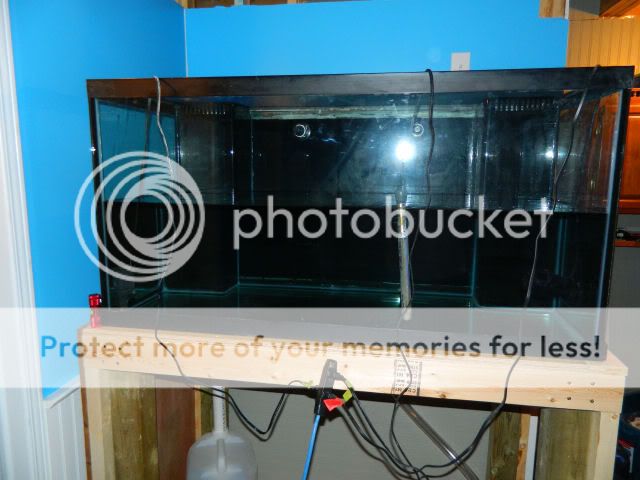
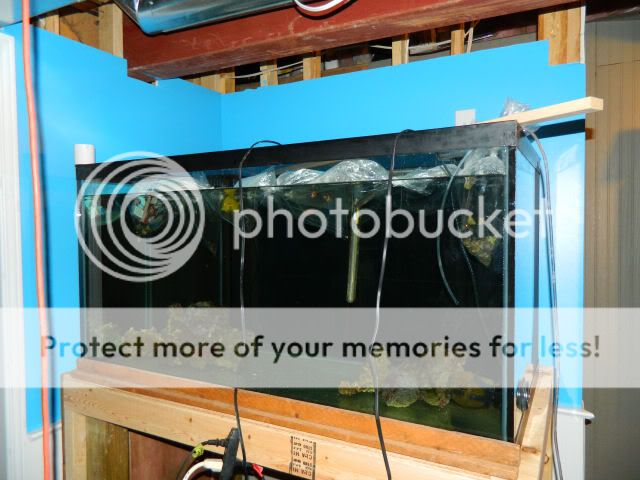
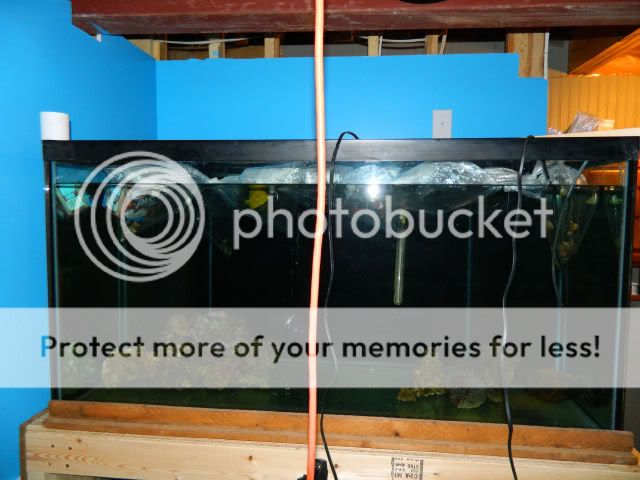
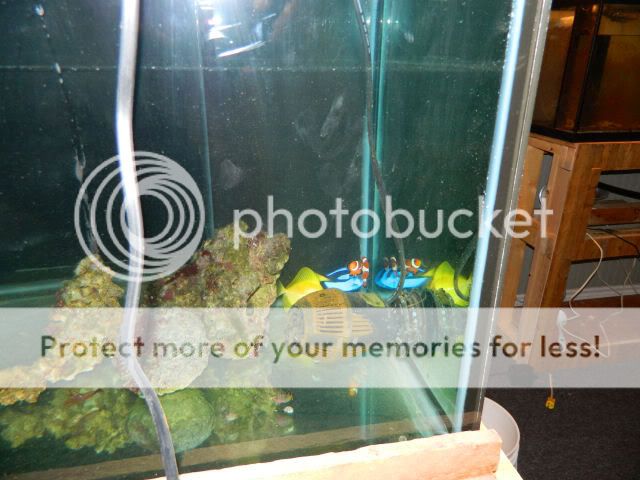
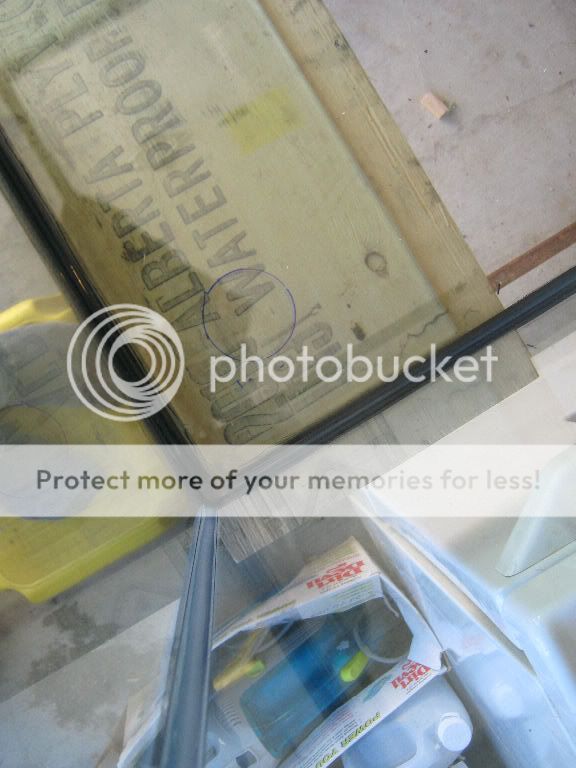
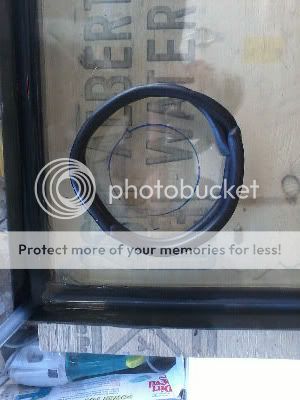
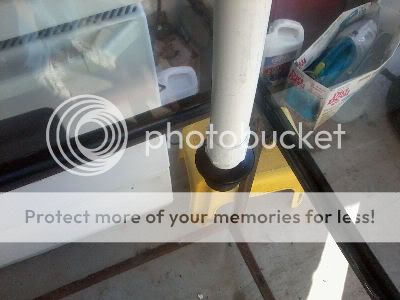
Overflow cover has been cut down. Just have to silicone it in place.

0021-Overflow1-5.jpg


0022-Overflow1-6.jpg
 
So you're upgrading again before you're even done? :-?

Looks that way. LOL! I want an aggressive tank, and my wife wants a porcupine puffer...so it's kinda a trade. Good thing I finished the basement and now have enough room in the fake wall for all my plumbing for the 3 tanks...yes I said 3. I was told to sell the 55, but that doesn't mean I'm trying really hard to do it. LOL!
 
Picked up my bulkheads yesterday. 2 - 1 1/2" for overflows and 2 - 1" for returns. I was going to drill it today but I'll wait until next weekend to do that.

0023-NewBulkheads.jpg
 
With Kim in Florida, I got a chance to do some drilling today on the tank. All the holes are now drilled. Took a whole 20 minutes from start to finish drilling the 3 holes.

Here's the second overflow marked out. I had to drill this one using a hand drill since the press wouldn't fit where I wanted the hole drilled.
0024-NewoverflowDrawnOut.jpg


A little window tape to hold the water and diamond dust in place.
0025-DamisBuilt.jpg


Add the diamond dust.
0026-DiamondDustAdded.jpg


Finished in 5 minutes with the drill just a smokin'. Guess little hand drills aren't ment for drilling 2 1/2" holes in 1/2" glass.
0027-HoleDrilled.jpg


Second overflow in place.
0028-BulkheadFits.jpg


0029-ReadyforCover.jpg


The 2 returns where easier to drill since the drill press just fit. All setup and ready to drill.
0030-ReadytoDrillReturns.jpg


Drill running high speed.
0031-DrillingReturns.jpg


10 minutes later and both 2" holes are drilled.
0032-ReturnsDrilled.jpg


Bulkheads fit. About an 1/8" gap around them, but the seal covers the area.
0033-BulkheadsIn.jpg


Tomorrow I'll cut the other overflow cover and silicone it in place.
 
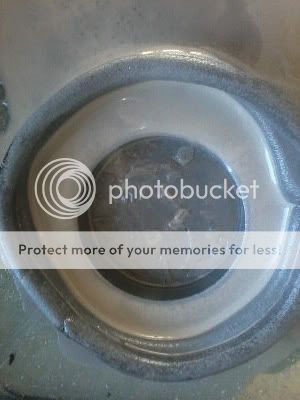
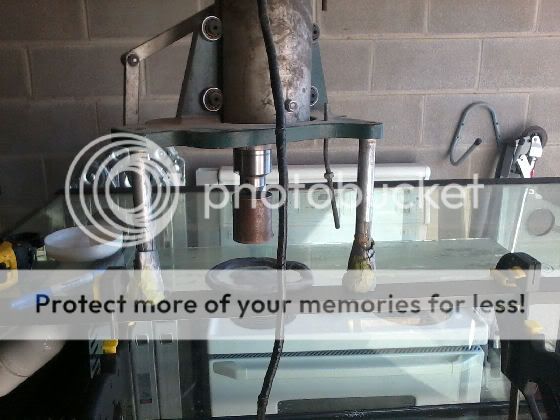
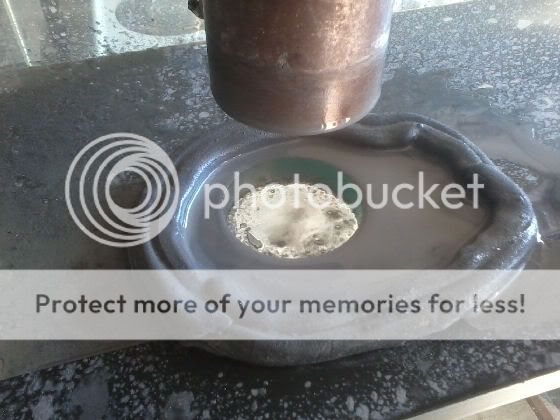
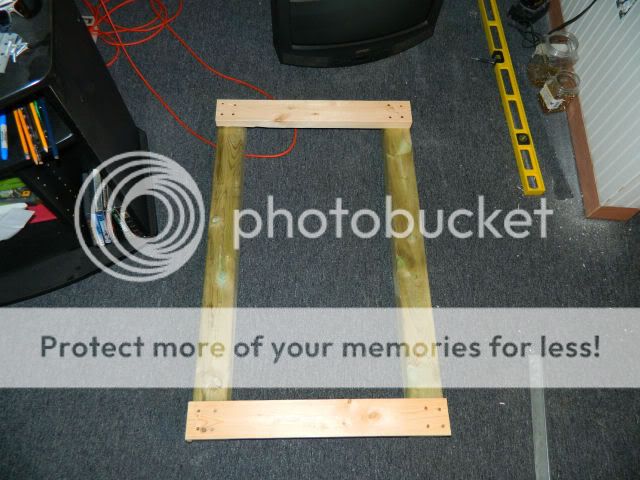
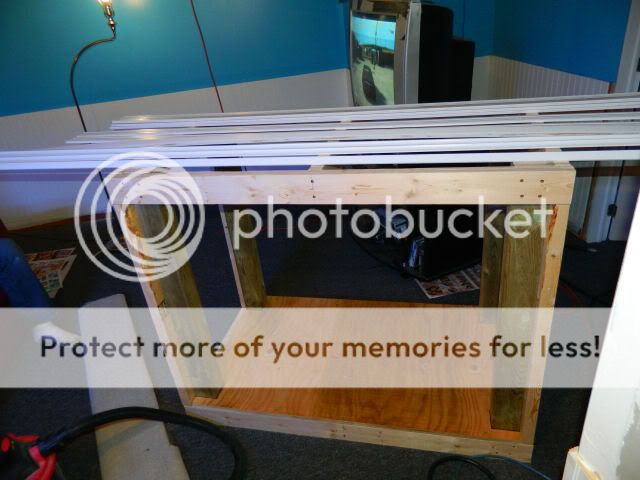
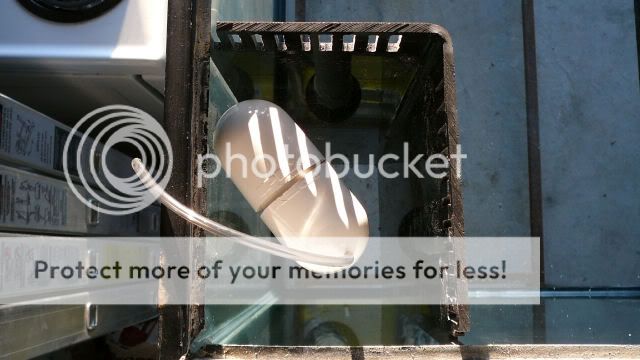
Looks good Barry! Might I ask what kind of drlll press you are using? I need to purchase one of those as well/

Thanks Burch!!

It's a 1763 straight press. (LOL) the thing is older then I am I think. I borrowed it from work along with the hole "saws". If you can keep your hand steady enough a normal hand drill will work.

A supplier we deal with has them. CR Laurance here's a link if you're interested.

CRL2 - CRL 110 Volt Tripod Glass Drilling Machine
 
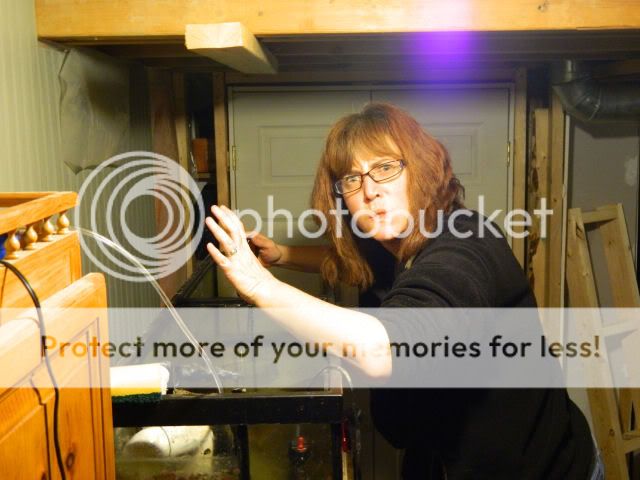
She loves me....at least I think she does. Just wait til I post what happens when I take her shopping in Windsor next weekend and we make a side trip on the way home.

200 GALLON And 90 GALLON Aquariums. - Windsor Region Buy & Sell Goods - Kijiji Windsor Region Canada.

Can't turn it down for $150!! :)
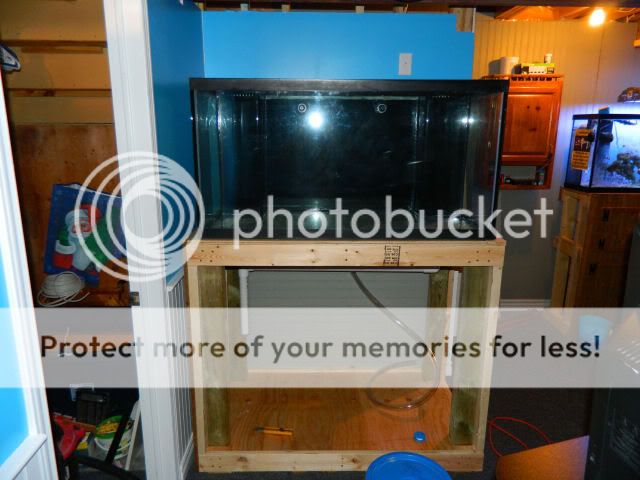
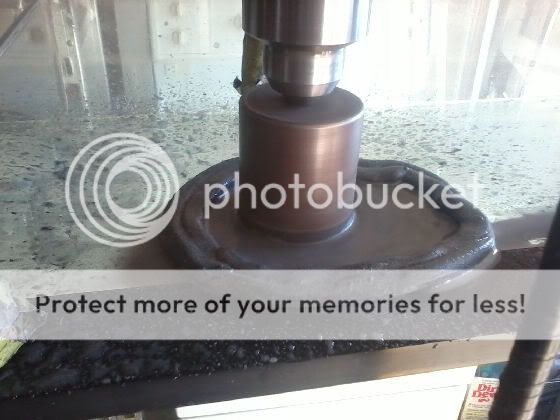
I'm getting old. I forgot this part. I asked Kim if she wanted go to shopping in Windsor...being the girlie girl she is, she was ready to go before me. LOL! She didn`t say too much when we stopped by my work and picked up the truck. I think she figured my car is need of repairs and I wanted to make it there and back. 3 hours later we`re shopping away for Christmas and for her. (What is it with women and purses? She bought 3 to go with the 20 she already has?!?!?)

After a nice supper we headed for home...or so she thought until I pulled out my printed off mapquest direction and handed them to her to navigate. The fight started. I sat in silence listing to the radio while she just glared at me. It a good thing looks can't kill or I'd for sure be dead. I couldn't take it anymore and looked at her with the innocent face and said What?!?!?! She just glared at me and asked if it was bigger the the 120 so I could move into it in the shed. I laughed at her and said there's a few inches to spare.

She navigated to our destination and the guy helped me load it on the truck. We drove home in silence. She did look at me kinda strange when I didn't turn down our street and headed over my Lyle's at the pet store. I back the truck up to his door and helped him load it on his pallet truck. He handed me $300 and we went home. LOL! Boy did she have some making up to do.
 
I was going to wait until I completely finished everything before I posted anymore, but I can't sleep and I'm MW3'd out.

Here's where the tank is going to sit. I had to finish the wall and find a place for the computer to go.
0035-Wherethetankisgoingtosit2.jpg


Ok, so the computer, desk & junk have gone into hiding into the new room we built in the basement for now.
0036-Computerisgone.jpg


The ugly paneling has been removed.
0037-Panelingisgone.jpg


Kim strapped the wall & is putting the wainscot up.
0040-Paneling.jpg


Top has had the drywall put on and the mudding is done.
0041-Drywallandmud.jpg


Painting is finished.
0042-Painted.jpg
 
Time to build the stand.

0043-StartingStand.jpg


0044-StandSide.jpg


The shell is finished.
0045-StandStanding.jpg


I turned my back for a few minutes and the stand becomes a trim painting station. I didn't even get a chance to put the top on it.
0046-StandFrame.jpg
 
While the trim was drying, I painted the back of the tank black along with the sides were the overflows show.
0047-PaintitBlack.jpg


I glued the overflows together and made a second one.
0049-OverflowsGlued.jpg


It took four of us to get the tank onto the stand.
0048-Onthestand.jpg


I finished up the plumbing. I know i should have kept the drains separate for noise but I was short on PVC and was getting tired.
0050-Plumbingisfinished.jpg


Here it is ready to have everything moved over from the 55.
0051-Readyforwater.jpg


I never leak tested the tank. I guess I had some serious faith in Rob's sealing abilities.

Time for fresh water.

20 gallons.
0052-25Gallons.jpg


55 Gallons (hehehe same amount as my other tank and not even half full)
0053-55Gallons.jpg


Water is mixing and coming to temperature.
0054-Mixing.jpg
 
The 55 tear down beings. I needed the sump so I could finish filling the tank and water to get some circulation going.
0055-LookingEmpty.jpg


Here's the sump under the 120.
0056-BrokenSump.jpg


Kim's catching all the livestock from the 55. She wanted me to put the camera down and hold the damn bag open.
0057-GreatFishCatcher.jpg


The livestock is all bagged up and floating.
0058-AllBaggedUp1.jpg


0059-AllBaggedUp2.jpg


Giving the livestock the drip. 3 separate pails and 3 separate drip lines. I've never done that much at one time before.
0060-DripDrip.jpg


Here's some of the LR that was covered in algae so back I nuked it.
0061-AlgaeCoveredLiveRock.jpg


The fish have 65 more gallons to swim in, and they stayed in this corner.
0062-Loose1.jpg


The tank looks really bare compared to the 55.
0063-Loose2.jpg
 
Back
Top