buddy08
SPS Addict
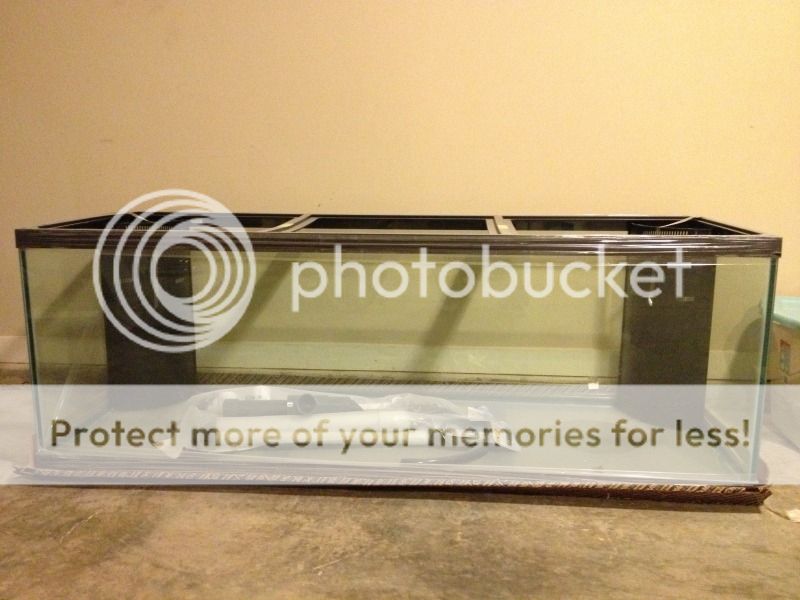
So its that time; finally have the ball rolling with the 180 gallon upgrade. I planned on having a custom tank made for this build but the budget was capped by the lady less than a custom tank would have cost. So I searched craigslist as well as local forums for weeks in search of the perfect tank. Late one night, I stumbled across a brand new marineland 180 perfecto still in packaging for what I thought was a hell of a bargain. A few days later rolled home with this monster.
Plans for this tank: Will be an SPS dominated reef with shoaling fish. It will be stocked mostly with anthias as well as 3 or 4 tangs. I will also stock a few different wrasse, a lot of chromis (for more movement in the tank), and maybe some firefish for extra color. Not sure yet; the previous tank inhabitants will be transfered into this tank as well but the damsels and coral beauty will be finding a new home. They get along great in my 75 but I know how the coral beauty was towards the last chromis I tried so he has to go.
Equipment:
2x Mp40 vortechs running anti-sync in TSM mode
1x Apex reef keeper system: full
2x 500watt heaters
1x Geo 618 calcium reactor with a 20lb canister
1x Aqua medic 1000 kalk stirrer
120 LED DIY fixture on dimmable drivers.
Dual GFO/carbon canisters
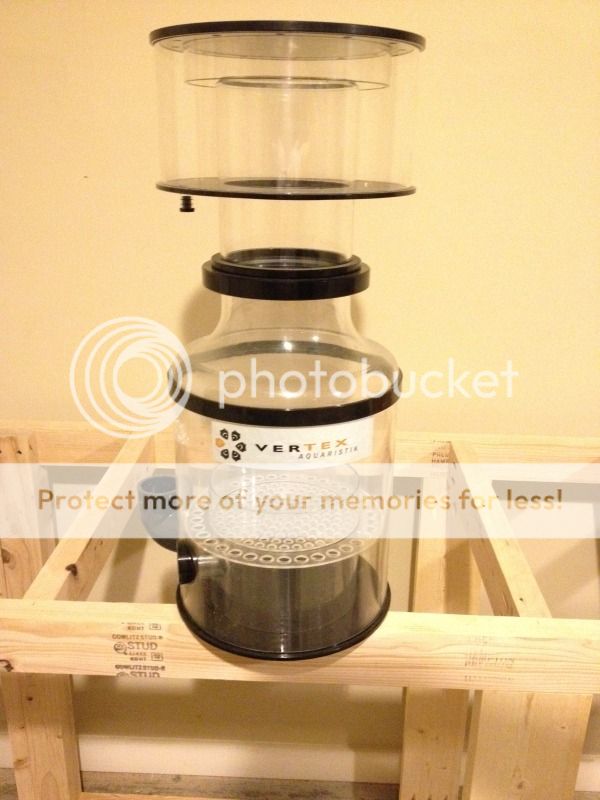
1x Vertex in-280 protein skimmer
1x reeflo snapper return pump
1x 75gallon custom sump with fuge
and lastly I will be tying in a custom gravity fed frag tank to this system
This tank will be housed in my Living room and we're going with a furniture look to it. Unfortunately, I would like to do an in wall build but we lack a wall with vacant space behind it. No way in hell could I convince the lady to let me have some of her walk-in closet :shock: We planned to have an entertainment center look to it but after seeing d2minis cabinetry for his tank; we have changed our mind and will aim for something like his which will match our crown molding and shelves around our fireplace.
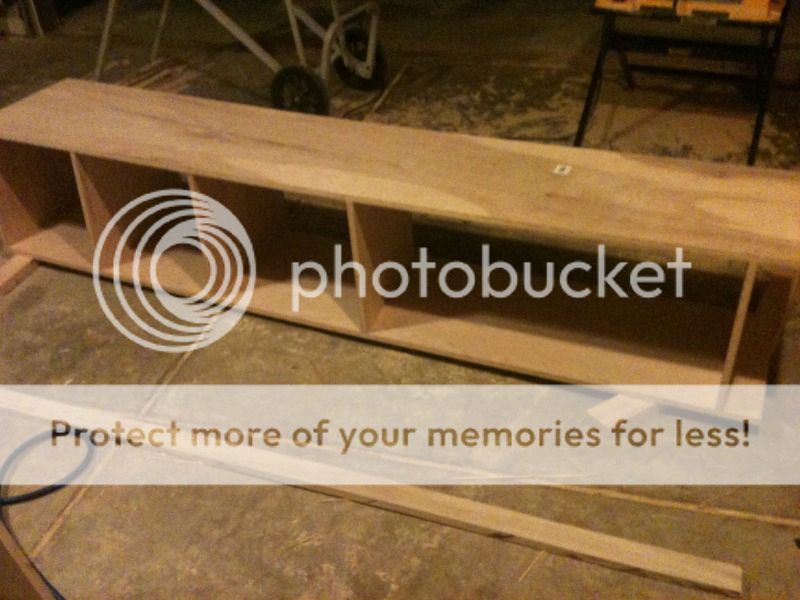
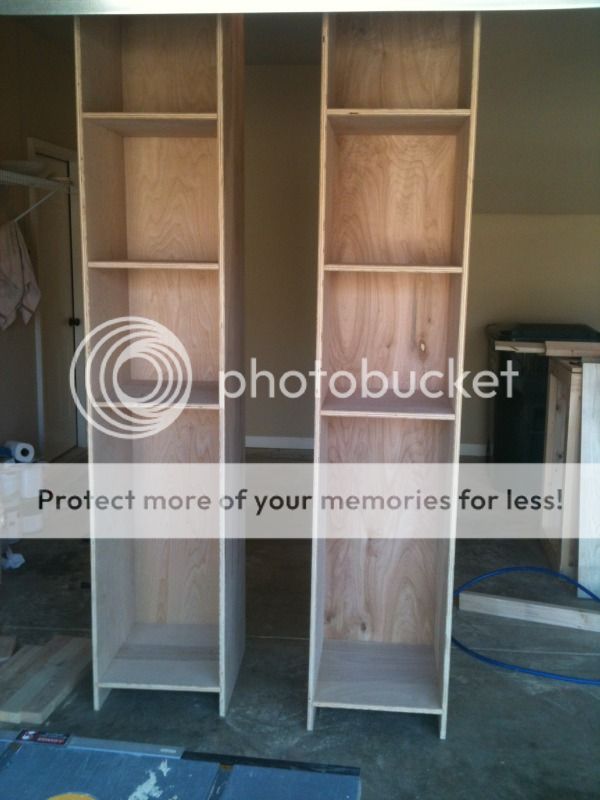
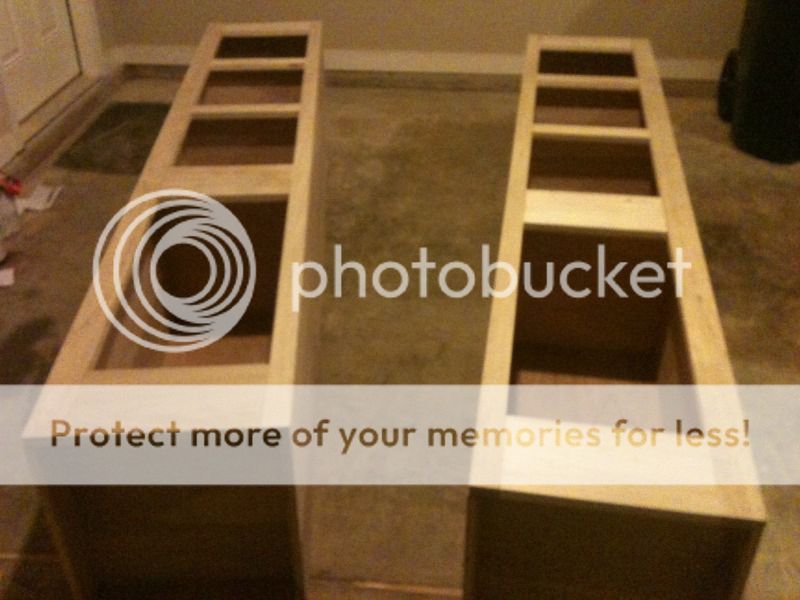
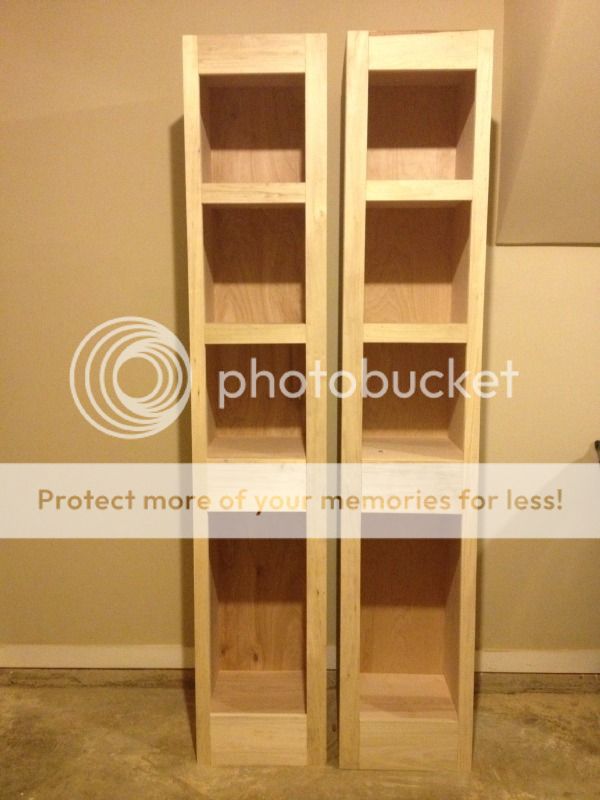
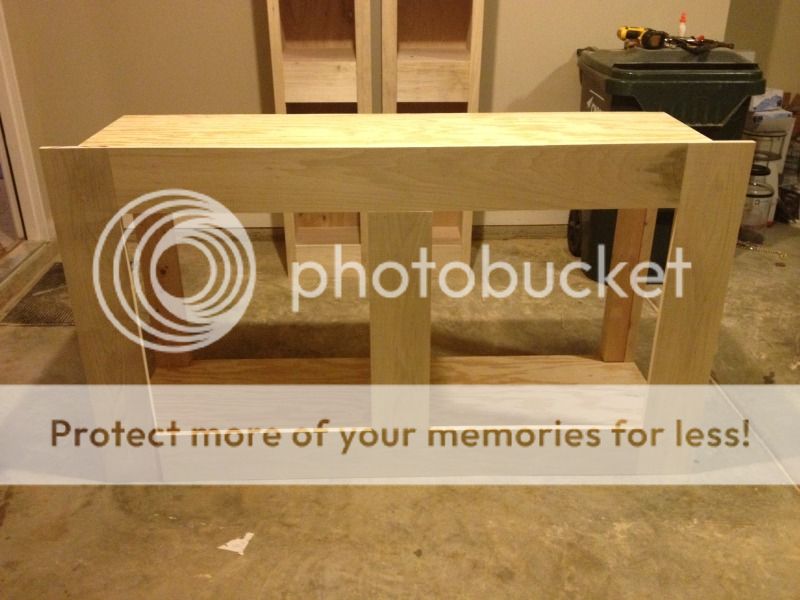
I have already started building the stand/cabinet. Here is a description and some photos of my progress:
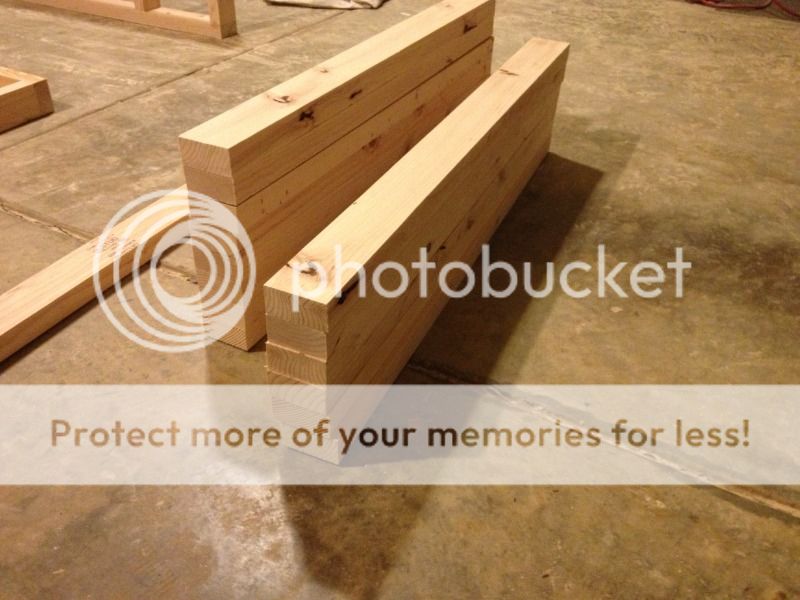
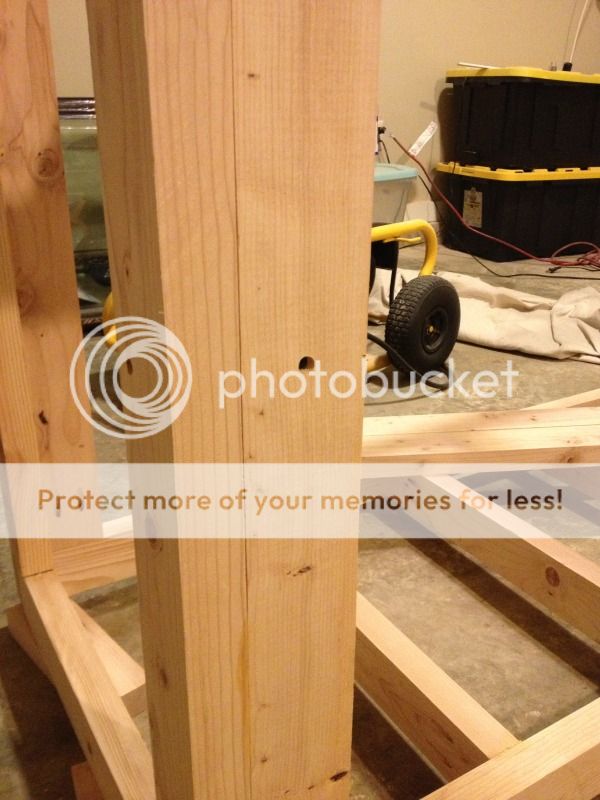
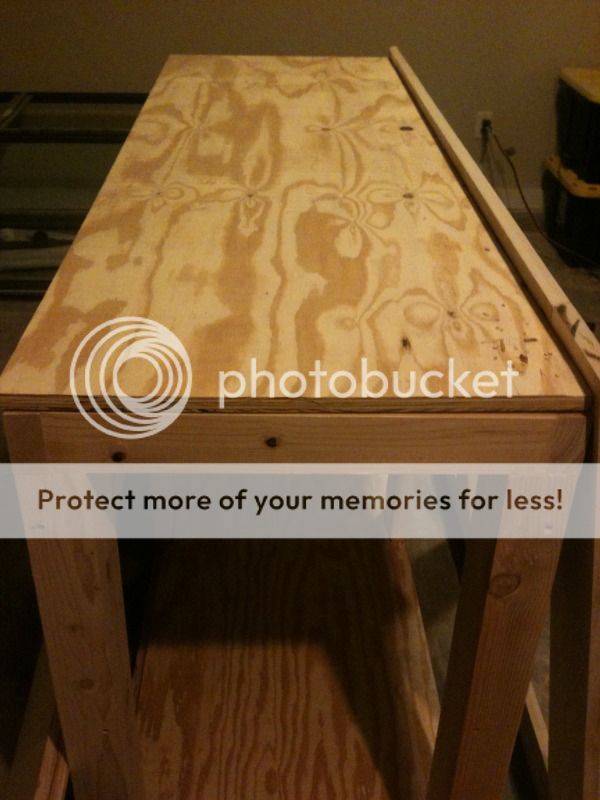
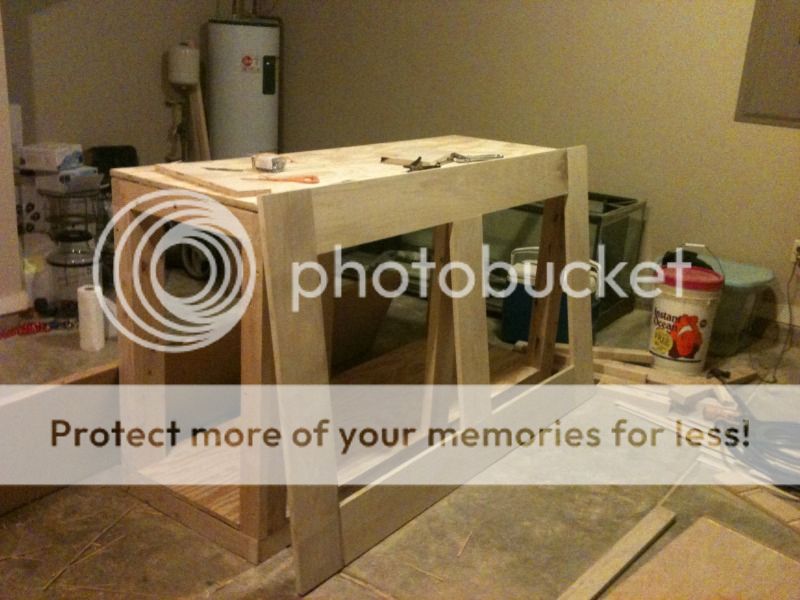
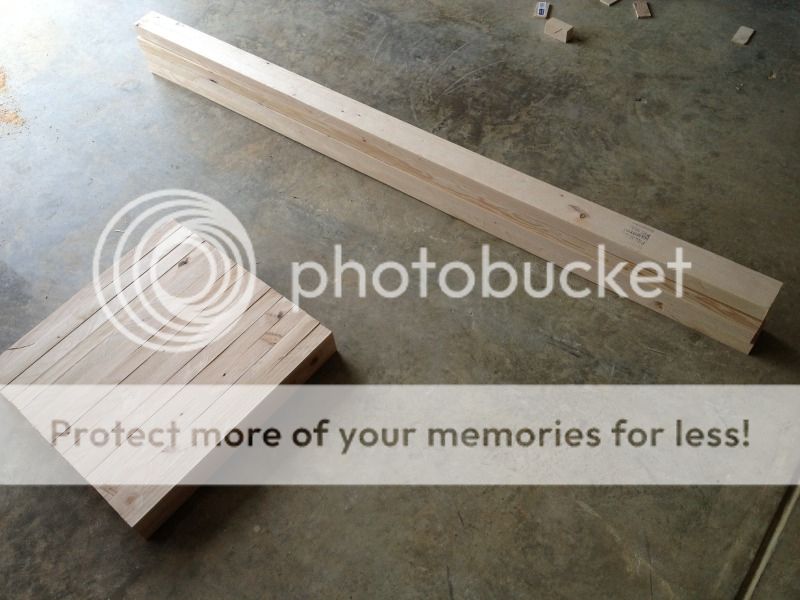
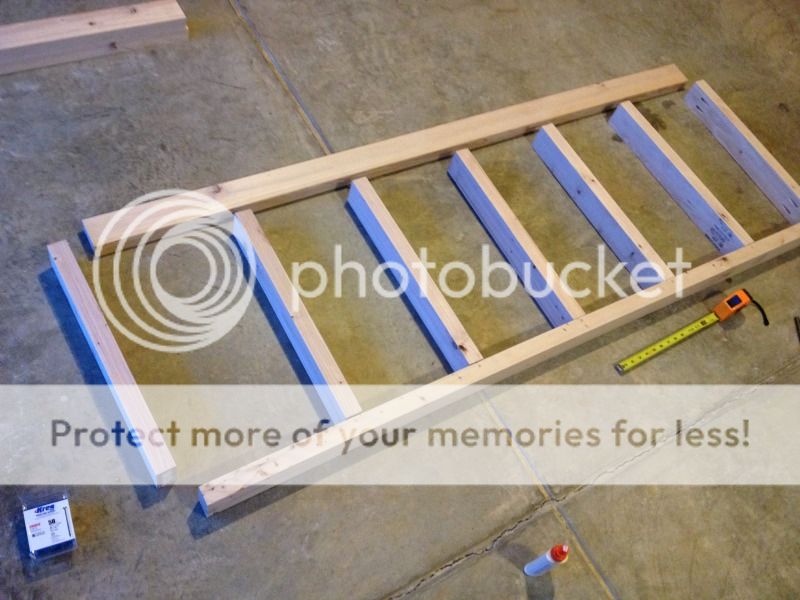
Stand frame is built mainly out of 2x4's purchased from a local hardware store. They are rough cut at a saw mill @ 1.5x3.5 so technically not 2x4. These rough cuts are also not exactly square which will cause your stand to be unlevel and is bad considering 1800lbs of water will be held on it. I used a table saw and planed 1/4" off of each side reducing it down to 1.5"x3" planks. I also cut about an inch off the ends to ensure they were cut square as well. The tank is 72 1/2" long so here you can see where I cut four of the side pieces for the top and bottom frame. It is also 24&3/8" wide so the frame braces were cut to 21&3/8" since the side supports are 1.5" thick; two of them make 3" so we subtracted that from 24&3/8".
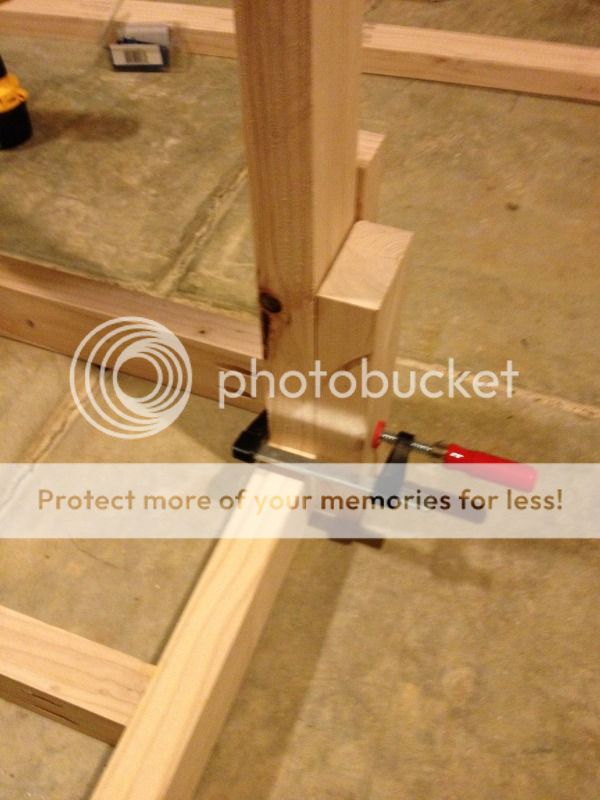
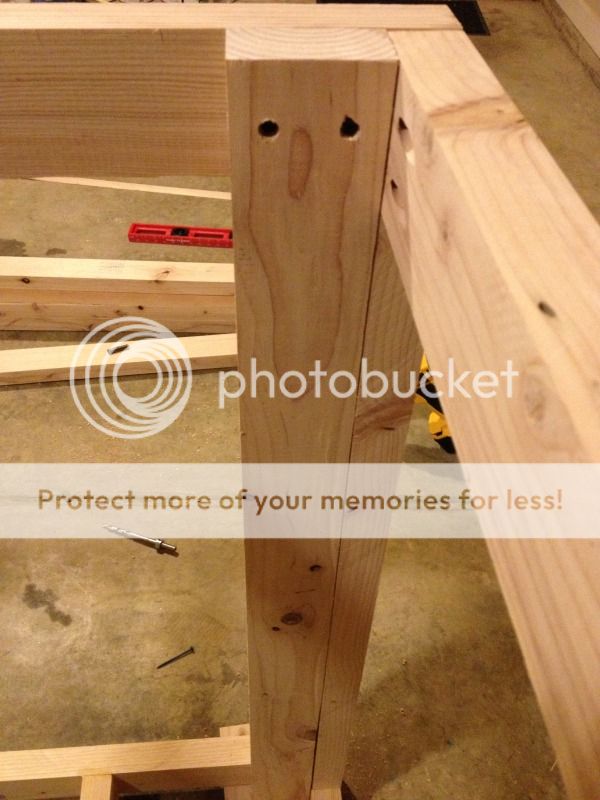
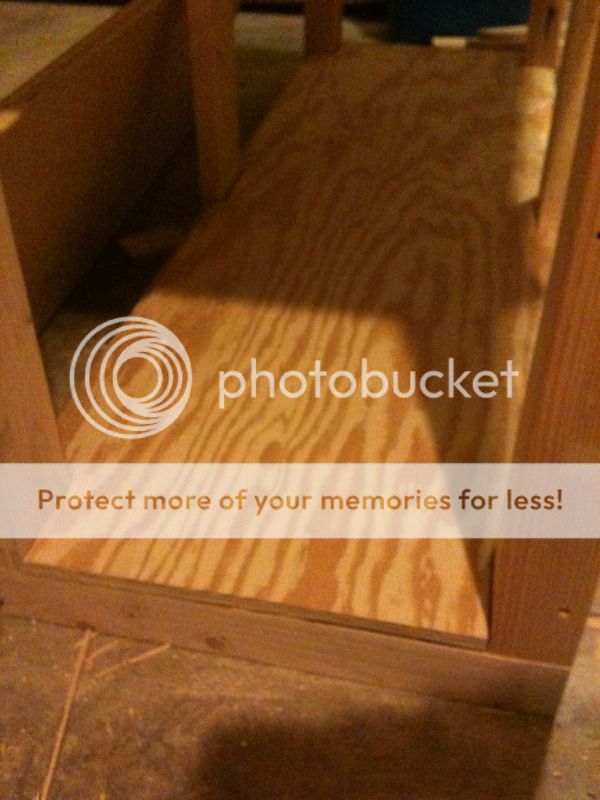
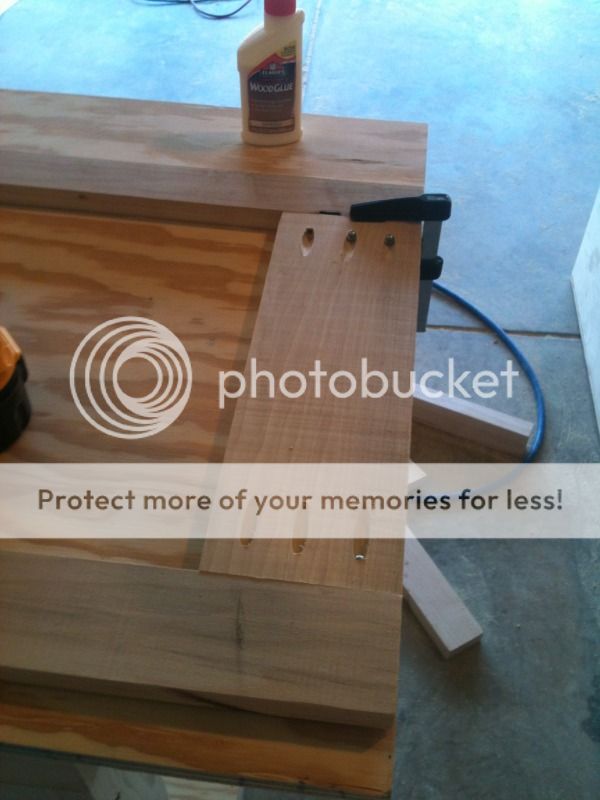
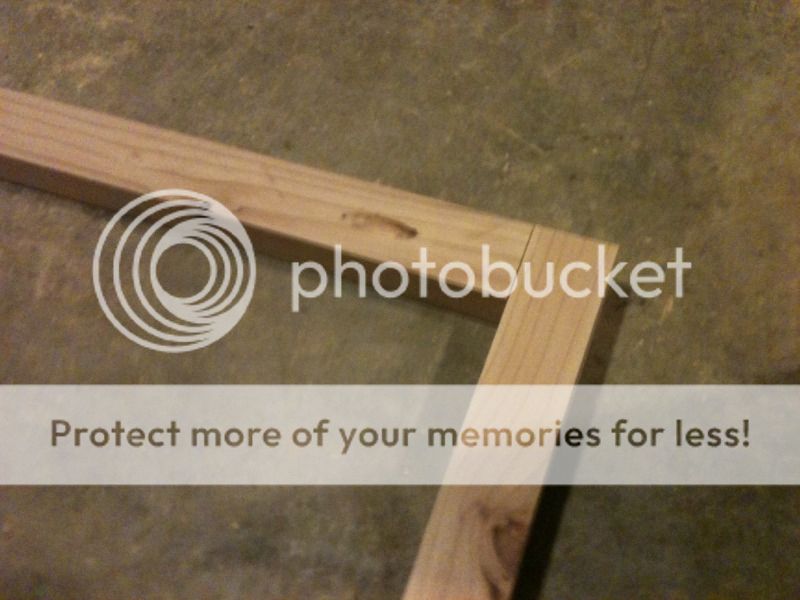
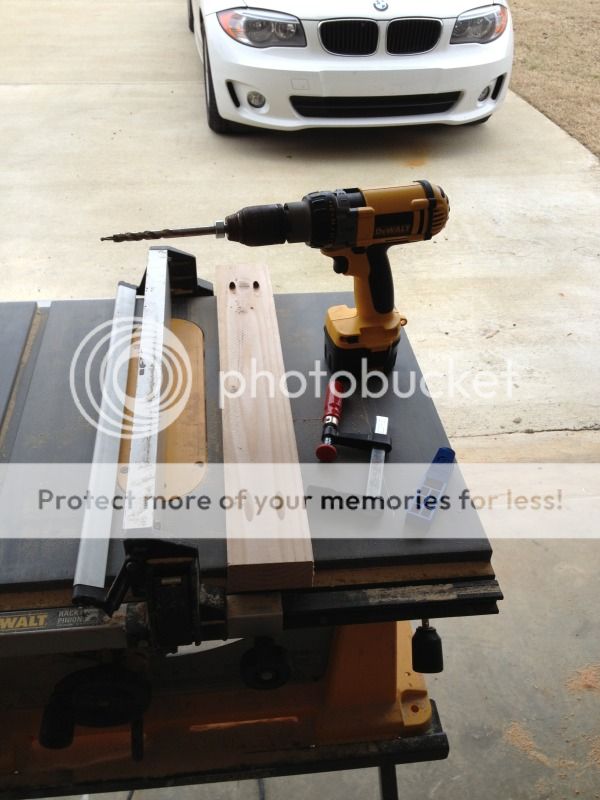
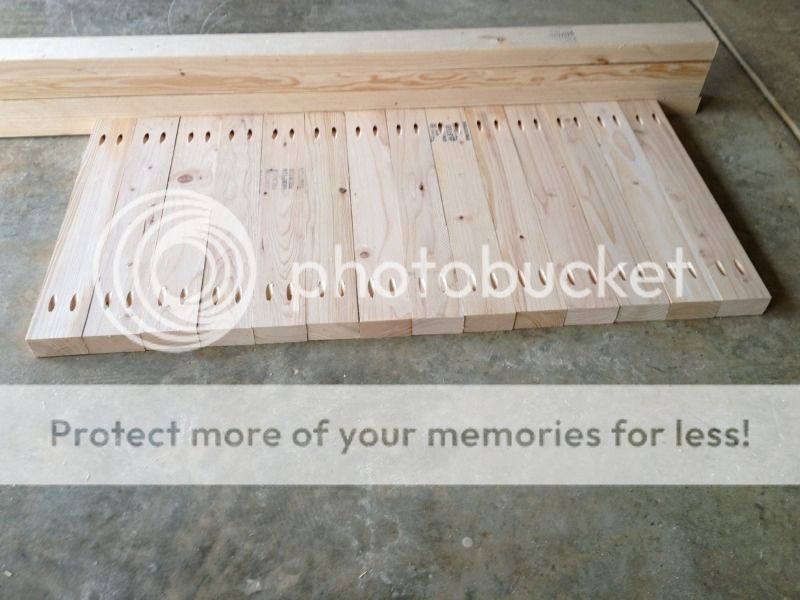
I then drilled pocket holes in my braces to fasten everything together. You can do this with a Kreg Jig available at any hardware store. The pocket holes are stronger than drilling into the butt ends of the boards and will help prevent a board from splitting when fastening it with screws.
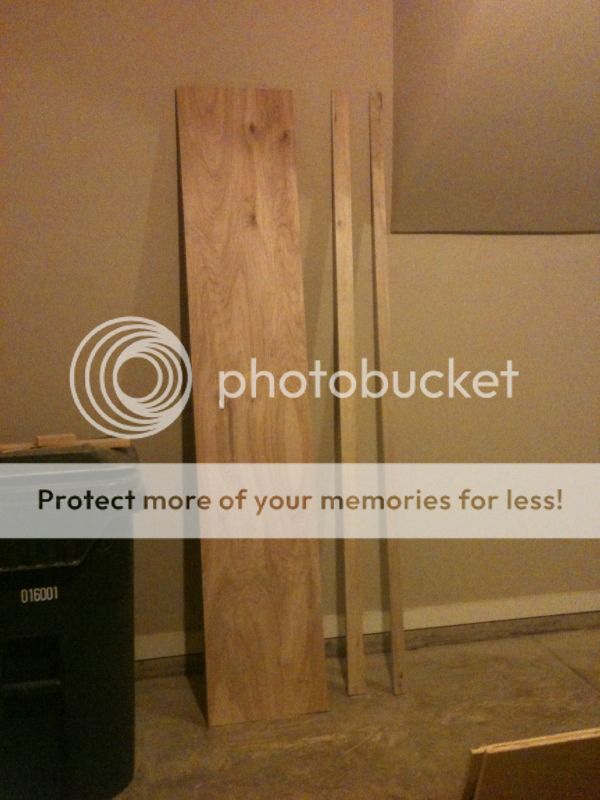
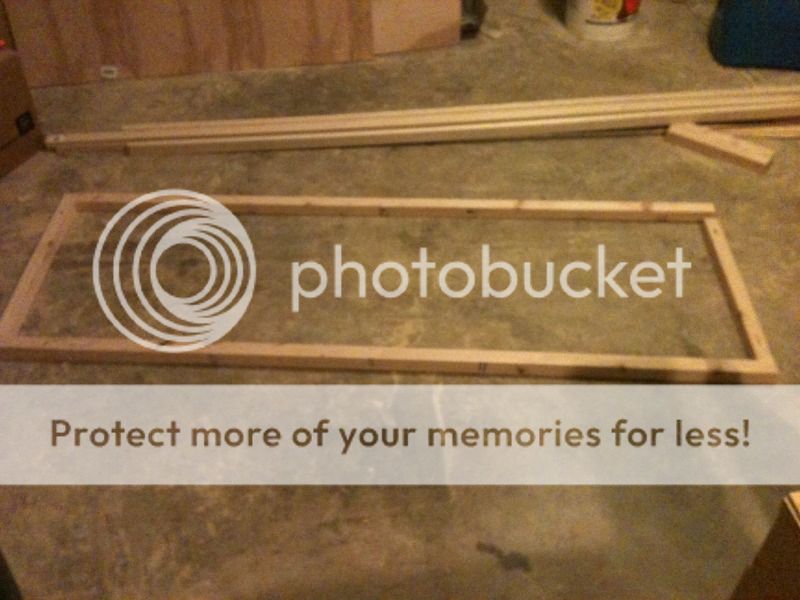
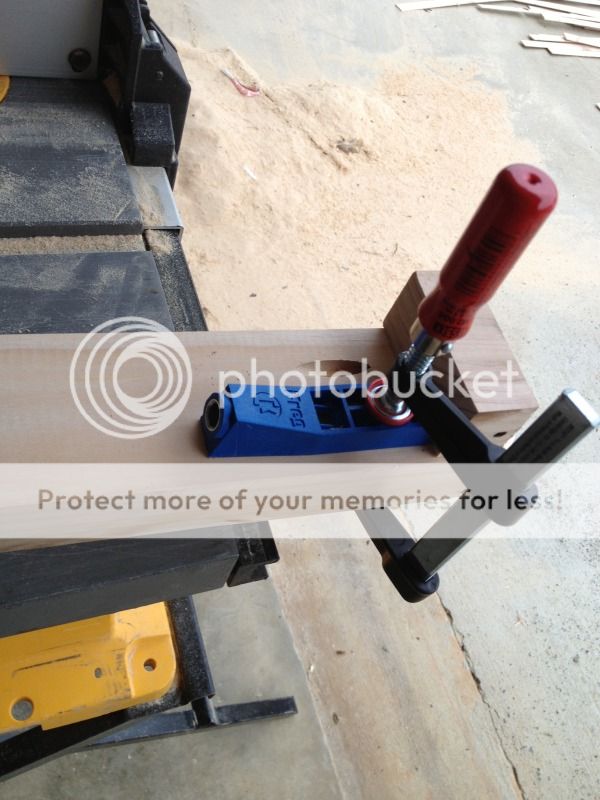
Directions state to have a 1&1/4" space between the edge based on the material thickness so to speed the process up; I cut a small block to use as a spacer instead of measuring every time.
Spaced out evenly on the floor to mark stud placement
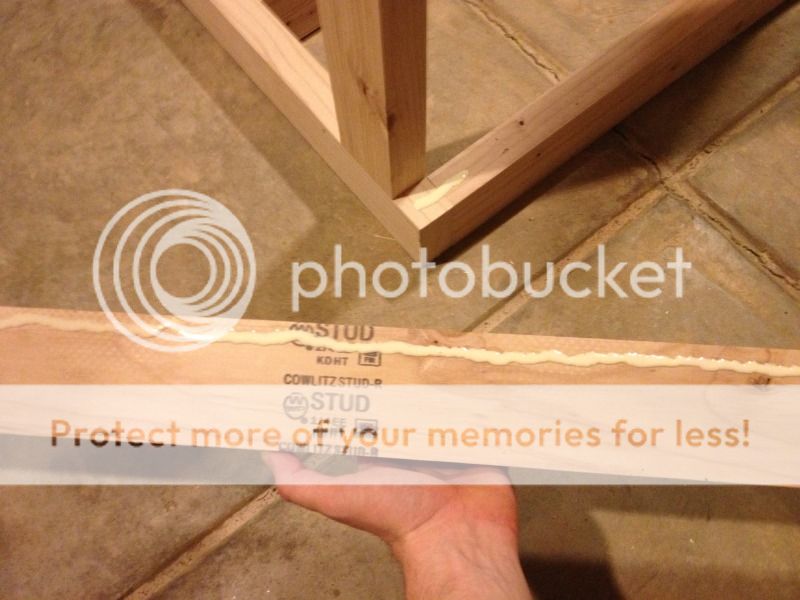
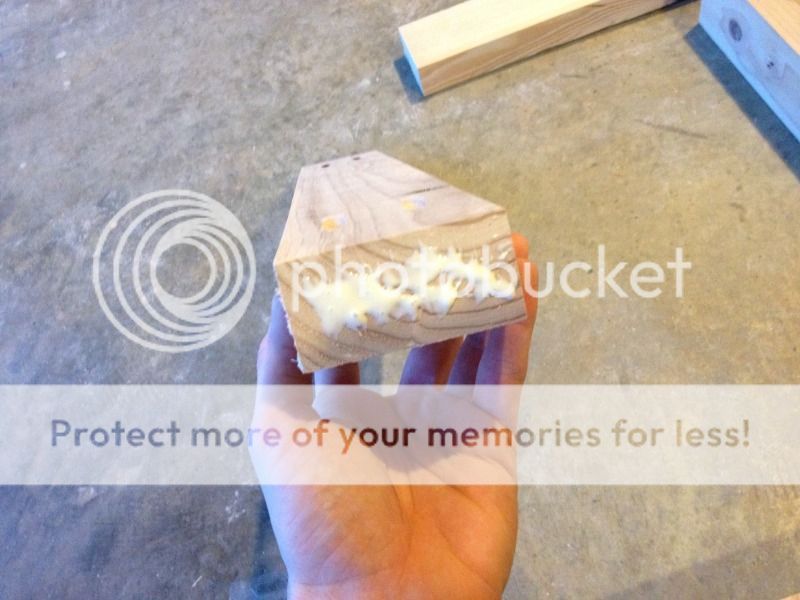
In addition to the pocket screws, I also added wood glue to the ends for extra strength (fun fact: wood glue bonds stronger than the wood itself)
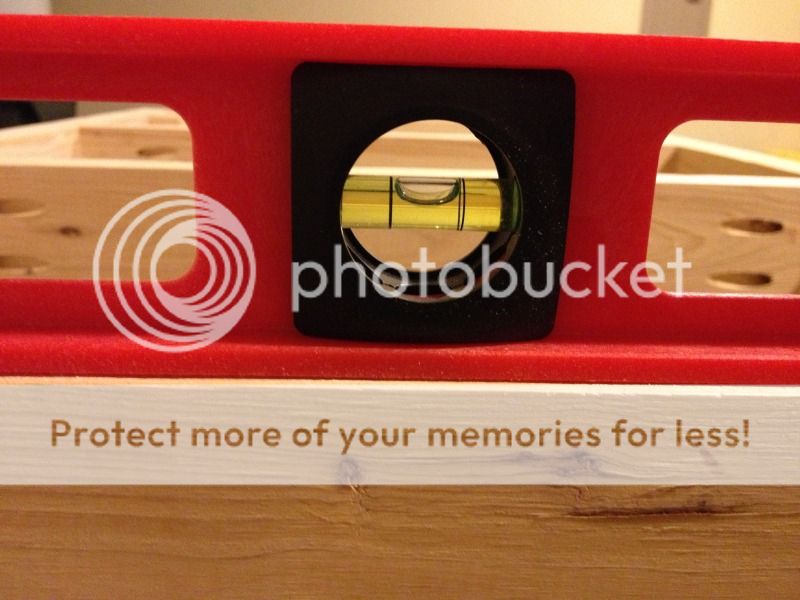
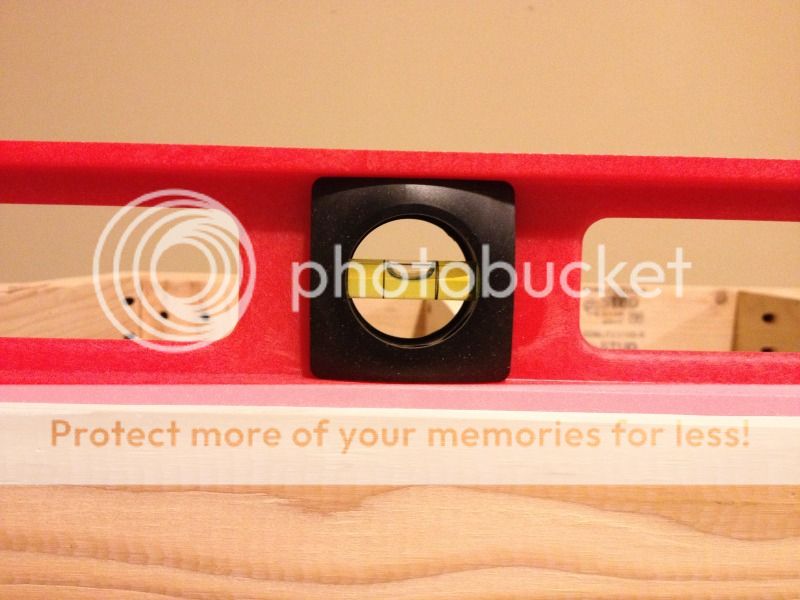
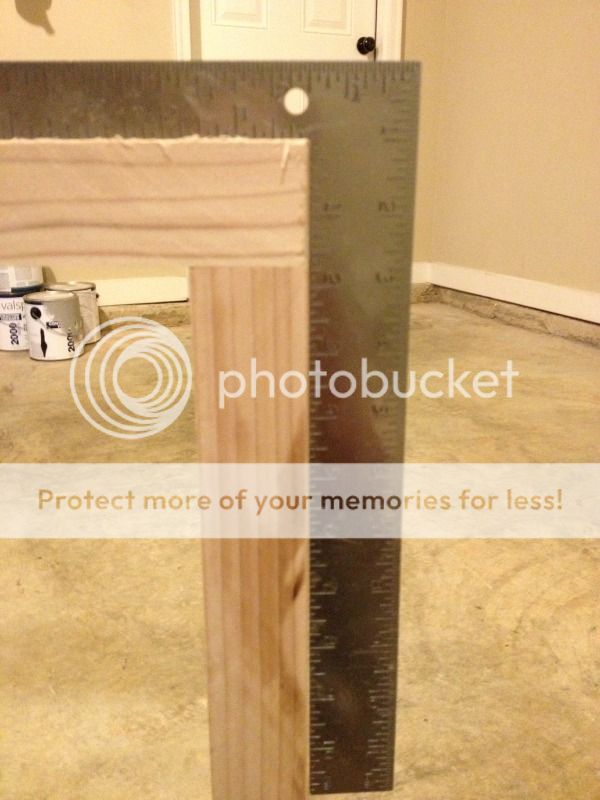
Make sure to pull your joints square when assembling otherwise the stand will never be level once the glue sets.
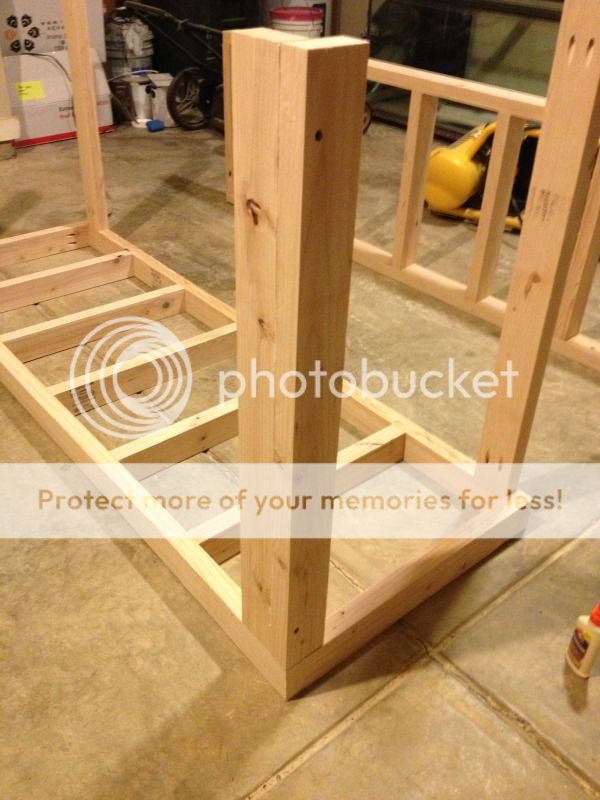
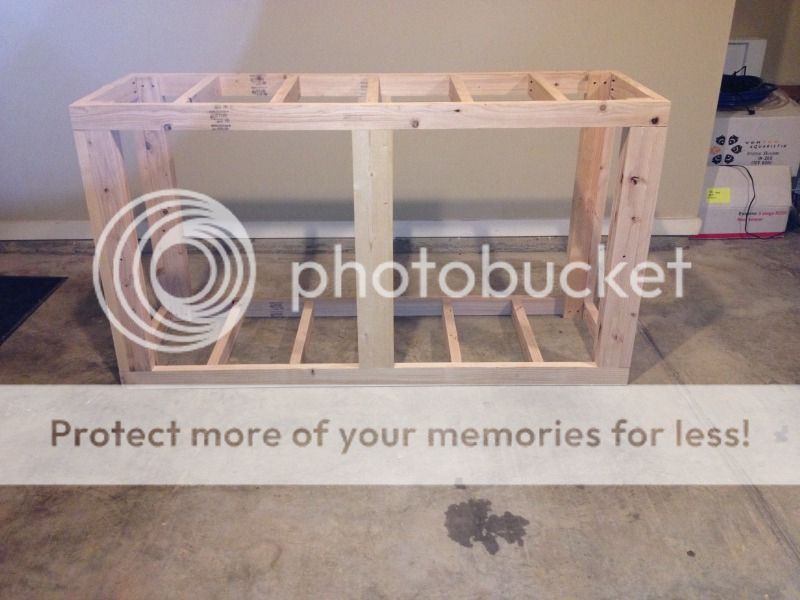
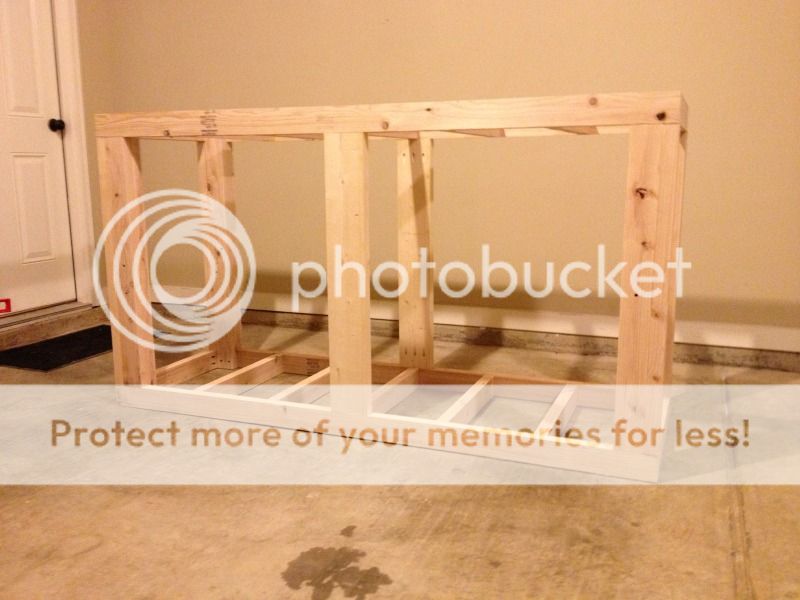
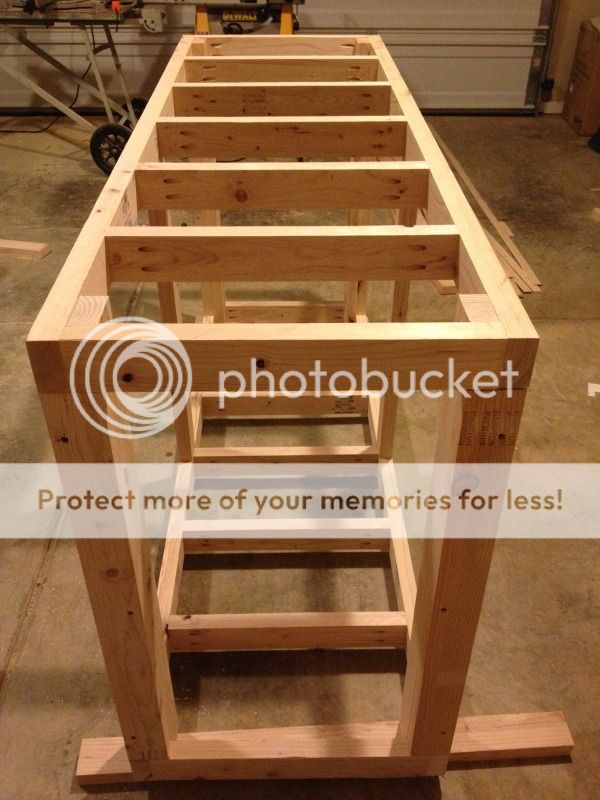
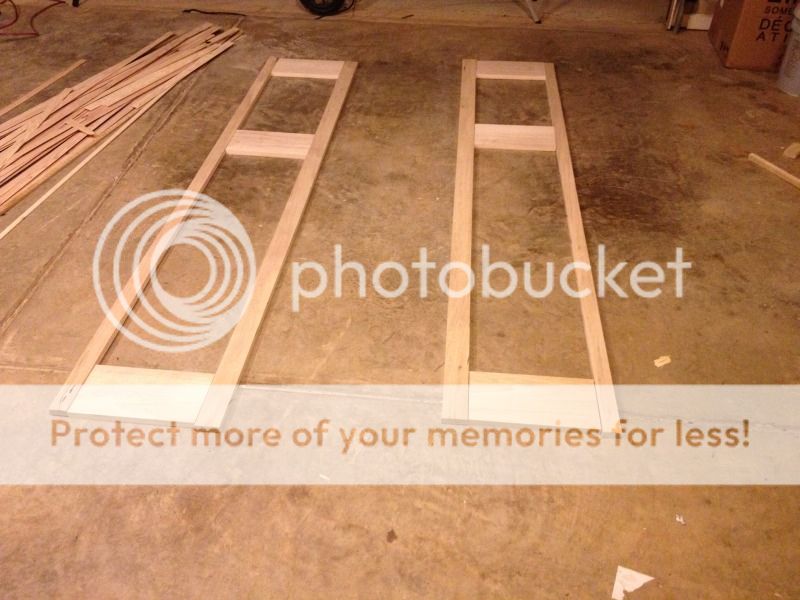
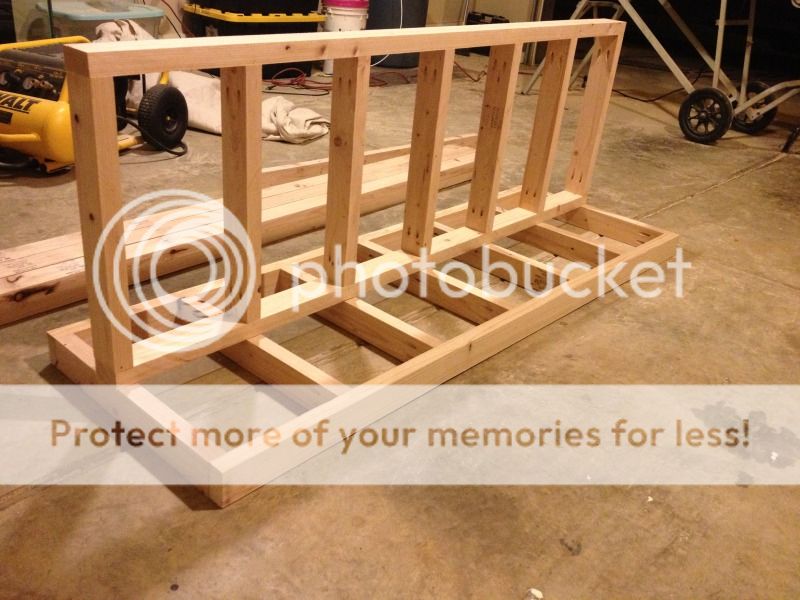
Finished Frame
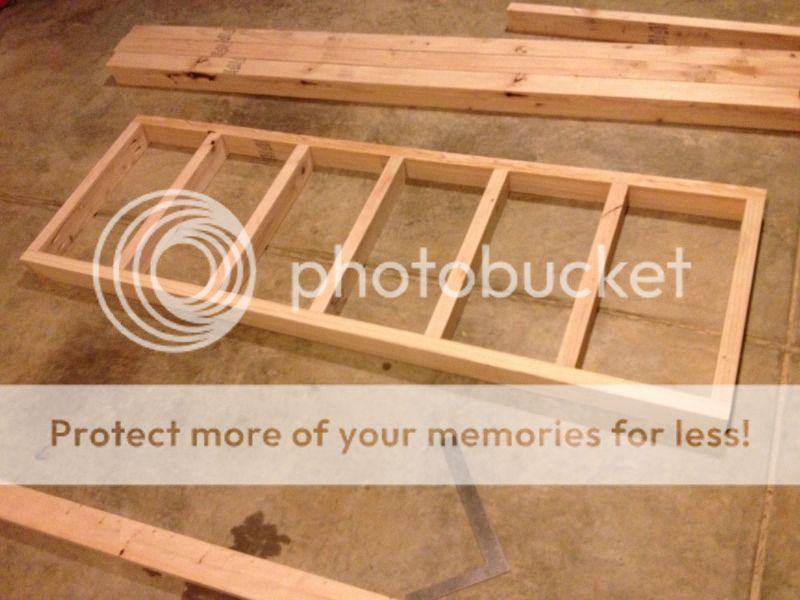
Rinse and repeat for bottom
Plans for this tank: Will be an SPS dominated reef with shoaling fish. It will be stocked mostly with anthias as well as 3 or 4 tangs. I will also stock a few different wrasse, a lot of chromis (for more movement in the tank), and maybe some firefish for extra color. Not sure yet; the previous tank inhabitants will be transfered into this tank as well but the damsels and coral beauty will be finding a new home. They get along great in my 75 but I know how the coral beauty was towards the last chromis I tried so he has to go.
Equipment:
2x Mp40 vortechs running anti-sync in TSM mode
1x Apex reef keeper system: full
2x 500watt heaters
1x Geo 618 calcium reactor with a 20lb canister
1x Aqua medic 1000 kalk stirrer
120 LED DIY fixture on dimmable drivers.
Dual GFO/carbon canisters
1x Vertex in-280 protein skimmer
1x reeflo snapper return pump
1x 75gallon custom sump with fuge
and lastly I will be tying in a custom gravity fed frag tank to this system
This tank will be housed in my Living room and we're going with a furniture look to it. Unfortunately, I would like to do an in wall build but we lack a wall with vacant space behind it. No way in hell could I convince the lady to let me have some of her walk-in closet :shock: We planned to have an entertainment center look to it but after seeing d2minis cabinetry for his tank; we have changed our mind and will aim for something like his which will match our crown molding and shelves around our fireplace.
I have already started building the stand/cabinet. Here is a description and some photos of my progress:
Stand frame is built mainly out of 2x4's purchased from a local hardware store. They are rough cut at a saw mill @ 1.5x3.5 so technically not 2x4. These rough cuts are also not exactly square which will cause your stand to be unlevel and is bad considering 1800lbs of water will be held on it. I used a table saw and planed 1/4" off of each side reducing it down to 1.5"x3" planks. I also cut about an inch off the ends to ensure they were cut square as well. The tank is 72 1/2" long so here you can see where I cut four of the side pieces for the top and bottom frame. It is also 24&3/8" wide so the frame braces were cut to 21&3/8" since the side supports are 1.5" thick; two of them make 3" so we subtracted that from 24&3/8".
I then drilled pocket holes in my braces to fasten everything together. You can do this with a Kreg Jig available at any hardware store. The pocket holes are stronger than drilling into the butt ends of the boards and will help prevent a board from splitting when fastening it with screws.
Directions state to have a 1&1/4" space between the edge based on the material thickness so to speed the process up; I cut a small block to use as a spacer instead of measuring every time.
Spaced out evenly on the floor to mark stud placement
In addition to the pocket screws, I also added wood glue to the ends for extra strength (fun fact: wood glue bonds stronger than the wood itself)
Make sure to pull your joints square when assembling otherwise the stand will never be level once the glue sets.
Finished Frame
Rinse and repeat for bottom
Last edited: