mikewurtz
FOWLR Power!
Hey Everyone!
Quick bit of history:
I was active a few years ago while keeping my 90 gallon FOWLR tank. It was my first tank and I had inherited it from a friend already established. I kept it active and thriving for about 2 years. After a catastrophic failure resulting in the death of most of my fish I was so greatly discouraged that I sold everything that remained and walked away from the hobby.
After much thought I realized that some of the biggest problems I had with my first tank was the fact that it was way too big for a first time tank, and I wasn't invested enough in it due to the fact that I didn't get to design / establish it from the start.
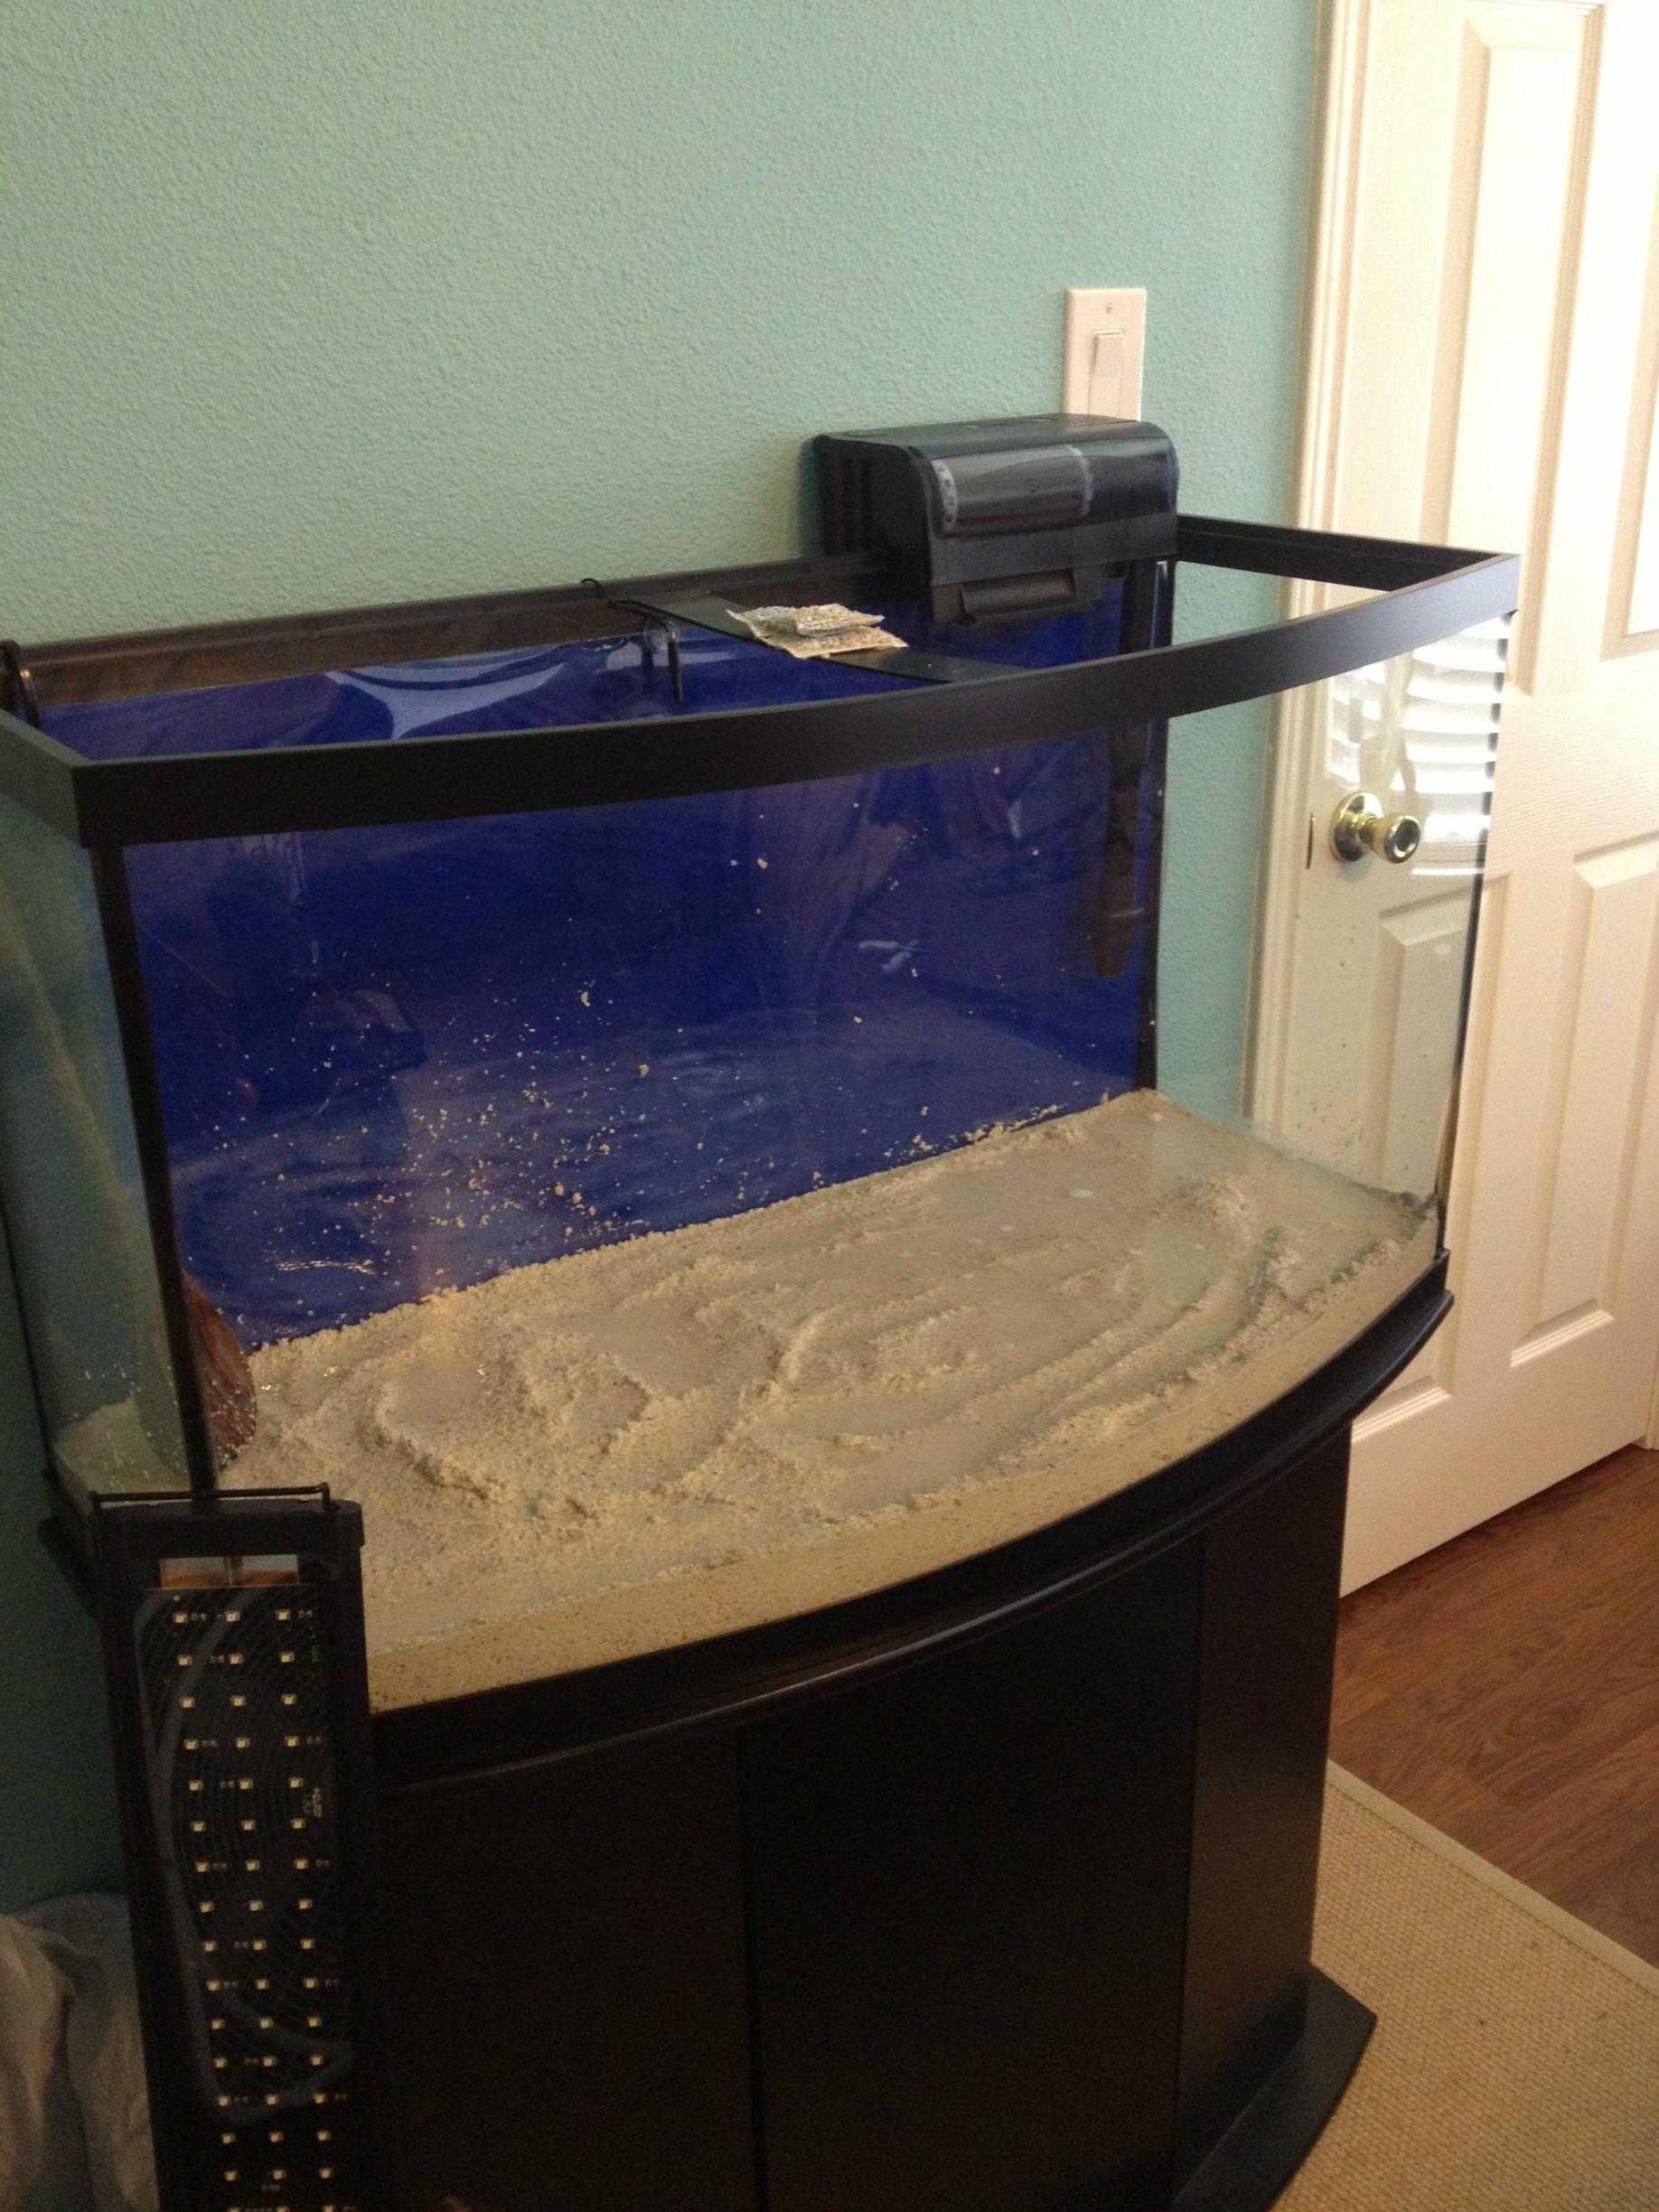
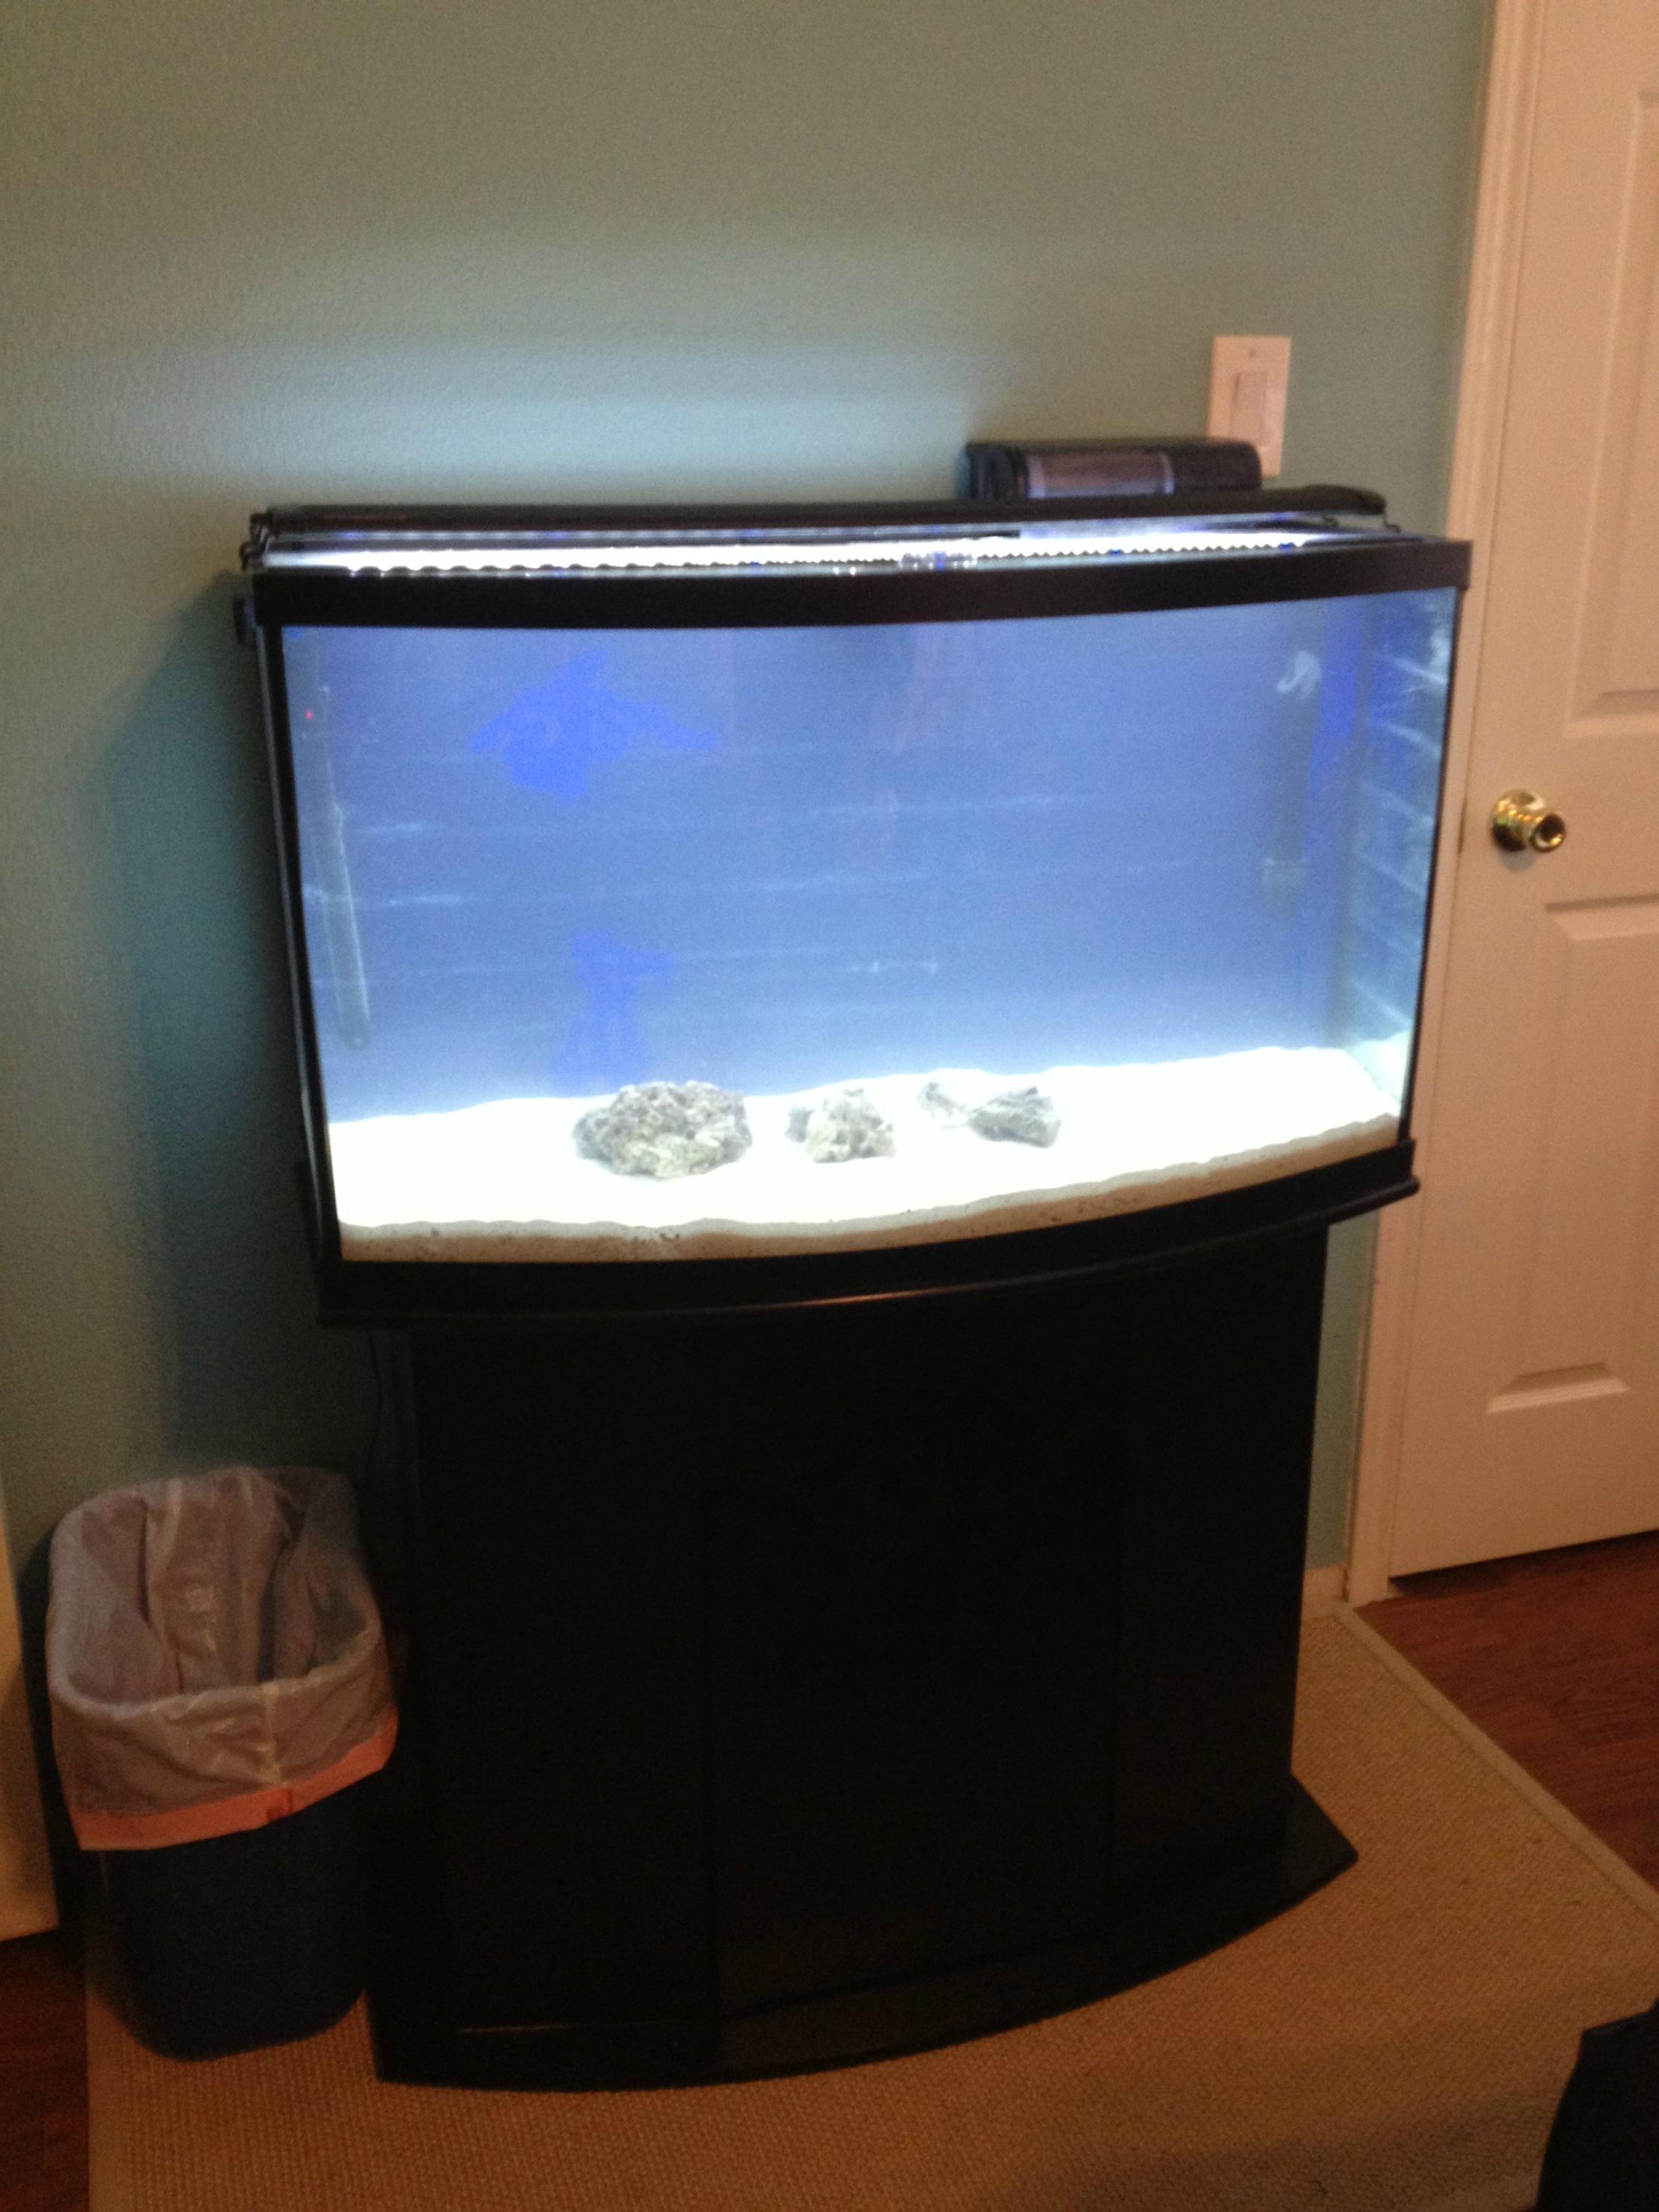
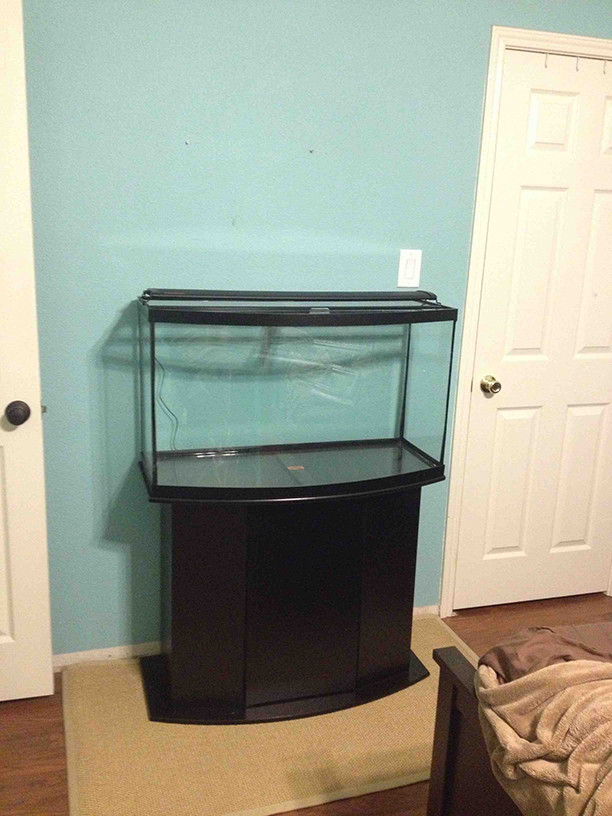
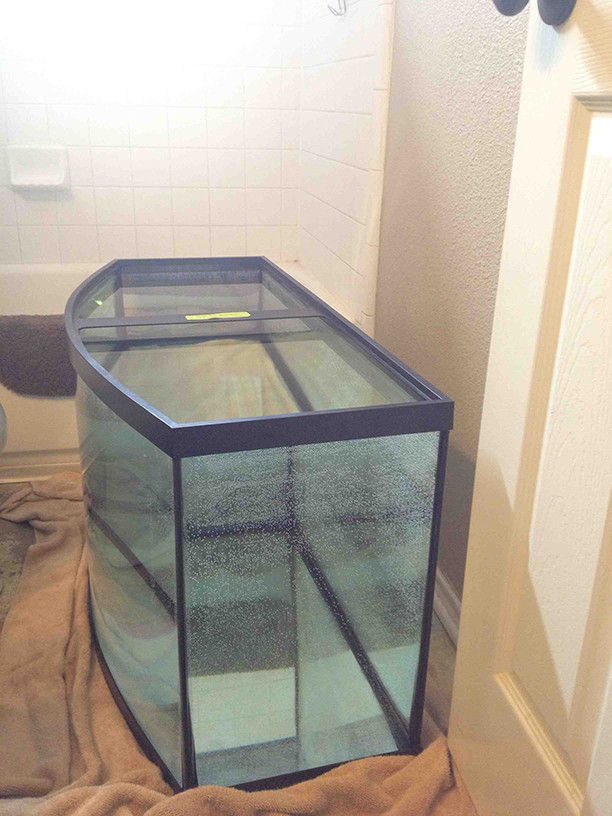
I'm so excited now to share this with you guys. Yesterday I bought a brand new 46 gallon bowfront.
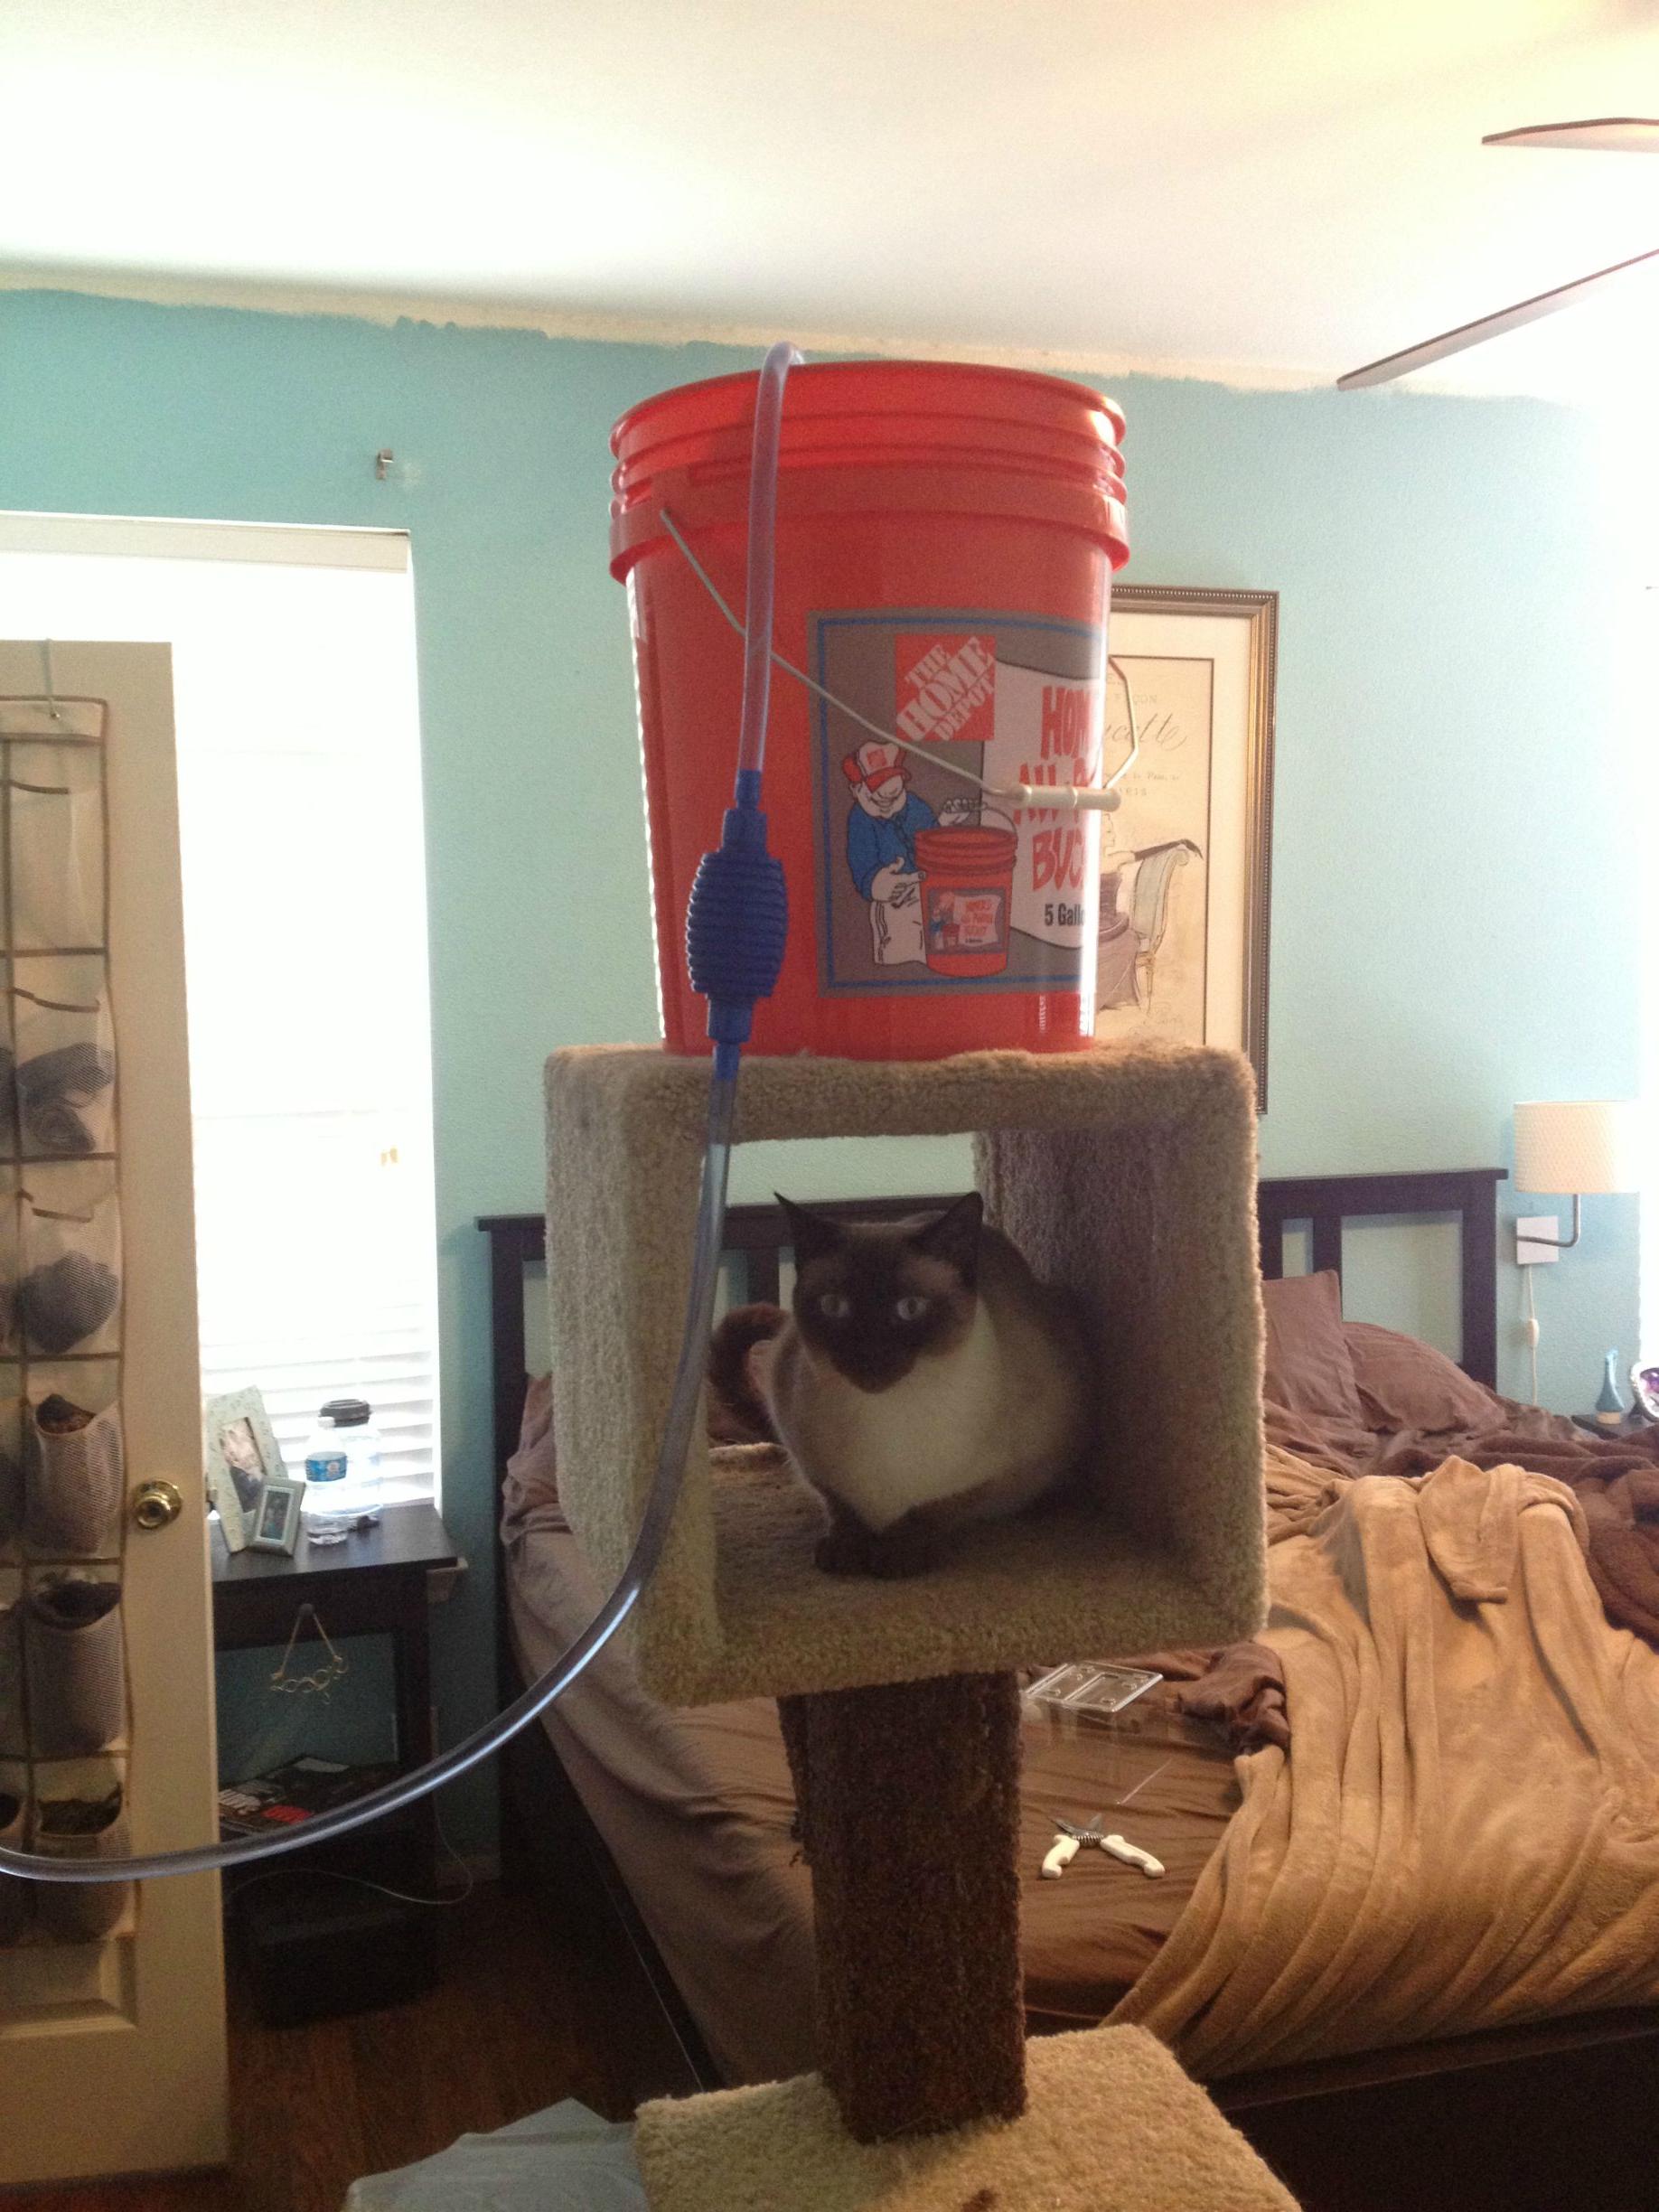
My nosey Siamese cat, Libby decided to help me by overseeing the leak check.
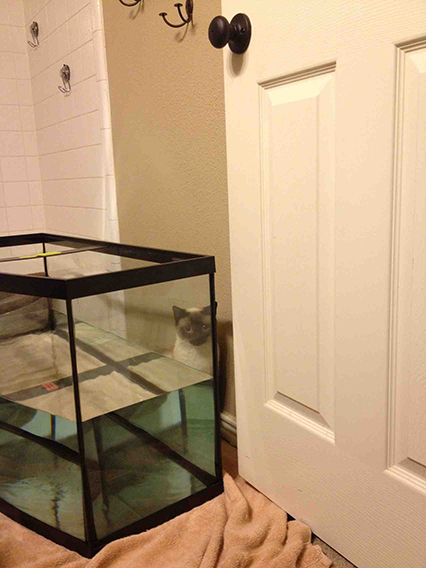
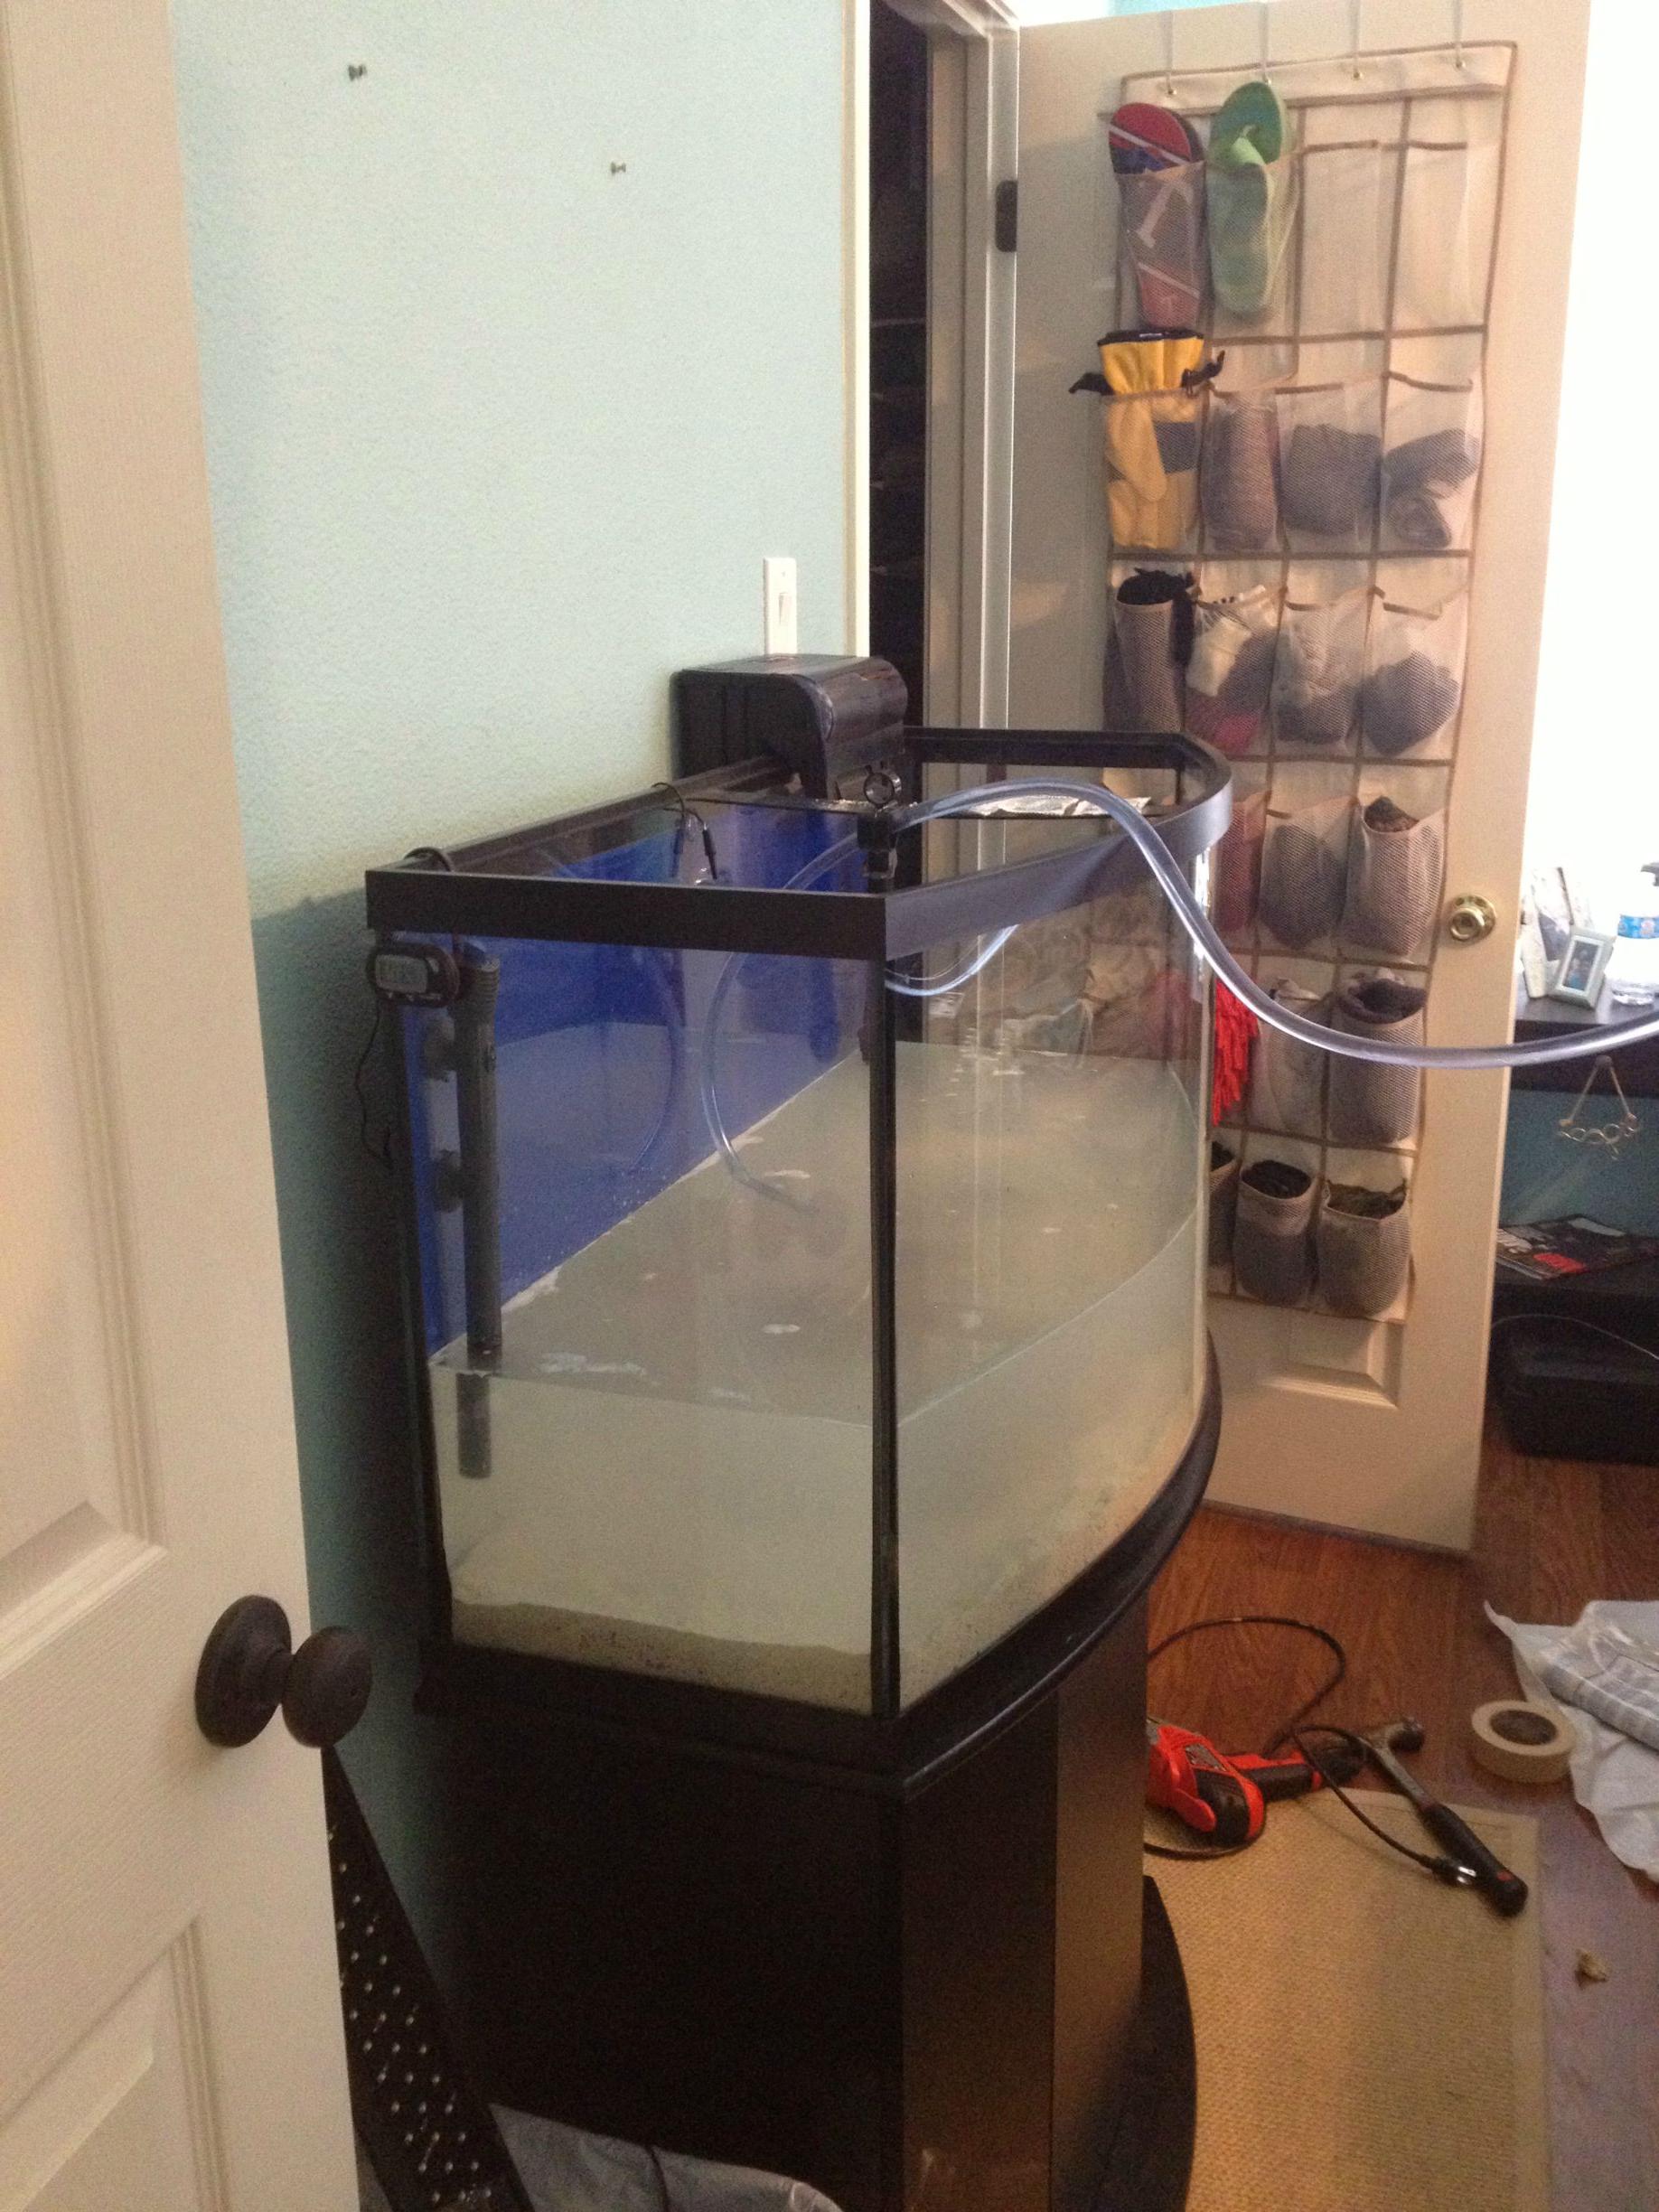
48 hours with no leaks. I think we're good.
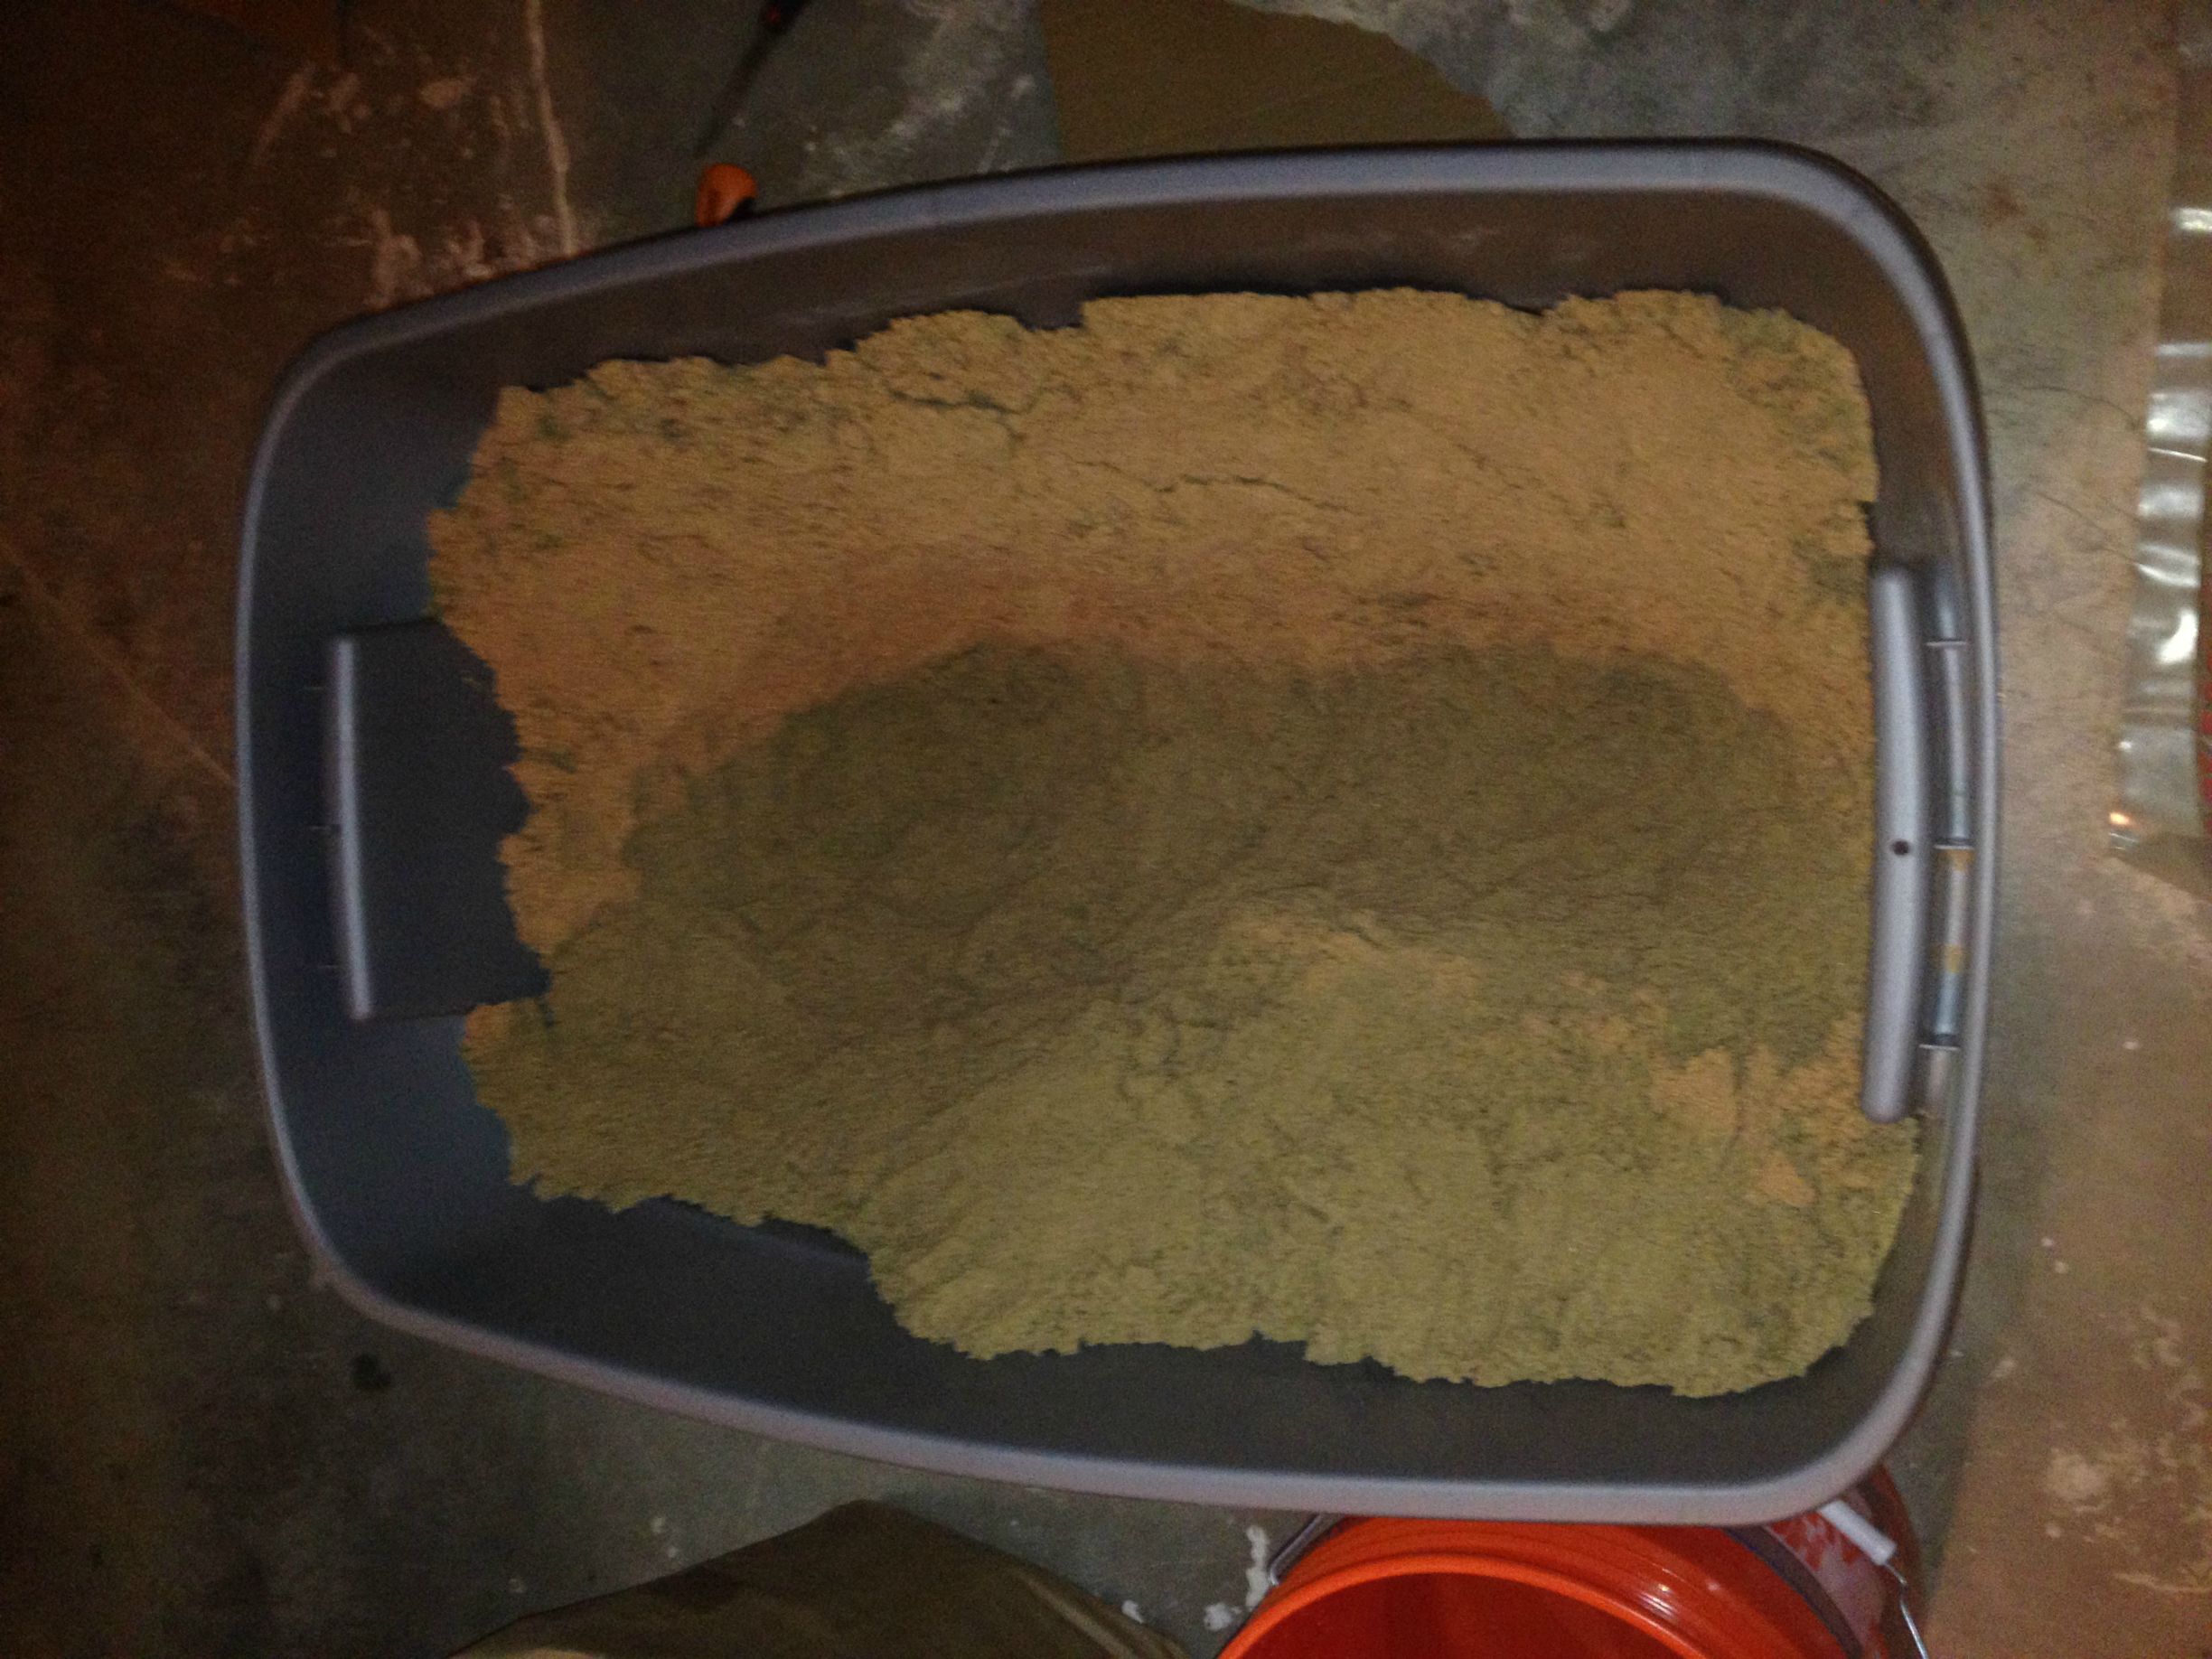
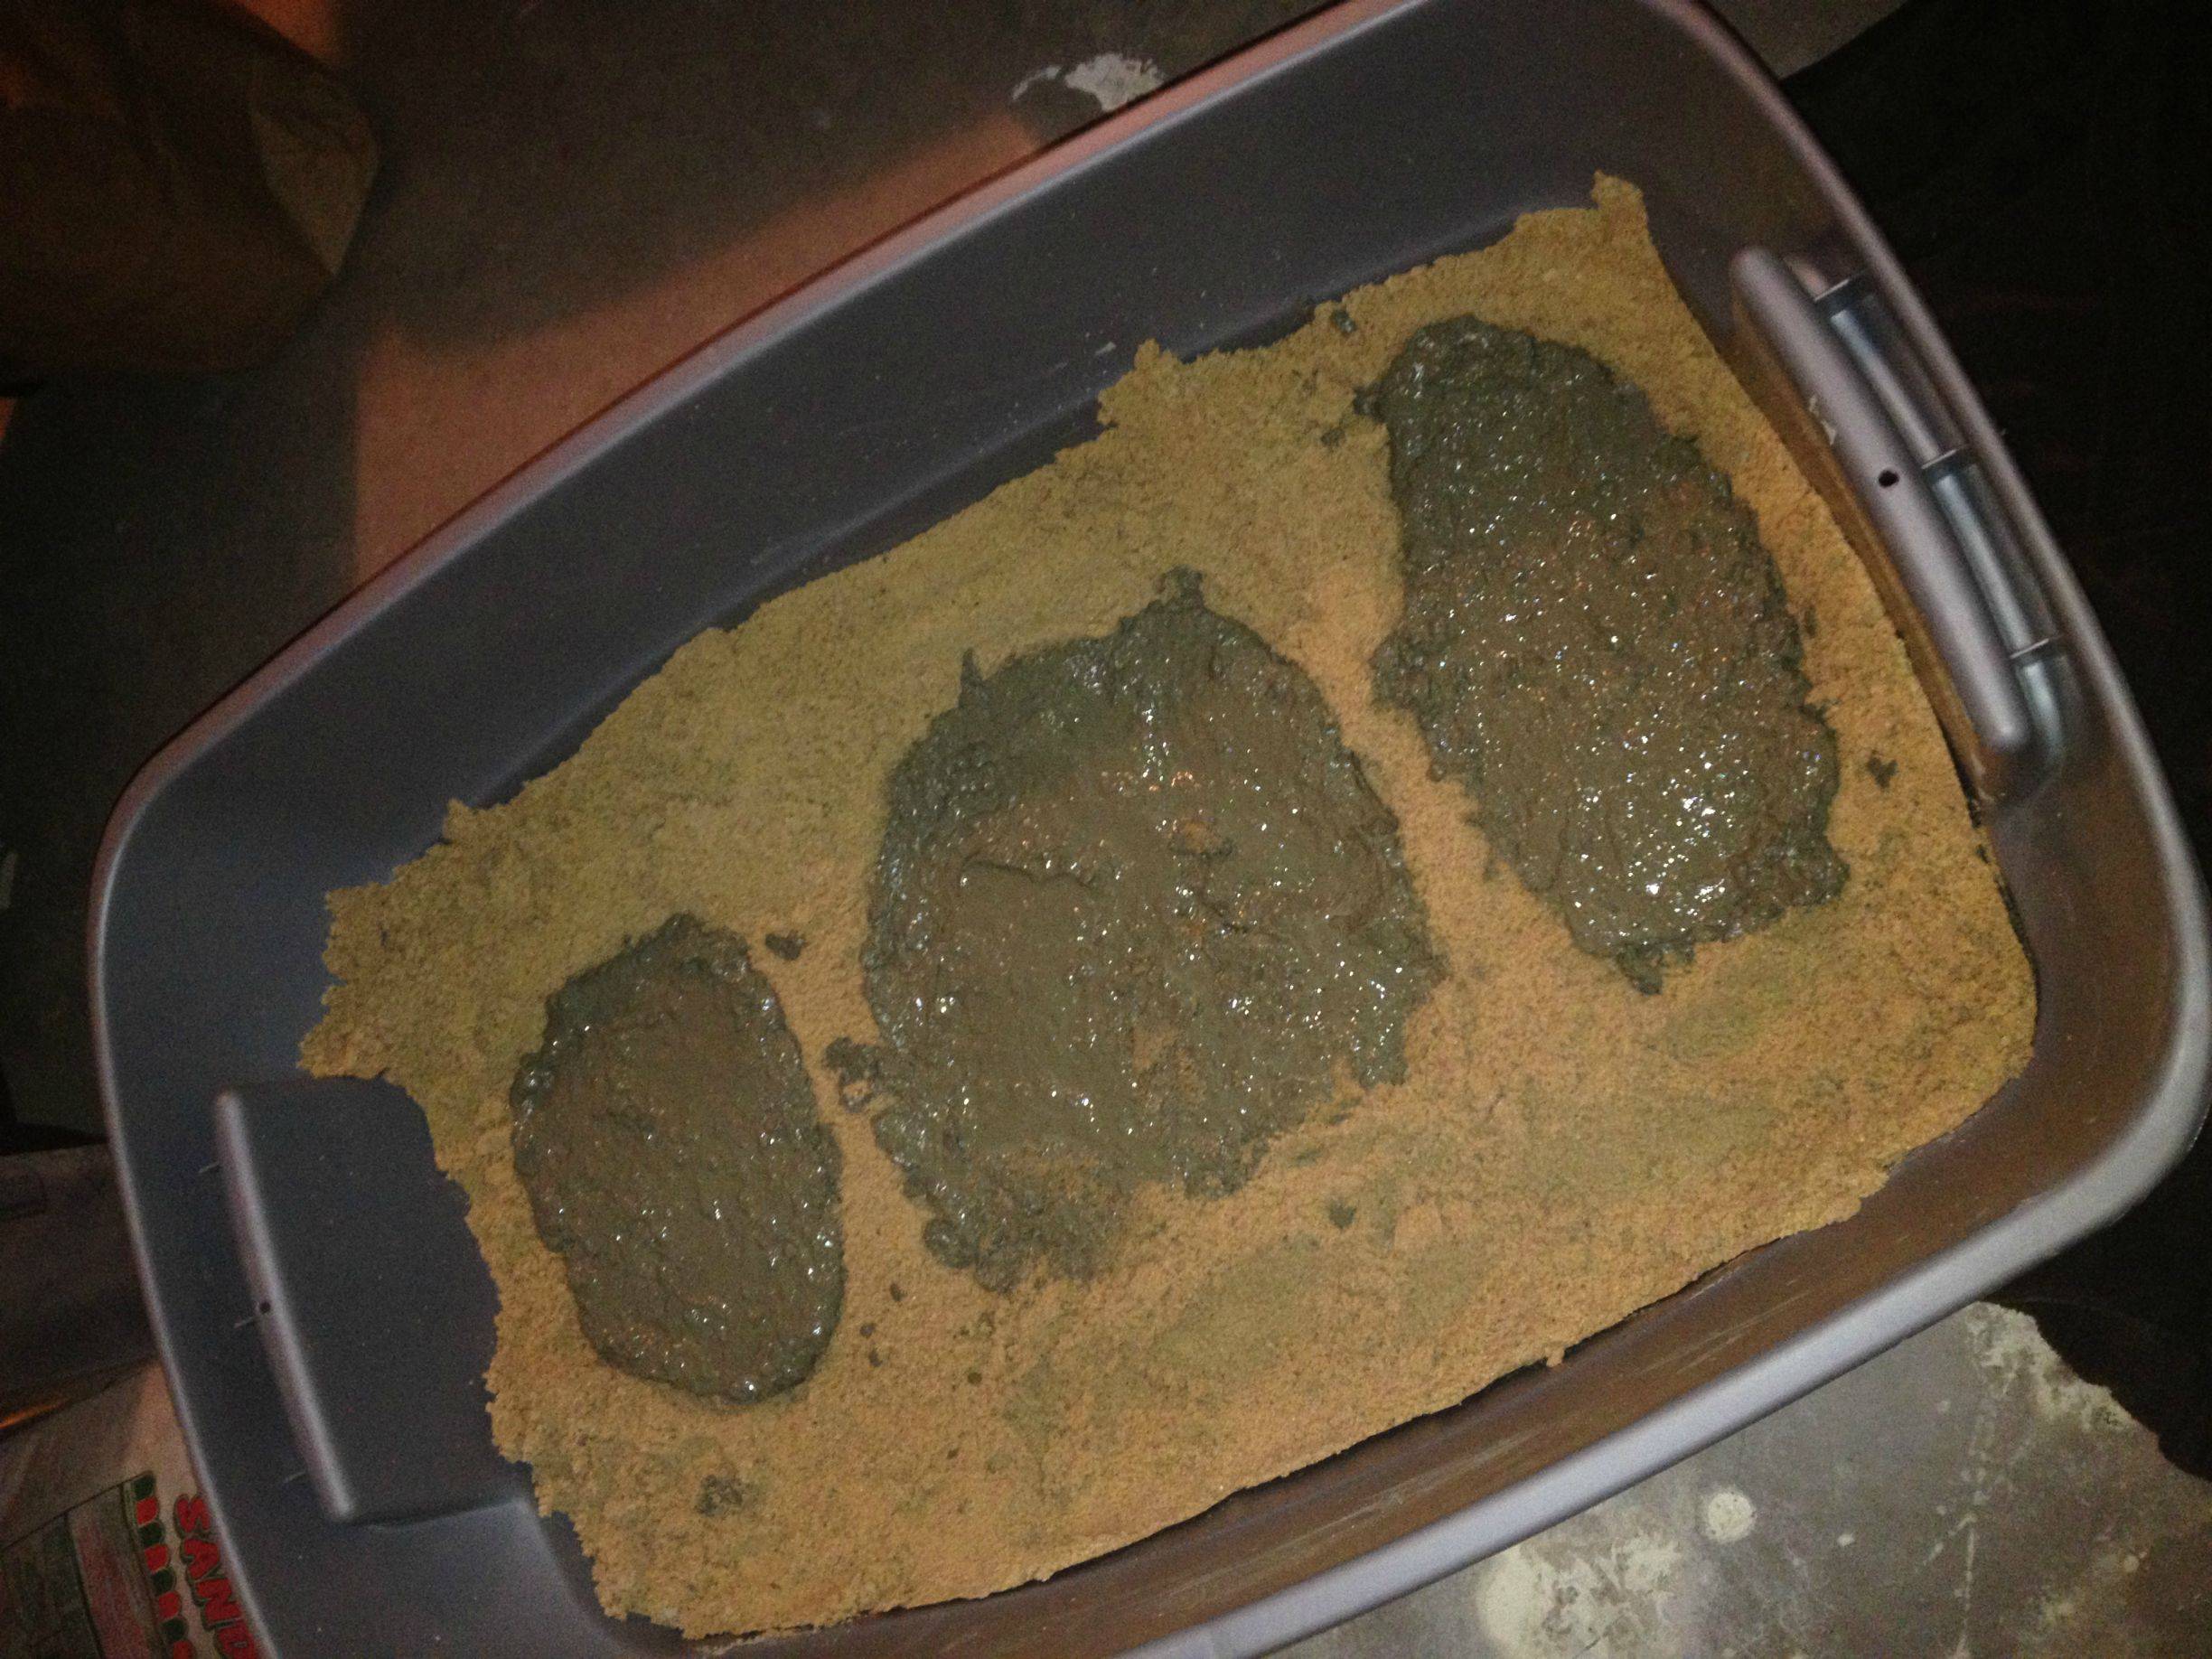
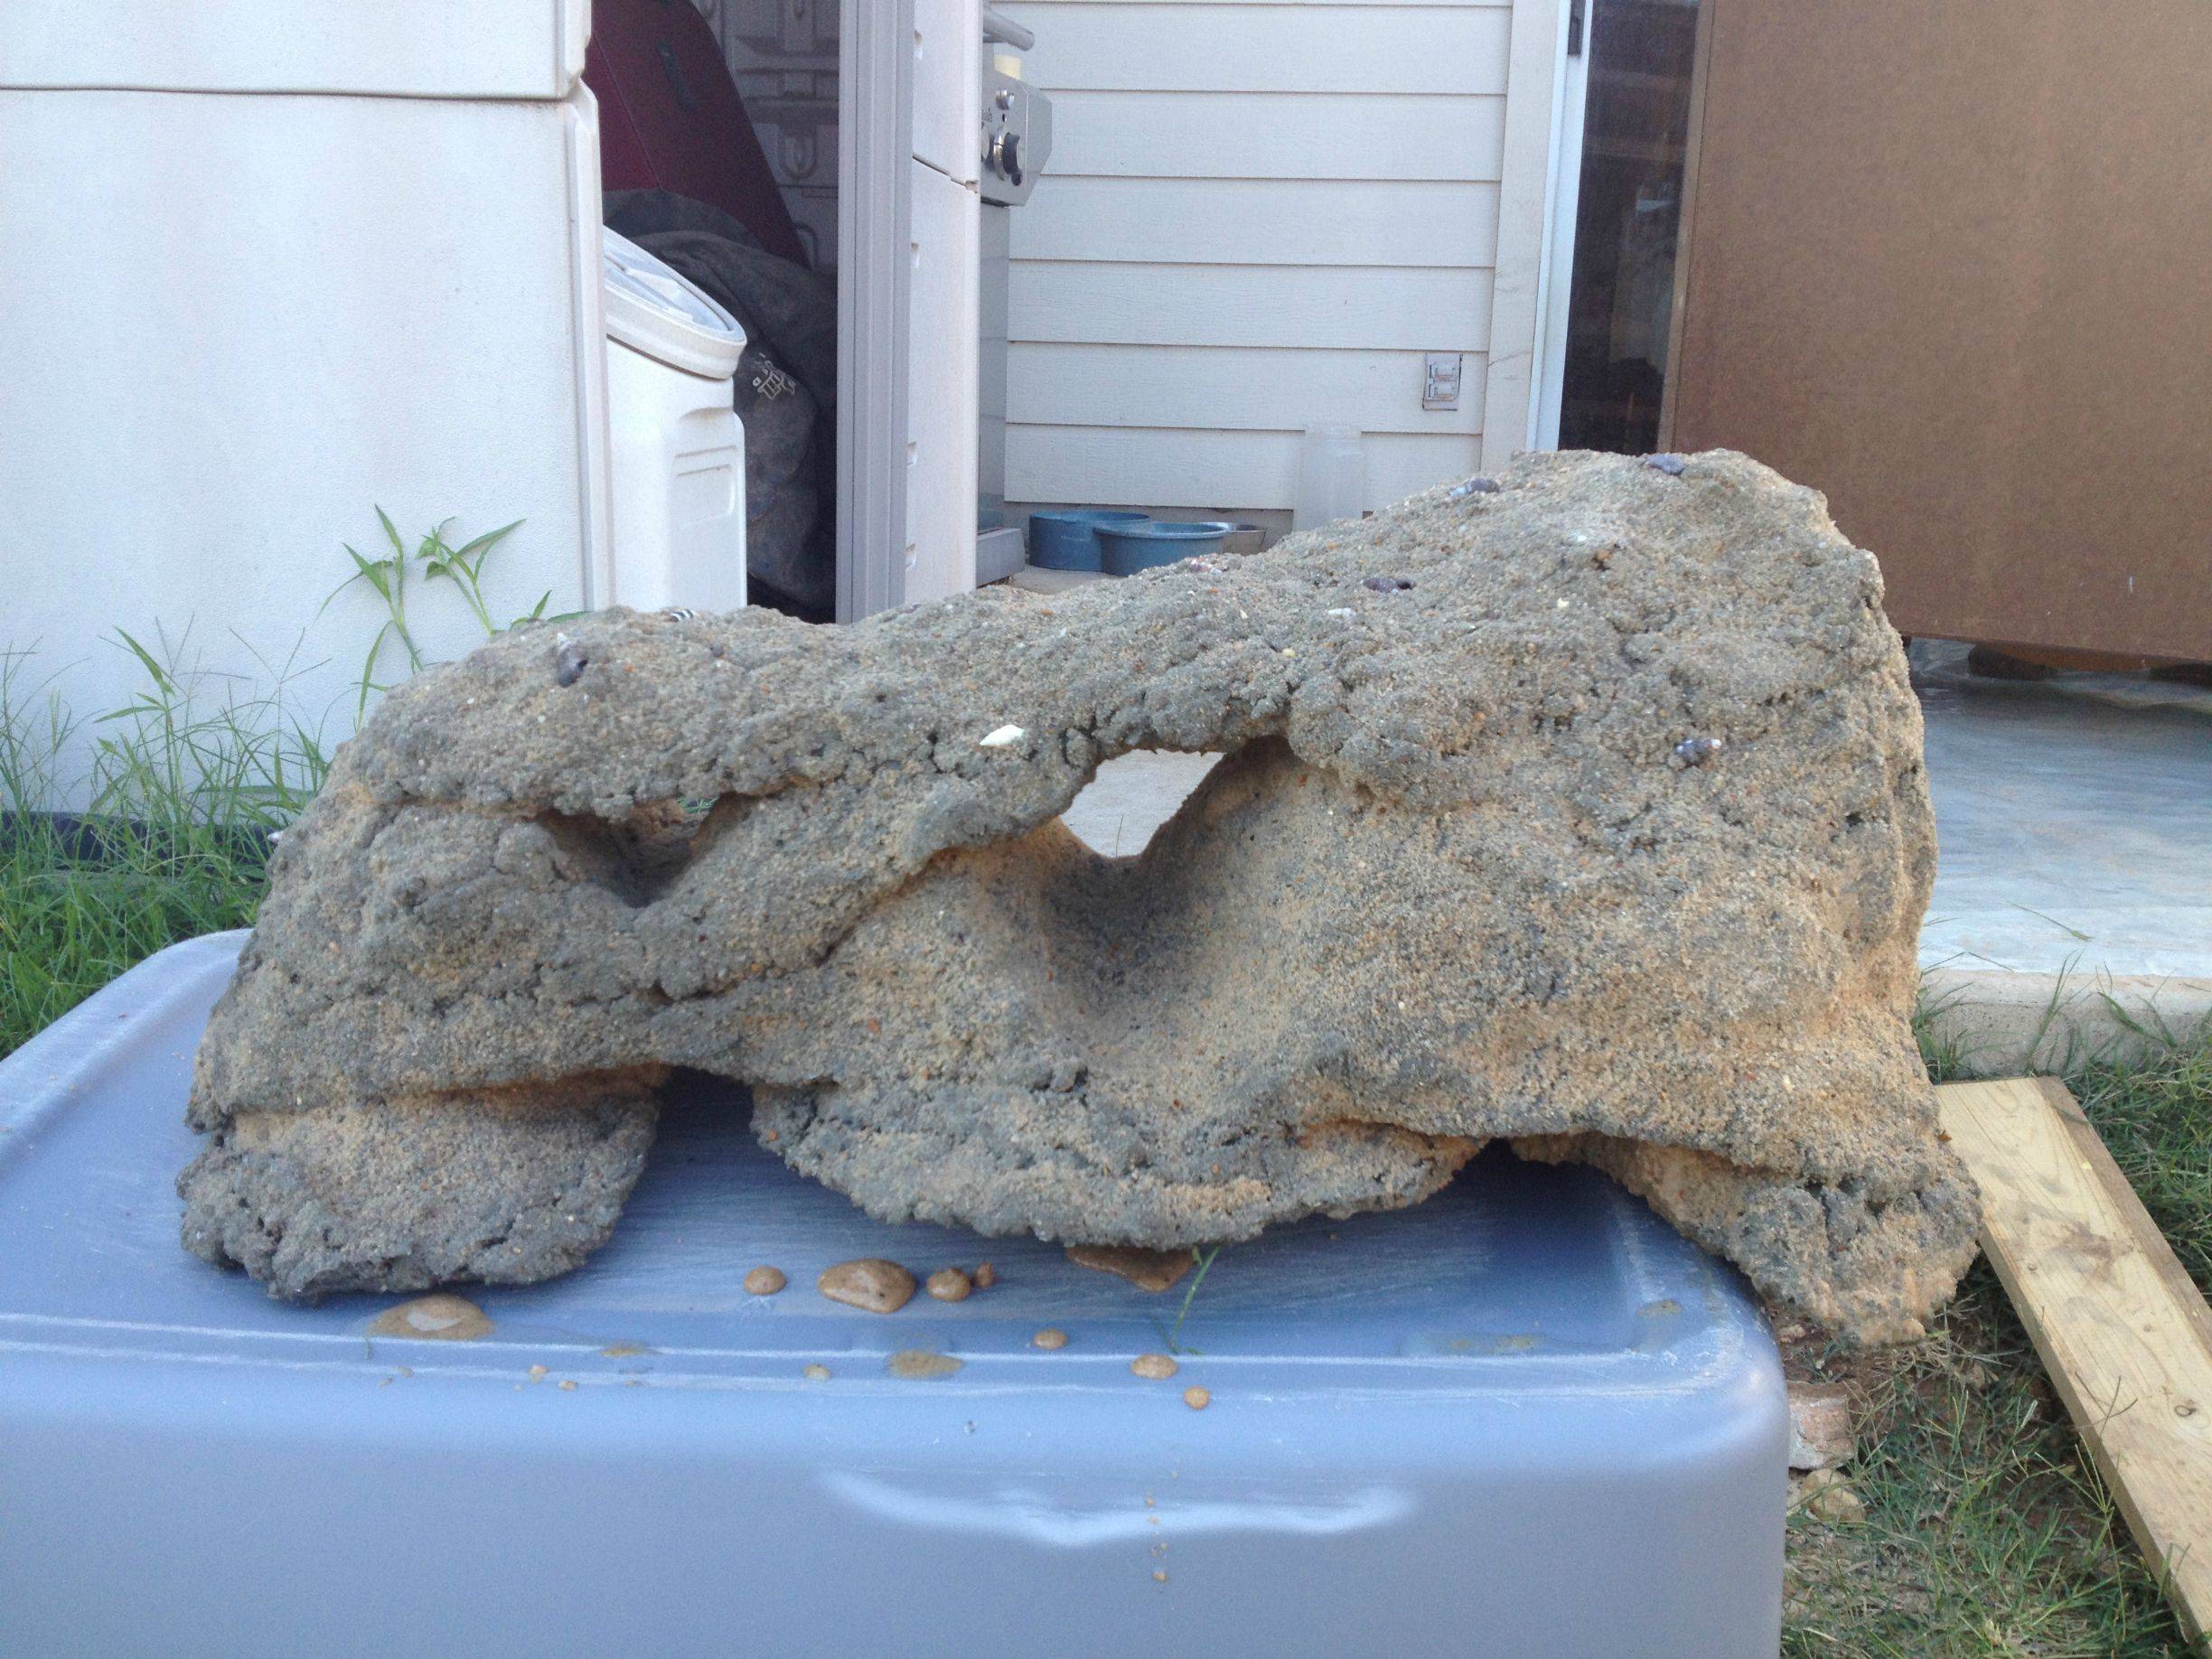
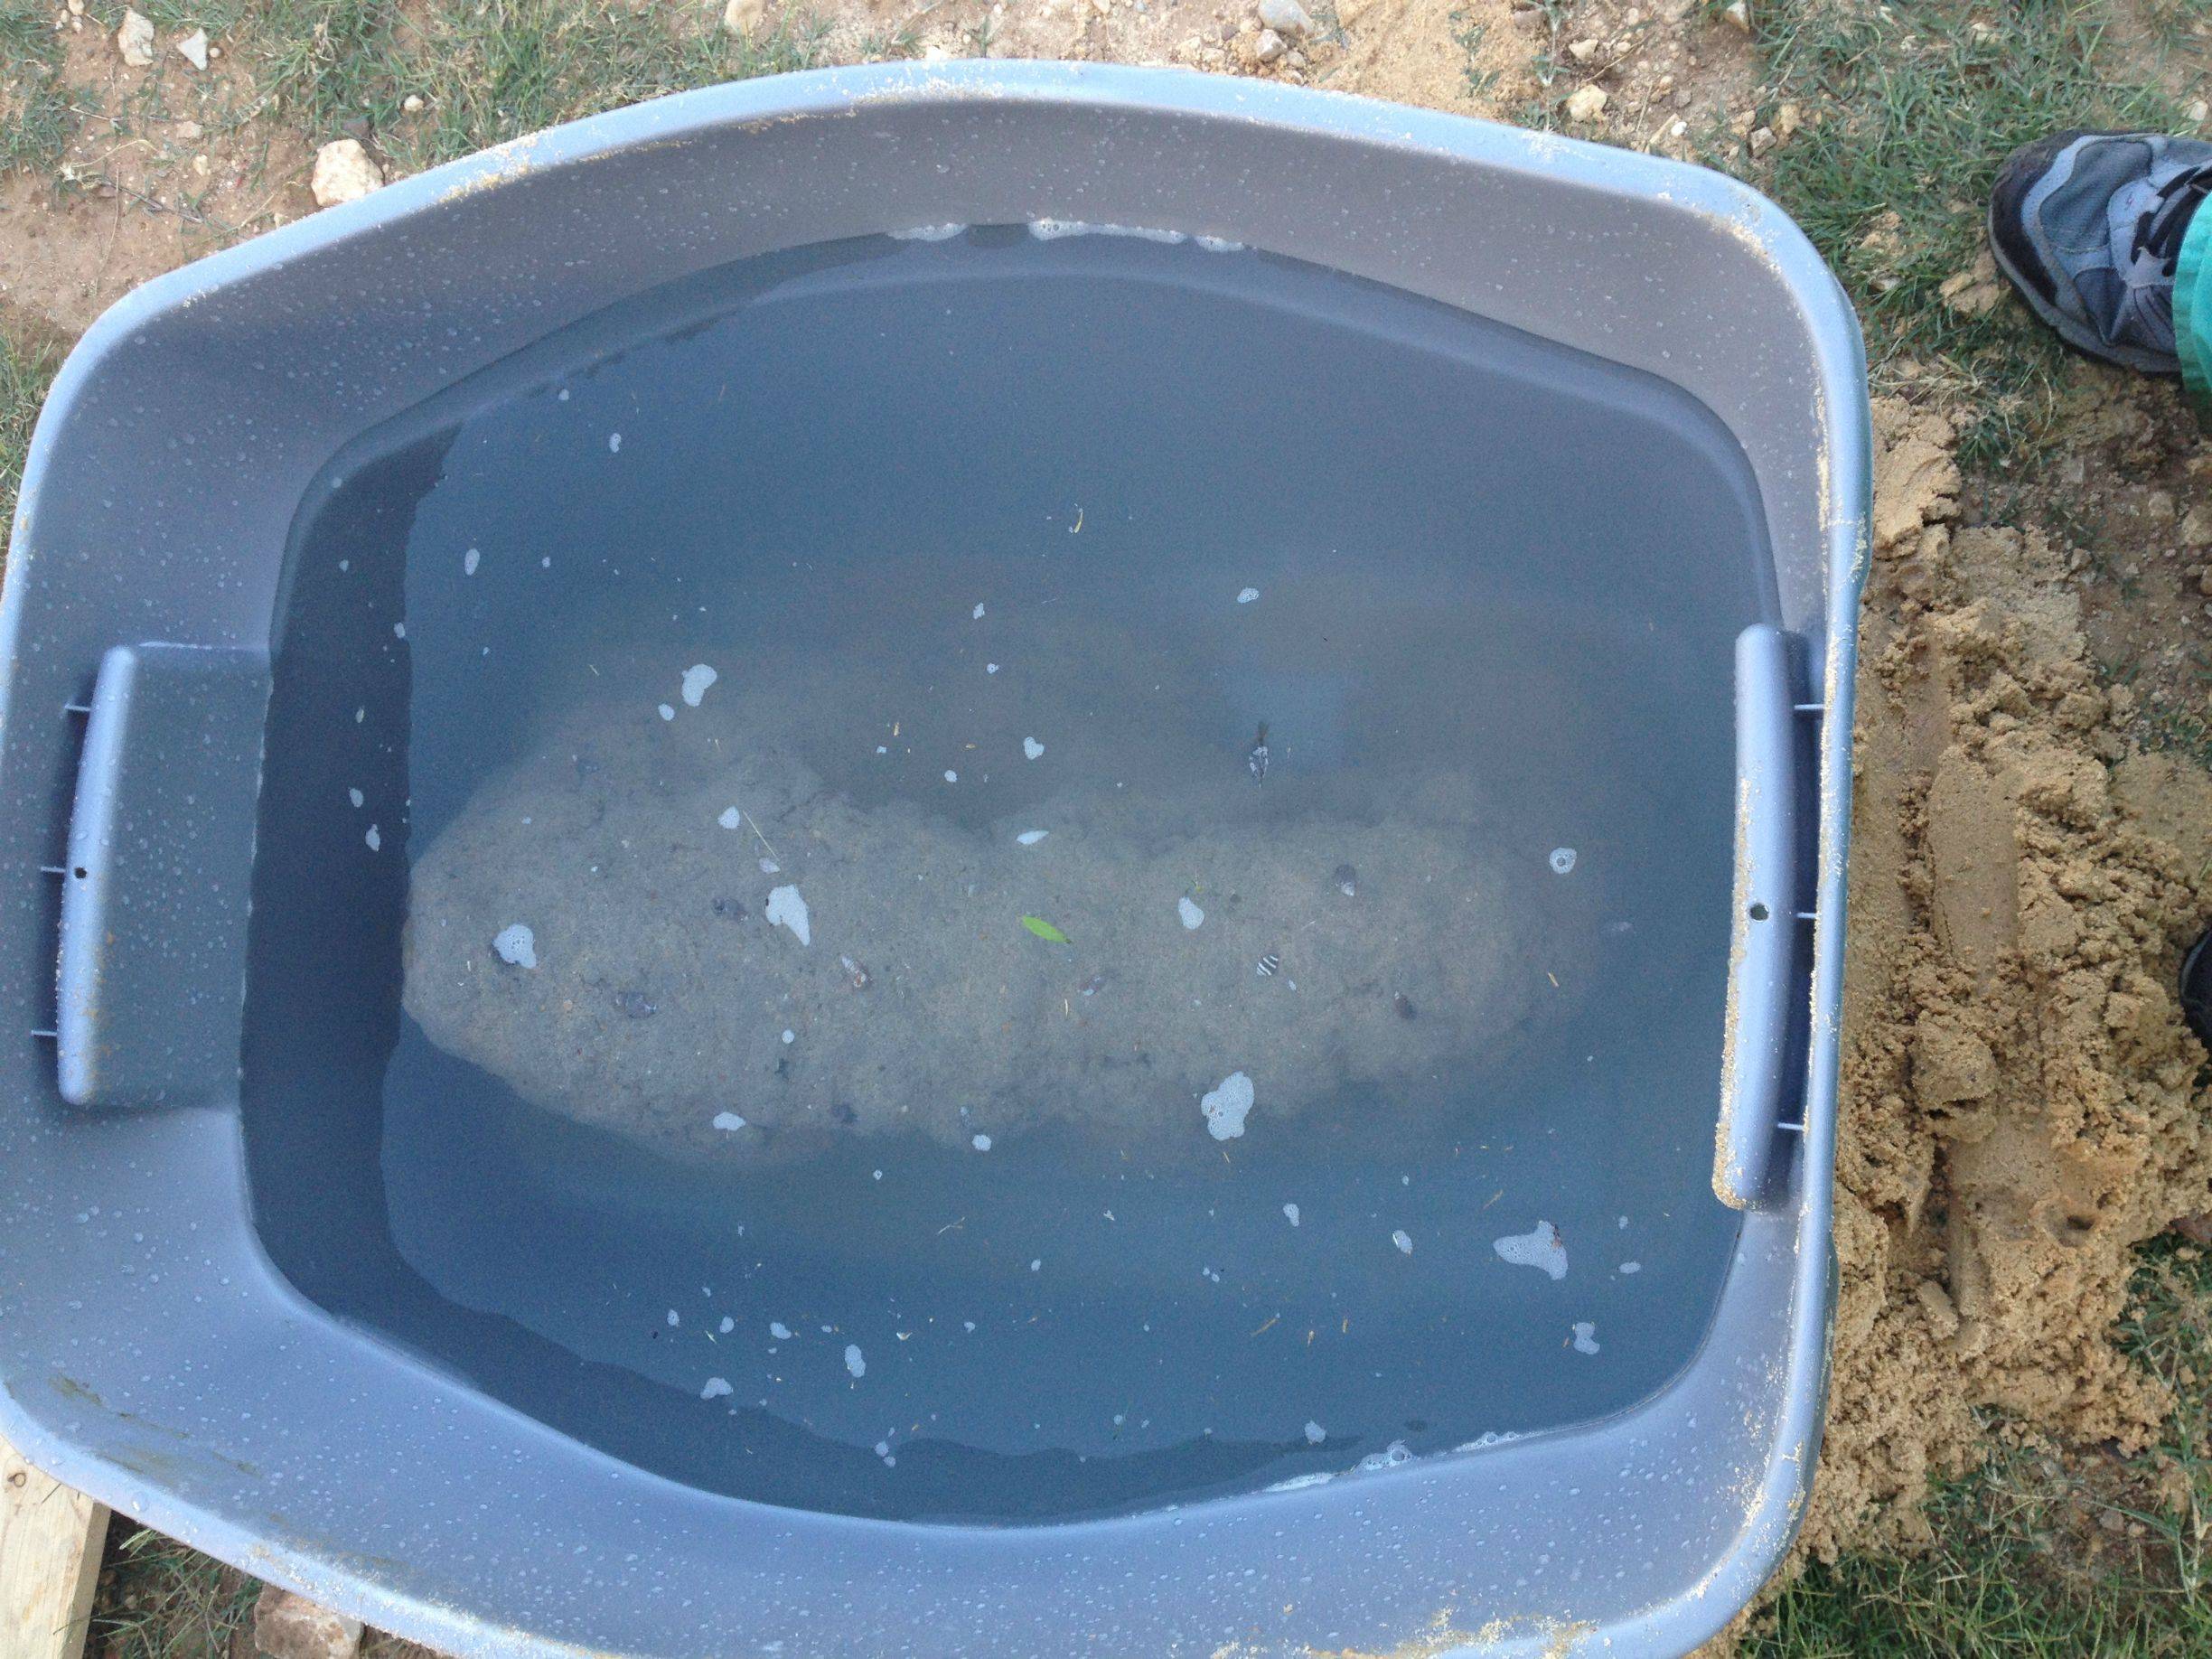
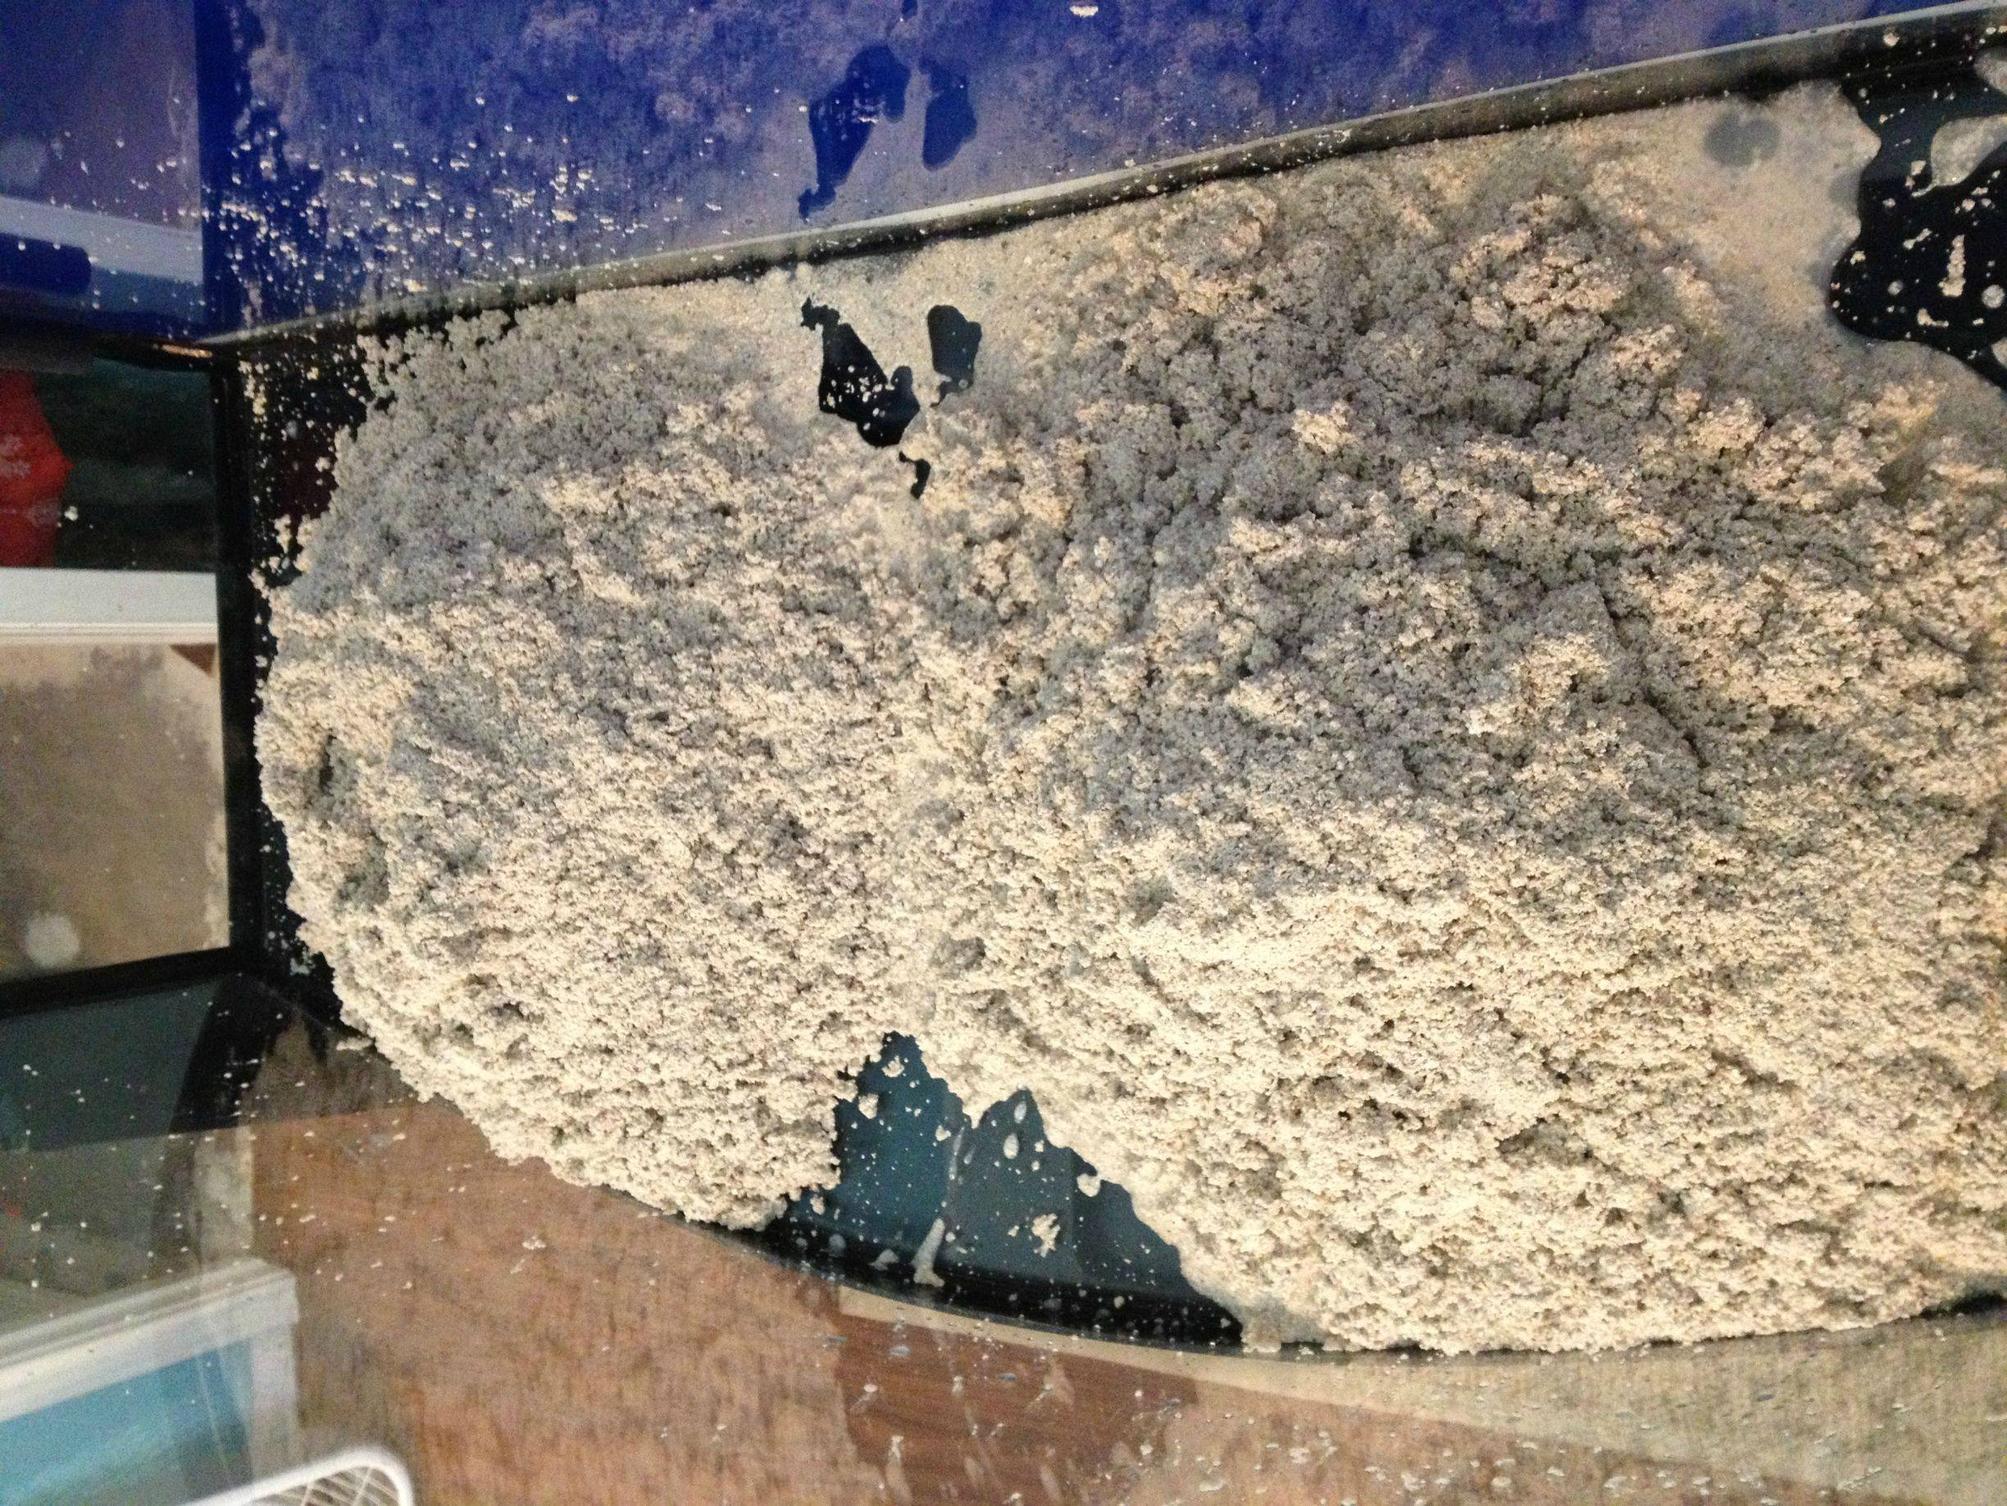
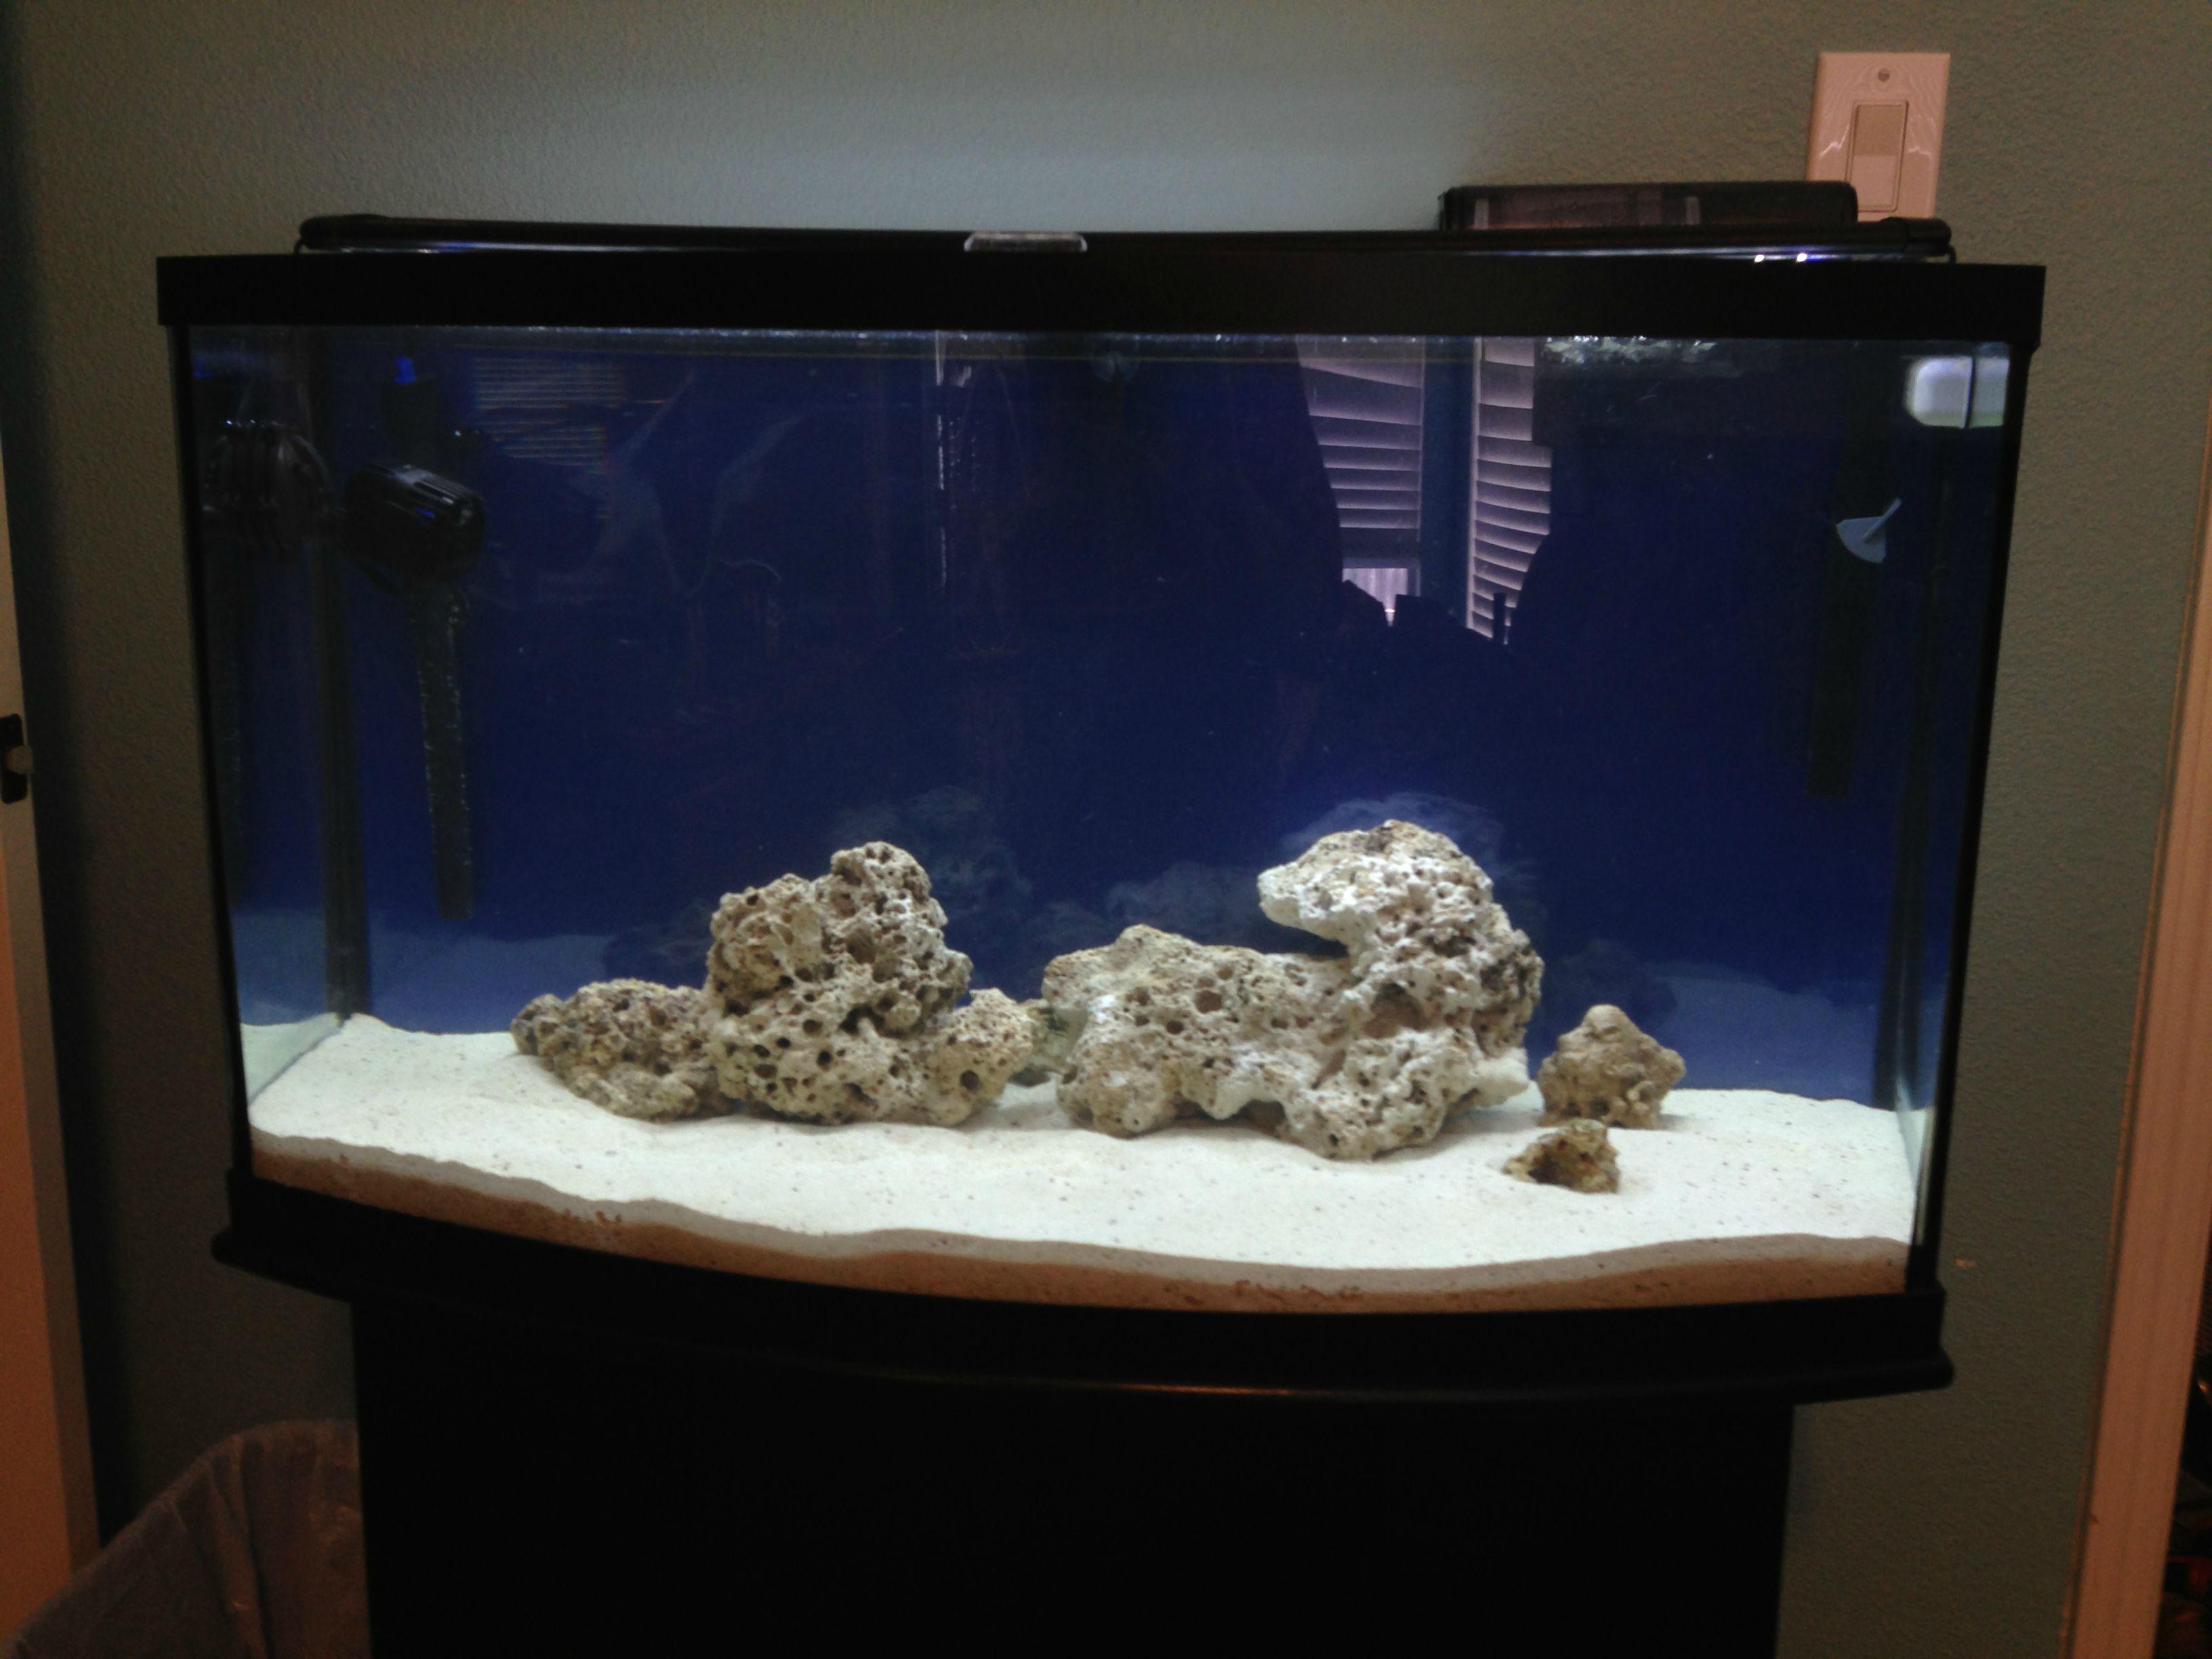
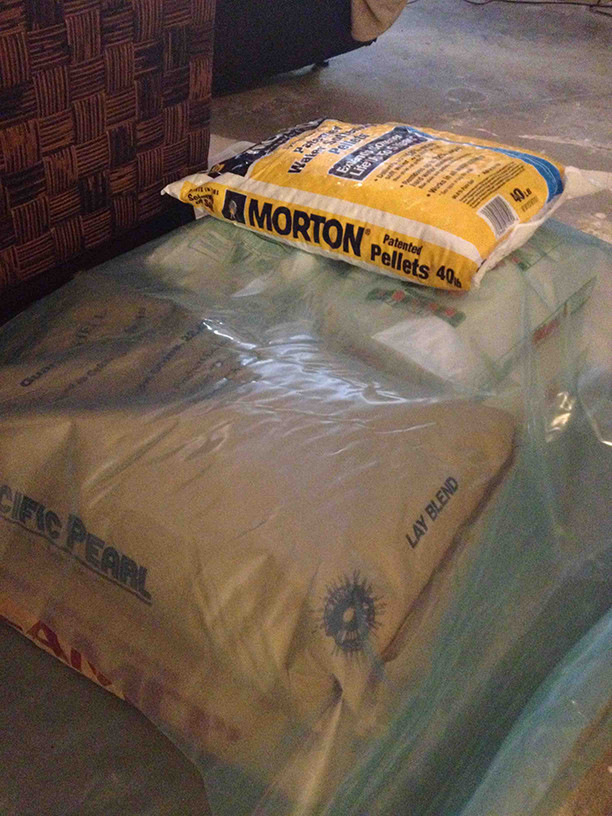
Next up, I've decided to try my hand at some DIY live rock. My materials have been gathered.
That's all for now. Thanks so much for checking out my build so far. Stay tuned for updates!
Quick bit of history:
I was active a few years ago while keeping my 90 gallon FOWLR tank. It was my first tank and I had inherited it from a friend already established. I kept it active and thriving for about 2 years. After a catastrophic failure resulting in the death of most of my fish I was so greatly discouraged that I sold everything that remained and walked away from the hobby.
After much thought I realized that some of the biggest problems I had with my first tank was the fact that it was way too big for a first time tank, and I wasn't invested enough in it due to the fact that I didn't get to design / establish it from the start.
I'm so excited now to share this with you guys. Yesterday I bought a brand new 46 gallon bowfront.
My nosey Siamese cat, Libby decided to help me by overseeing the leak check.
48 hours with no leaks. I think we're good.
Next up, I've decided to try my hand at some DIY live rock. My materials have been gathered.
That's all for now. Thanks so much for checking out my build so far. Stay tuned for updates!