Mystery 8gal Nano Build

ilyad

Reefing newb
:^::^::^::bounce::bounce::bounce::D:mrgreen: :question: :question:

Sorry guys, but Im really excited about the new build Im putting together. I have always seen pictures of peoples' homes with multiple tanks and never knew why that happened, thinking to myself, why wouldnt they just keep one large one? Anyways, now Im one of those people with multiple tanks! Here is the build for my new 8 gal nano.

I will keep you posted on the progress as I get things done, but I will keep the final project a secret until its quite obvious (for those who know, shhhh! LOL)

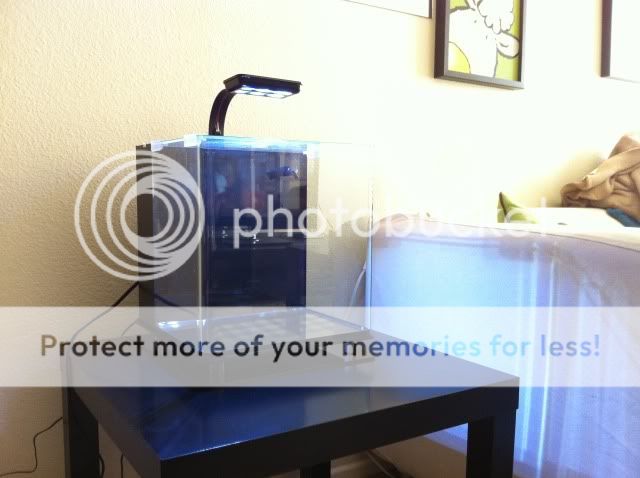
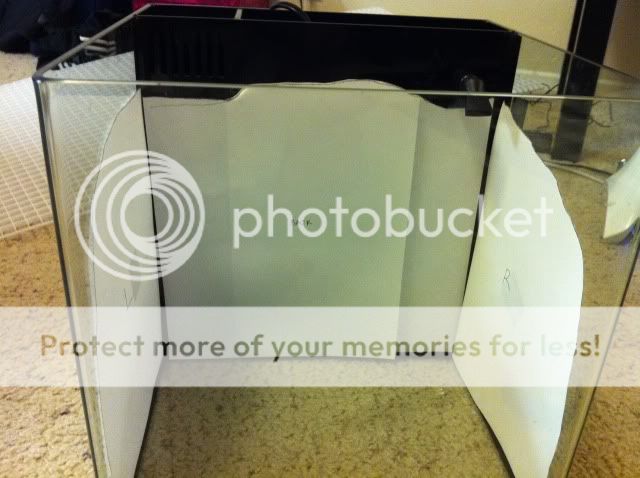
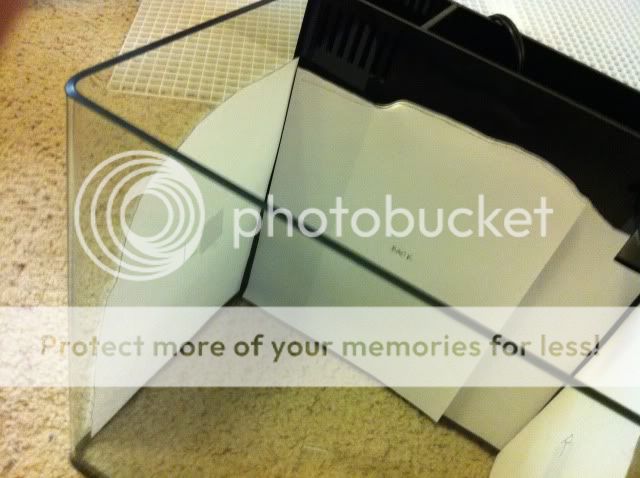
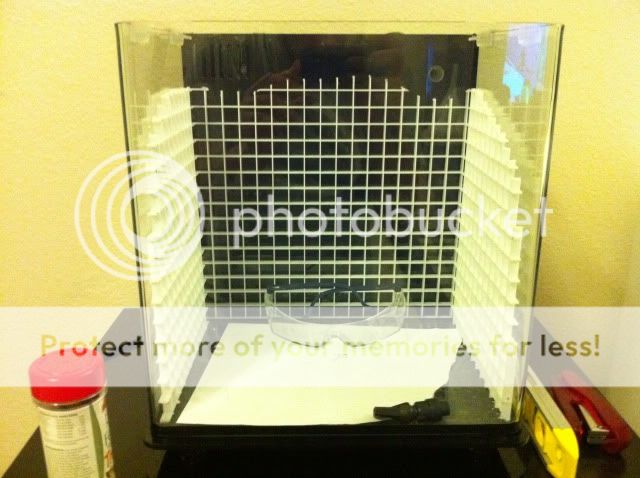
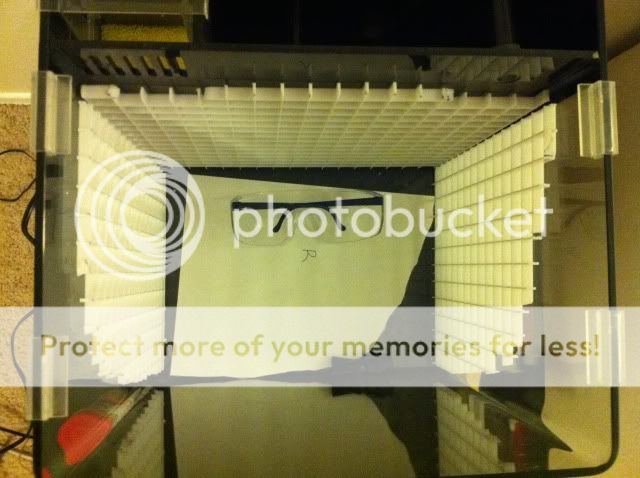
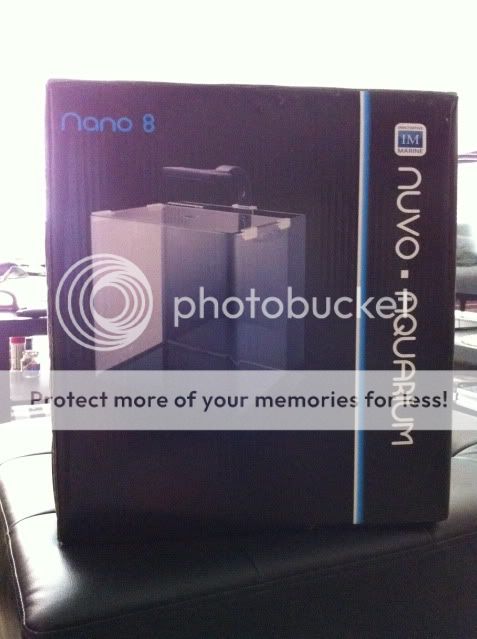
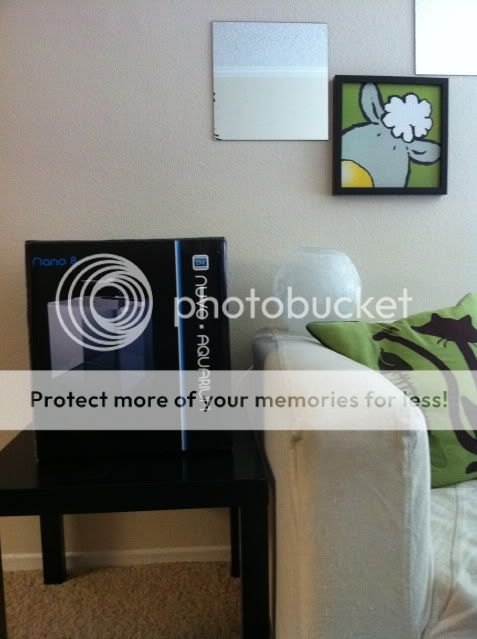
So this is what Im working with, an Innovative Marine 8 gallon tank
IMG_2016.jpg


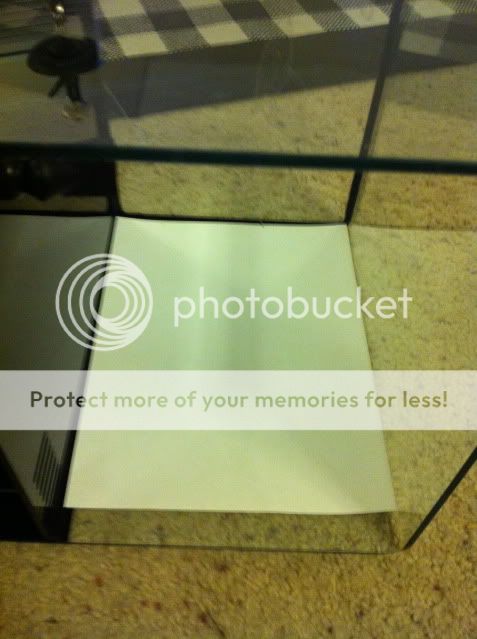
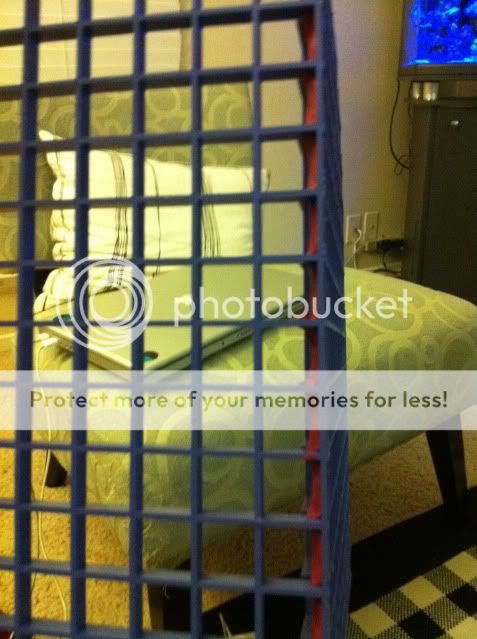
This is where the tank will sit
IMG_2017.jpg


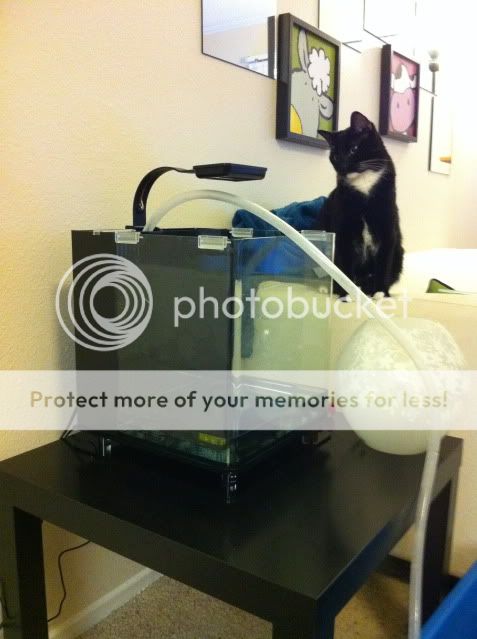
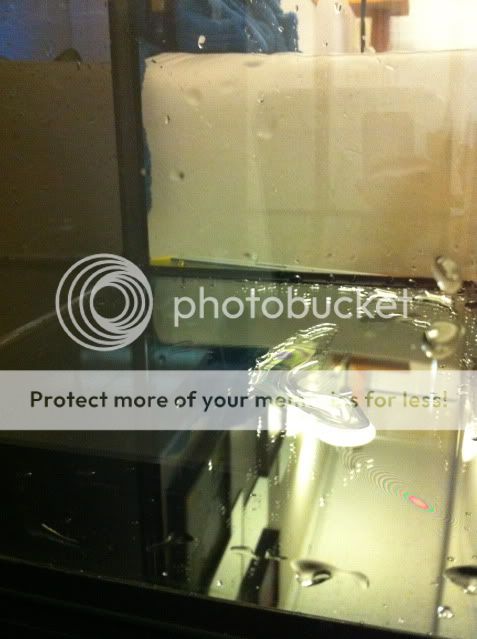
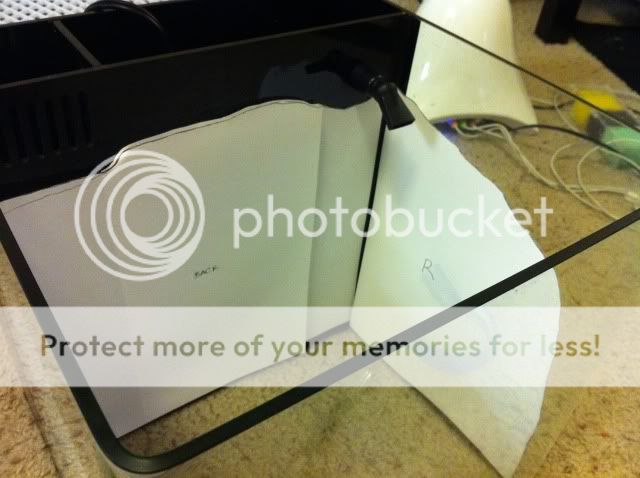
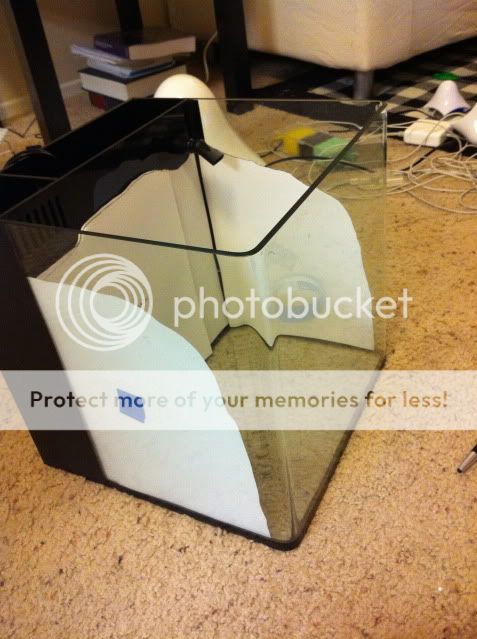
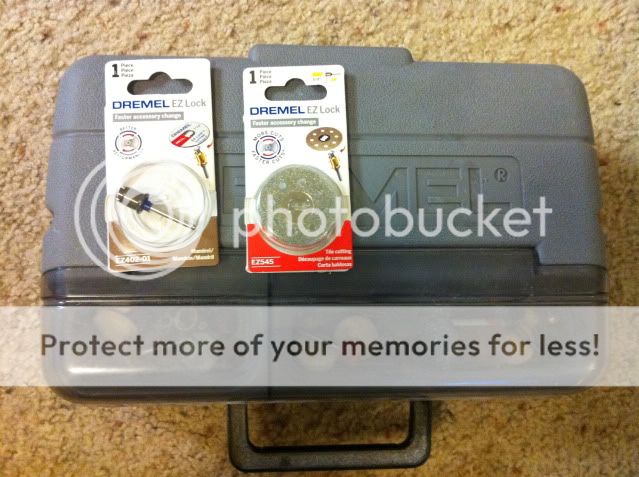
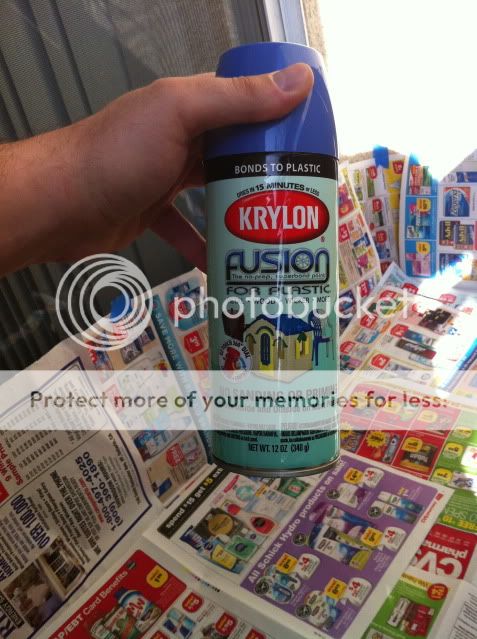
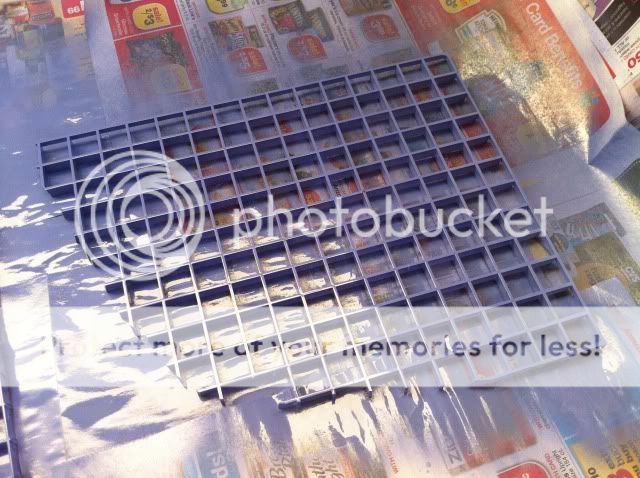
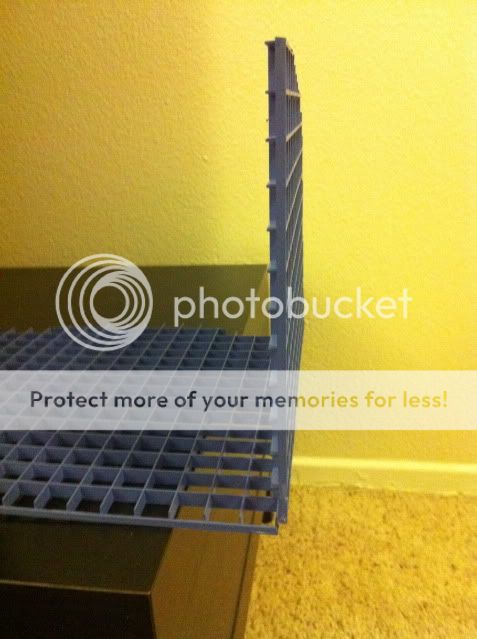
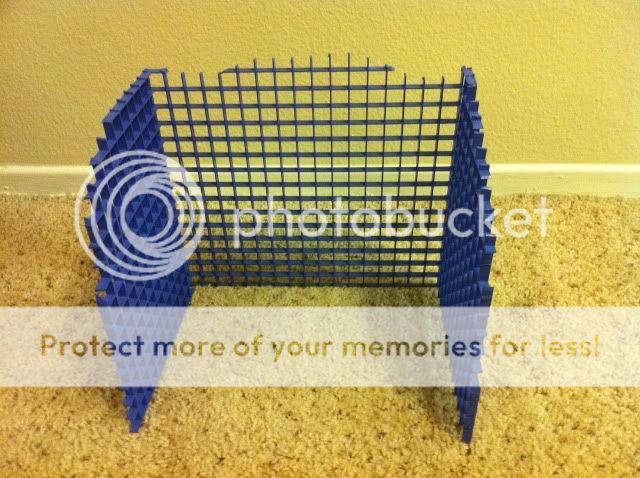
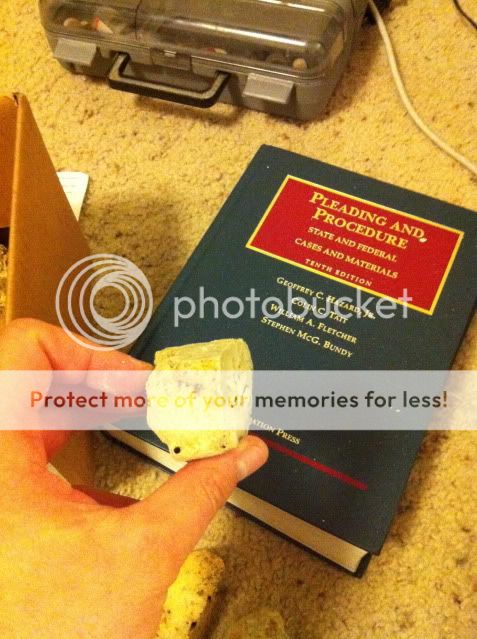
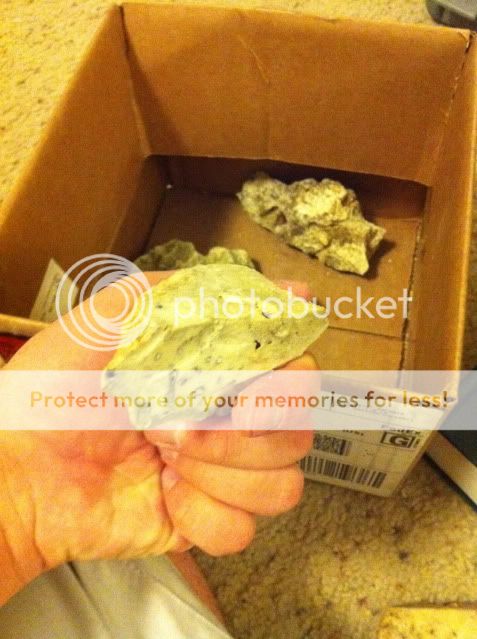
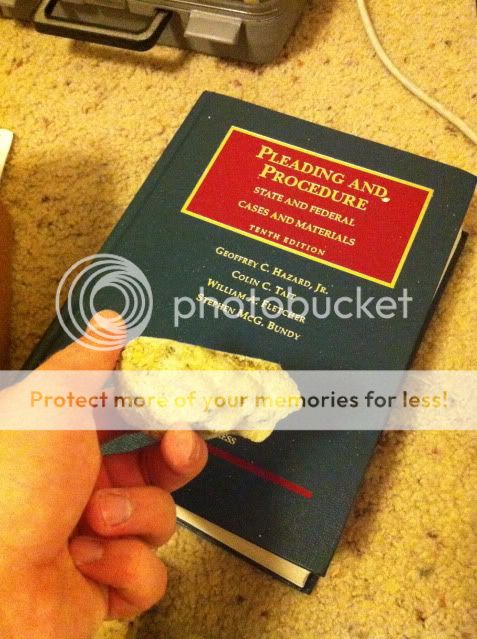
The unboxing of all the goodies :mrgreen:
IMG_2018.jpg


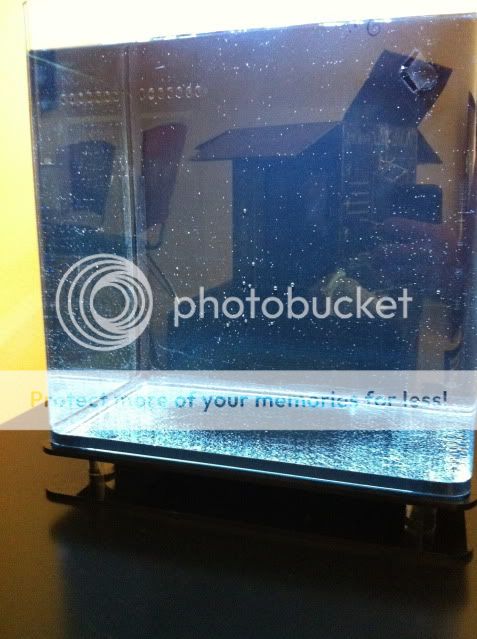
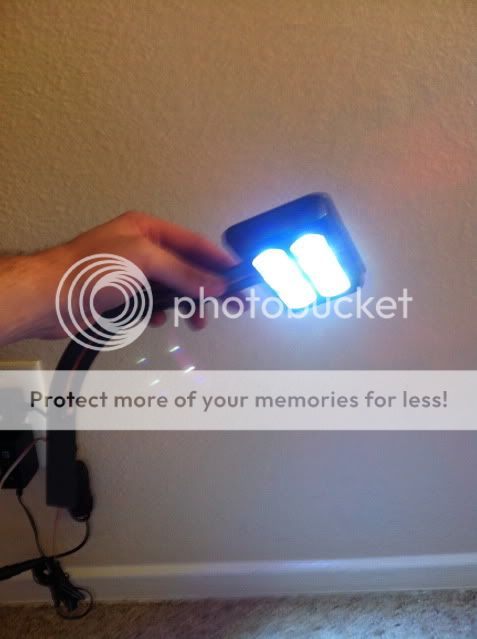
Making sure the lights work
IMG_2019.jpg
 
So I learned that the smilies up top count as pictures you are including

Anyways, back to the build

All set up where in its place
IMG_2020.jpg


A 24 hour leak test with tap
IMG_2022.jpg


The next day I went ahead and drained out the water (phhhew, no leaks!)
IMG_2033.jpg


IMG_2035.jpg


I went ahead and made a mock up of where I want my rocks to be
IMG_2056.jpg


The Right
IMG_2058.jpg


The Left
IMG_2057.jpg


The Back
IMG_2059.jpg


All Three in LIne
IMG_2060.jpg


How the rock work will look

From the Front
IMG_2061.jpg


The Left
IMG_2063.jpg


The Right
IMG_2062.jpg


And Zoomed Out
IMG_2064.jpg


And what I'll be working with, the notorious eggcrate
IMG_2053.jpg


The tools - Dremel w/ Diamond wheel
IMG_2051.jpg
 
IMG_2066.jpg


Then I went ahead and marked off the eggcrate using the mock up
IMG_2065.jpg


Remember, use protective eyewear as pieces spray up in hot molten plastic
IMG_2068.jpg


The eggcrate fitted in the tank
IMG_2069.jpg


It is very flush with the glass on all sides
IMG_2070.jpg


So there are some mixed reviews online regarding the fact that eggcrate either leeches phosphates or has other properties which cause weird algae to grow on it... the best solution, from what I researched, is coating it with Krylon Fusion, which allows you to spray plastics without having to prime or sand them down
IMG_2074.jpg


So I prepped an area for spraying
IMG_2073.jpg


Before Painting
IMG_2075.jpg


And after, there is no difference in the color you use, and the only reason I picked blue was because they were out of black and all other colors were extremely bright
IMG_2076.jpg


The next step is to make all three pieces into one

In order to keep it in place, I used a bunch of zip ties to secure the eggcrate
IMG_2076.jpg


IMG_2112.jpg


Then I went ahead and glued the pieces together with some crazy glue I had laying around the house
IMG_2113.jpg


After letting it set, I cut off the zip ties
IMG_2114.jpg


As you can see, it is holding well
IMG_2116.jpg


Hopefully it still fits in the tank
IMG_2117.jpg

And it does
 
You can see it is a very good fit
IMG_2118.jpg


IMG_2120.jpg


OK guys, this is what I have built so far... unfortunately for me (and any of you who are anxious to see what this will be), I have a huge appellate brief to write this week, so I wont be able to continue with this project for a few days... I hope you stay tuned and see what I have in store for all of you (:whoopee!: hopefully a future TOTM :P)
 
OK, fine... you guys convinced me to give you one more update...

In addition to the crazy glue, I used epoxy to add extra support for the eggcrate...

Here is the epoxy I used. I really like this stuff!!! I have used it in my other tank and it is very strong...
IMG_2134.jpg


This is how it looks
IMG_2135.jpg


Before Mixing
IMG_2136.jpg


Mixed together
IMG_2137.jpg


Then I went ahead and added the epoxy on the eggcrate

Front of right side
IMG_2139.jpg


Back of right side
IMG_2140.jpg


And because of how the eggcrate matched up, I was only able to do it on one side of the left half
IMG_2141.jpg


Now on to the rocks!!!
IMG_2052.jpg


Earlier I went ahead and soaked the base rock to get all of the dirt off
IMG_2055.jpg


IMG_2067.jpg


And then I used the same dremel and eye protection to cut 2 sides so they are flat... Here is the sample of the rocks
IMG_2085.jpg


IMG_2087.jpg


IMG_2089.jpg


IMG_2092.jpg


IMG_2090.jpg
 
I saw one of those tanks at my lfs, and I must say that they look awesome...and I think yours is gonna look even better. :)
 
I am so confused on what you are going to do with the aquascape, so now I absolutely HAVE to tag along so I can find out. :)
 
I saw one of those tanks at my lfs, and I must say that they look awesome...and I think yours is gonna look even better. :)

Smitty, did you mean that you saw the same 8 gal or that you saw them make the scape the same way as mine?
 
Last edited:
I would high suggest making a mesh top. The glass tops restrict gas exchange and hold in heat, both bad things for your tank

I'll check how it runs before I put in any livestock, but the lid is made to allow for that. When it sits, it's about 1.5 inches above the water, there is a good sided gap that goes all the way around and a drilled hole in the middle. But yes, usually it is a problem, I know because my other tank is a closed top nano and I had major heat issues
 
Back
Top