You are using an out of date browser. It may not display this or other websites correctly.
You should upgrade or use an alternative browser.
You should upgrade or use an alternative browser.
Rockstacker's 120g Build
- Thread starter RockStacker
- Start date
SigEpLucas
Nano Reefer
Stand looks great! Can't wait to see more!
RockStacker
Reefing newb
looks great, love then nice clean work.
any concerns with the weight of the fittings/pipe/water on the glass? Seems like there would be alot of weight around the bulkhead fittings.
For the pipes under the stand, once everything is done I will add braces to take the load away from the elbows.
I will put a rubber tape layer over the brace clamps to dampen any vibration with the tubes.
RockStacker
Reefing newb
Full water load testing started yesterday 09/03/2012.
I filled up the tank (up to 1/2" under the overflow level) so that I can start testing the tank and stand for leaks, stability and load leveling.
Man I am glad I bought the 150gpd RO/DI upgrade kit. Or else it will take forever once it is time to fill up the tank with salt water.
So far so good.
I used a bubble level all around the tank's top trim and all points shows that the bubble is centered.
I checked this several times a day and will continue to check this until the next phase.
Overflow boxes are holding and no leaks at the seams.
Since this is California, I placed the tank stand on top of a 1/2" rubber mat that has a footprint larger than the tank stand. This should give the aquarium some shock absorbing capability for minor vibration and shocks due to earthquakes.
I am waiting for the return pump to arrive, so I can do a full water circulation test between the tank and the sump.
RockStacker
Reefing newb
Just some photo updates.
Testing the height of the light frame and light coverage of one LED fixture.
There will be three of these LED fixtures hanging on this frame.
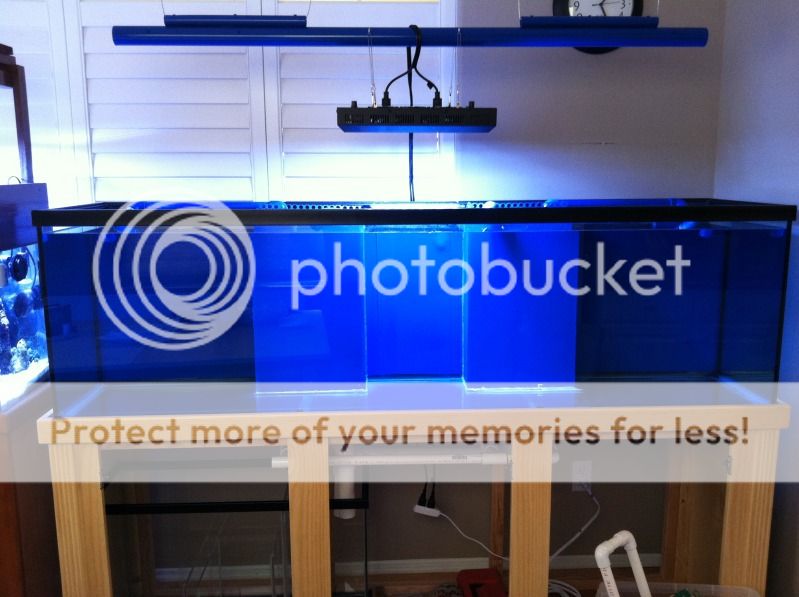
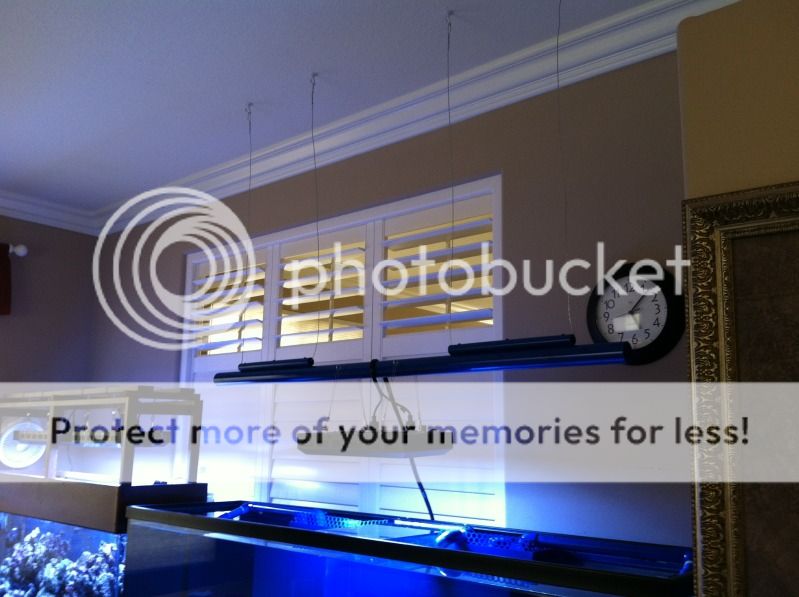
Light frame hanging from the ceiling.
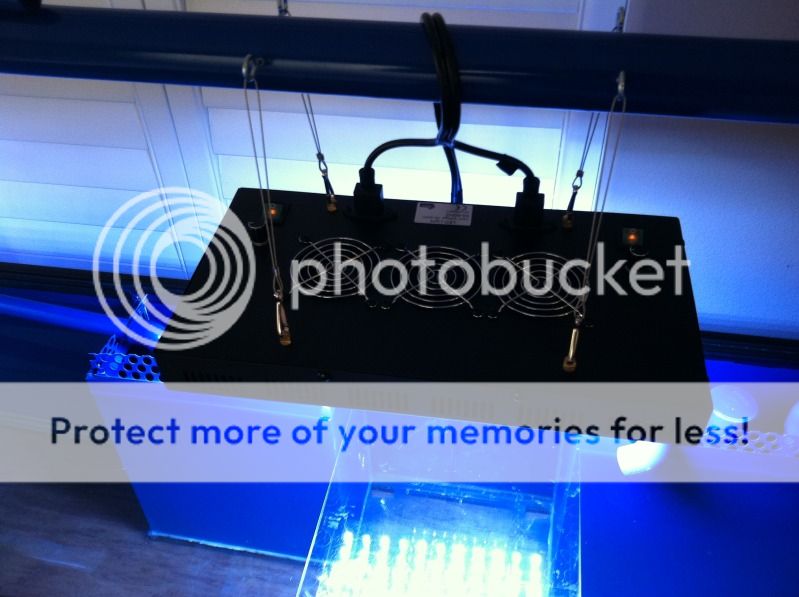
Close up of the LED fixture.
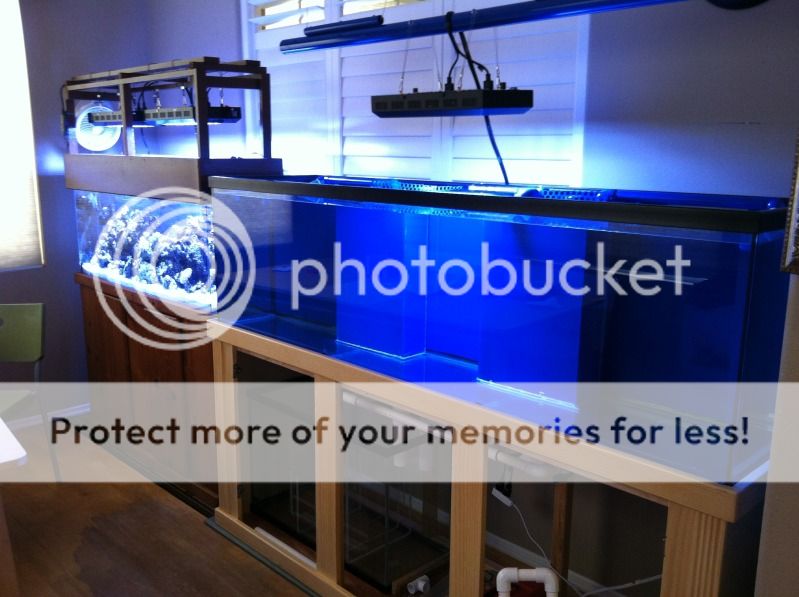
These are the two other LED fixtures that are currently on the 50gallon tank.

Here's a picture of the new tank next to the 50gallon. This new one is a monster compared to my current tank.
Testing the height of the light frame and light coverage of one LED fixture.
There will be three of these LED fixtures hanging on this frame.
Light frame hanging from the ceiling.
Close up of the LED fixture.
These are the two other LED fixtures that are currently on the 50gallon tank.
Here's a picture of the new tank next to the 50gallon. This new one is a monster compared to my current tank.
RockStacker
Reefing newb
First round of leak and load testing complete.
All known leaks have been resolved (Oh God I hope so).
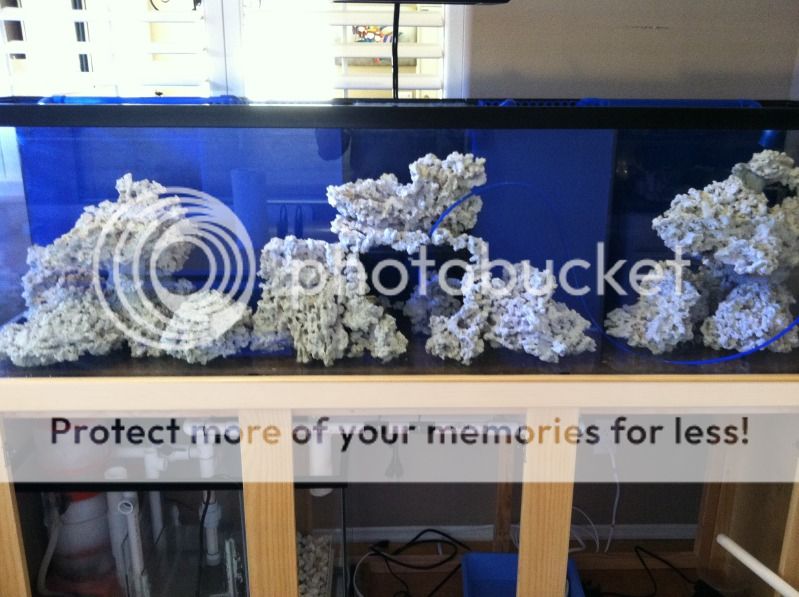
Rocks are in place - No water yet. I will be filling it with RO/DI water in a couple of days to make sure all the silicone has fully cured.
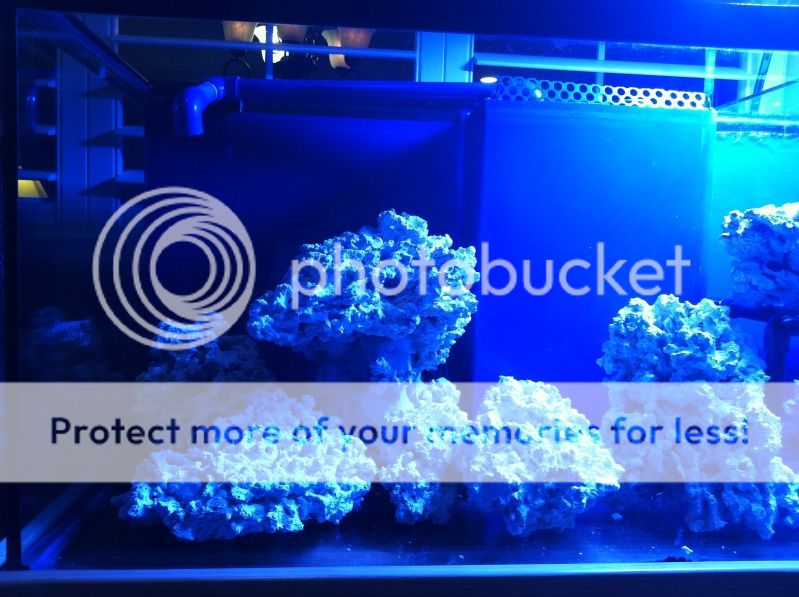
The pvc pipes in this section will be covered with smaller rock rubble.
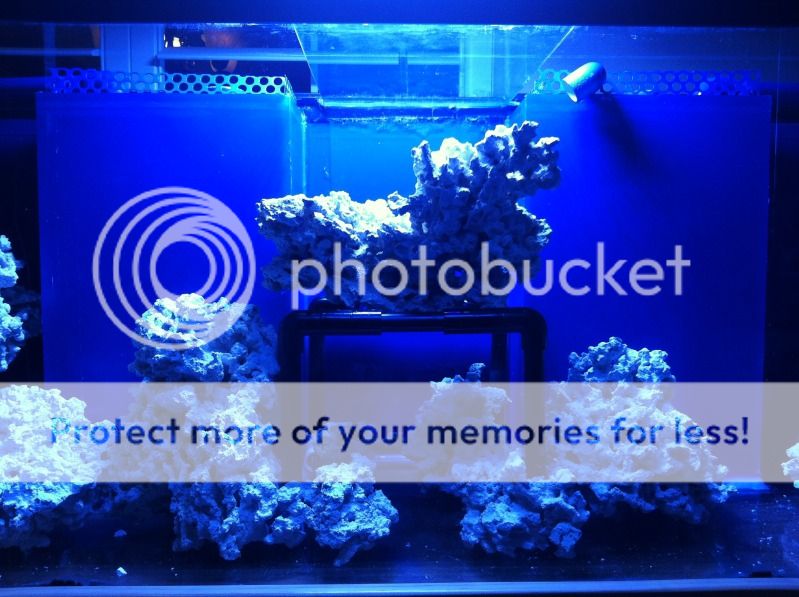
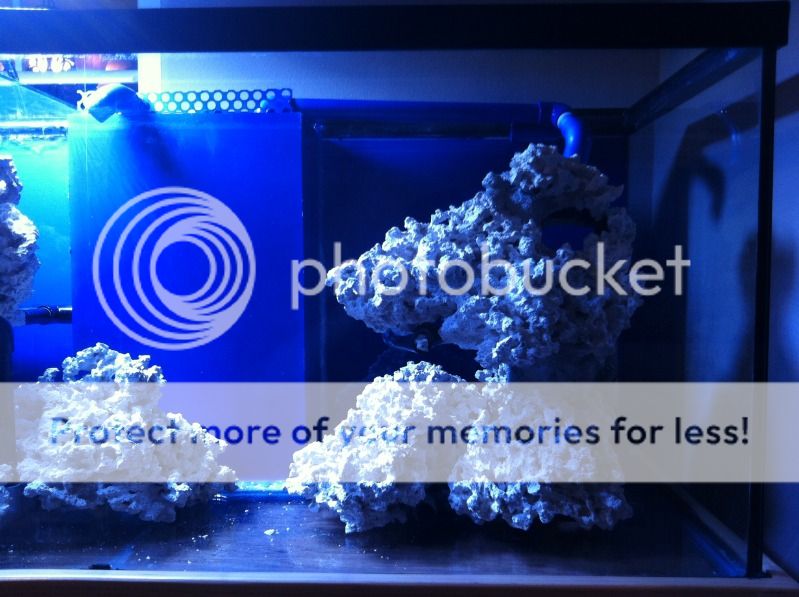
These are just the dry rocks.
I will be taking some of the live rock from my 50gal tank to seed this tank.
I am planning to have this tank bare bottom. I think the new rocks have enough mini caves in there to host a good microfauna population.
All known leaks have been resolved (Oh God I hope so).
Rocks are in place - No water yet. I will be filling it with RO/DI water in a couple of days to make sure all the silicone has fully cured.
The pvc pipes in this section will be covered with smaller rock rubble.
These are just the dry rocks.
I will be taking some of the live rock from my 50gal tank to seed this tank.
I am planning to have this tank bare bottom. I think the new rocks have enough mini caves in there to host a good microfauna population.
RockStacker
Reefing newb
Started filling with RO/DI water:
18 hours later...
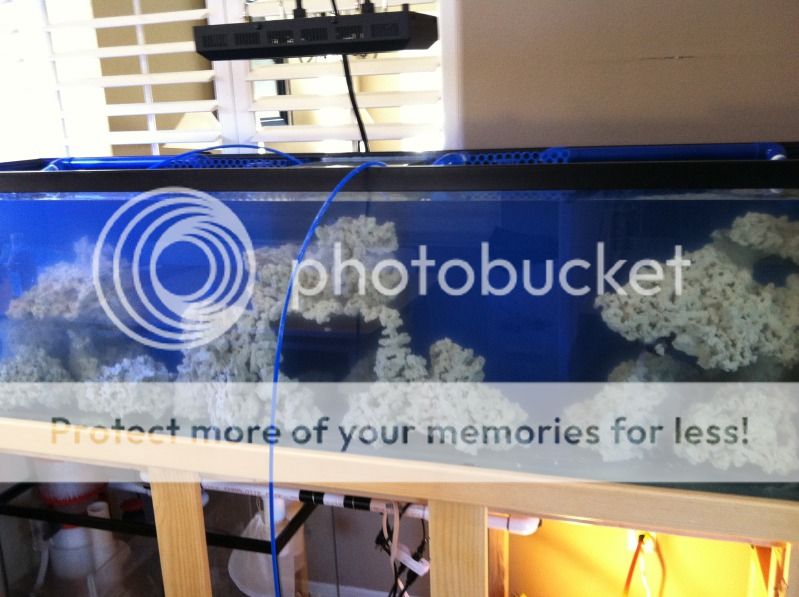
18 hours later...
RockStacker
Reefing newb
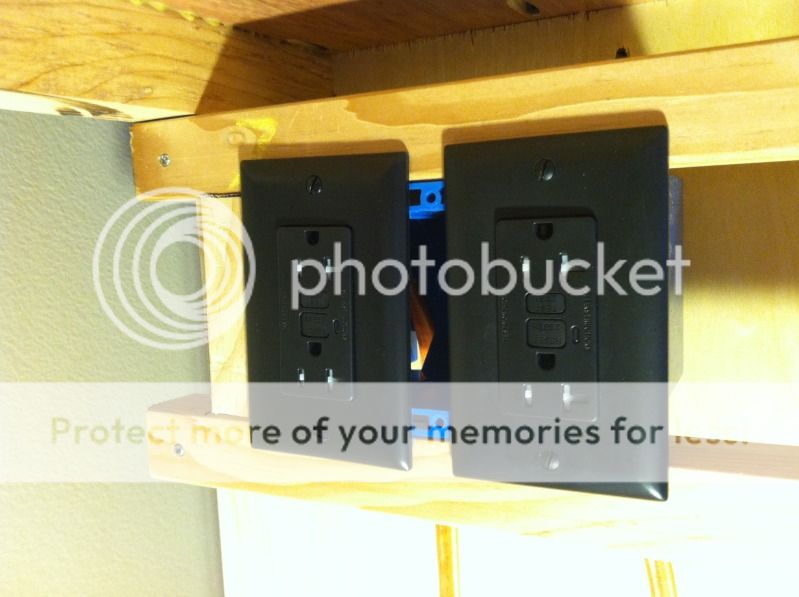
I started working on the built-in electrical outlets for the tank.
These are two sets GFCI sockets.
I am planning to daisy chain one bank of regular sockets to each GFCI socket. I am thinking 6 outlets per bank would be sufficient (16 outlets total).
These are two sets GFCI sockets.
I am planning to daisy chain one bank of regular sockets to each GFCI socket. I am thinking 6 outlets per bank would be sufficient (16 outlets total).
RockStacker
Reefing newb
Some more photo updates.
Almost done, just a little bit more work...
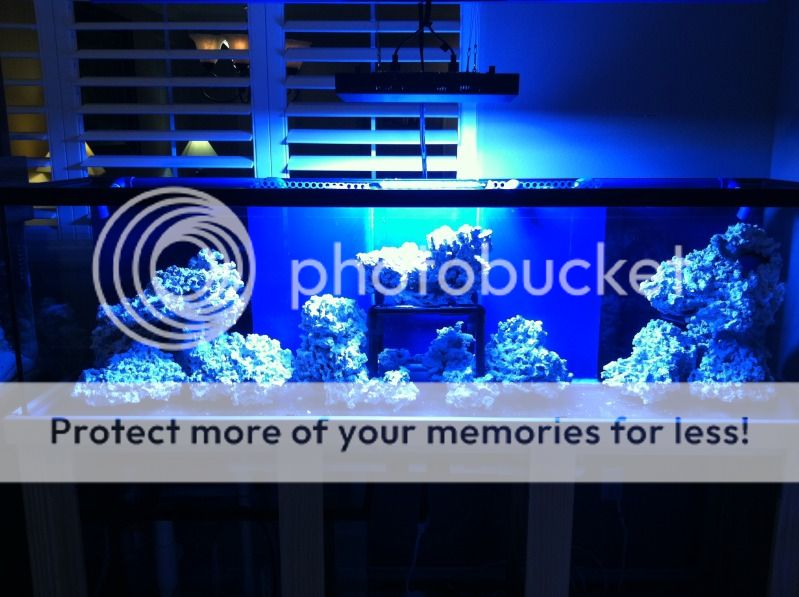
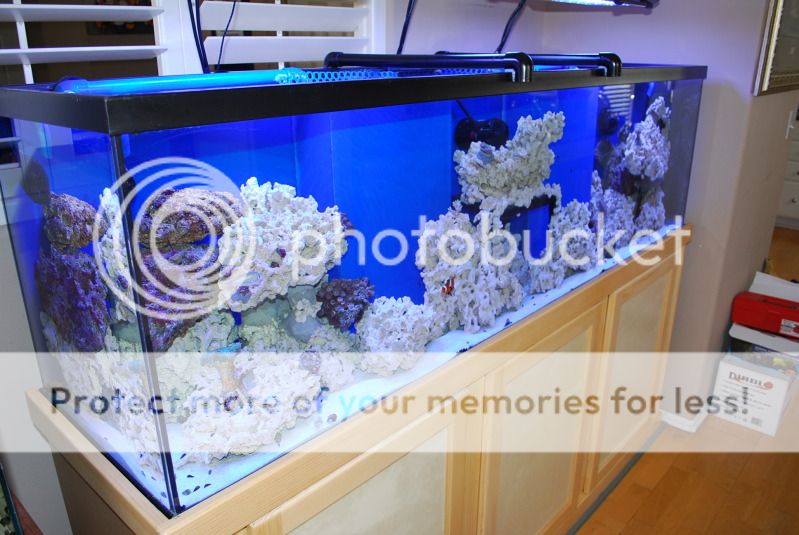
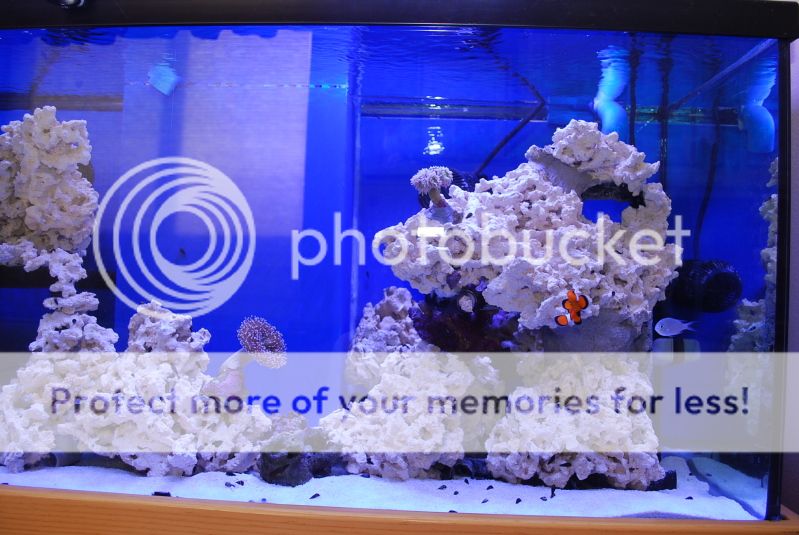
FTS with all the lights installed.
I also changed my mind about keeping the tank bare bottom. It turned out U-G-L-Y! And I felt sorry for the ice-skating hermit crabs.
It now has about 1/4" coating of large particle aragonite sand.
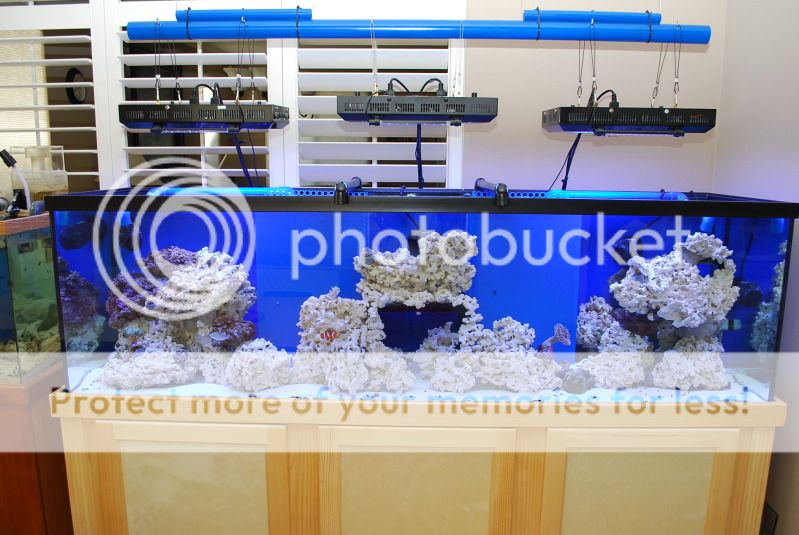
Note: The two black rods along the top center of the tank are temporary center braces made out of PVC pipes and elbows.
The glass center brace that came with the tank gave out when I was filling the tank. So instead of trying to reattach the glass, I am having a metal center brace fabricated to fit on top of the tank. There will be two angle irons spanning the length of the tank along the front and back trims, and metal cross braces where the PVC braces are located.
As a secondary benefit, not having a large glass panel on the top-center of the tank also allows more light to go into the tank.
This 29gallon sump looked so much bigger when it was empty.
When the opportunity presents itself I might change up to a 50 gallon long sump.
Some more pics:
Once my bank account recovers, I will start shopping for more corals and fish :)
Almost done, just a little bit more work...
FTS with all the lights installed.
I also changed my mind about keeping the tank bare bottom. It turned out U-G-L-Y! And I felt sorry for the ice-skating hermit crabs.
It now has about 1/4" coating of large particle aragonite sand.
Note: The two black rods along the top center of the tank are temporary center braces made out of PVC pipes and elbows.
The glass center brace that came with the tank gave out when I was filling the tank. So instead of trying to reattach the glass, I am having a metal center brace fabricated to fit on top of the tank. There will be two angle irons spanning the length of the tank along the front and back trims, and metal cross braces where the PVC braces are located.
As a secondary benefit, not having a large glass panel on the top-center of the tank also allows more light to go into the tank.
This 29gallon sump looked so much bigger when it was empty.
When the opportunity presents itself I might change up to a 50 gallon long sump.
Some more pics:
Once my bank account recovers, I will start shopping for more corals and fish :)
Ted
Living one day at a time
looking good!:Cheers:
really like all the photos!
why such a small sump? is it just financially the right move right now? i'd think a 50g is even a bit small.
those lights look great and beefy! how long have you had them? why did you use the mount you did instead of unifying them with flat bar and just having that suspended from the ceiling?
what do you have planned in terms of corals?
what kind of overflow design are you using? i've been neck deep in research with herbie, durso, etc and have been researching around while doing my new frag tank herbie style.
this is a nice size build, eager to see what you do!
RockStacker
Reefing newb
That is what can practically fit under the cabinet and still leave room for storage and electricals.why such a small sump? is it just financially the right move right now? i'd think a 50g is even a bit small.
I have had two of them on the old tank for about 3 months. The third one is brand new.those lights look great and beefy! how long have you had them?
Weight.why did you use the mount you did instead of unifying them with flat bar and just having that suspended from the ceiling?
Mixed with minimal SPS.what do you have planned in terms of corals?
Bottom-drilled tank with two Durso standpipes.what kind of overflow design are you using? i've been neck deep in research with herbie, durso, etc and have been researching around while doing my new frag tank herbie style.
Thanks :)this is a nice size build, eager to see what you do!
d2mini
Reef enthusiast
Tank is looking awesome!
That rock will look amazing once colored up and covered with stuff.
That rock will look amazing once colored up and covered with stuff.
RockStacker
Reefing newb
Thanks guys.
Only time will tell if the rocks get covered in coralline or cyano lol (or dinos :shock:).
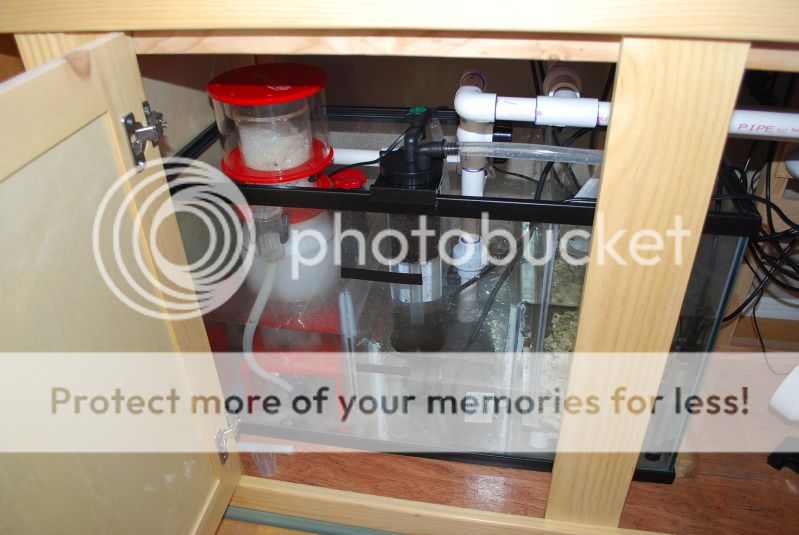
The skimmer is finally behaving properly and getting very minute amounts of green gunk - which I guess is consistent with the current bioload.
Do you guys recommend running GFO right from the start? or wait until phosphates become an issue?
Right now the Phosban reactor is running just carbon (BRS ROX) to help with any potential coral toxins as the softies are acclimating to the new tank.
Only time will tell if the rocks get covered in coralline or cyano lol (or dinos :shock:).
The skimmer is finally behaving properly and getting very minute amounts of green gunk - which I guess is consistent with the current bioload.
Do you guys recommend running GFO right from the start? or wait until phosphates become an issue?
Right now the Phosban reactor is running just carbon (BRS ROX) to help with any potential coral toxins as the softies are acclimating to the new tank.
RockStacker
Reefing newb
By the way, here's a side story related to the tank that I wanted to share.
My old 50gallon tank had a Coral Banded shrimp that has been doing great in that tank.
When I was catching it so I can transfer to the new tank, it got spooked and it yanked out one claw and tossed it into the net.
This totally freaked my daughter out.
Once I got the shrimp into the net and released it into the new tank, the other claw fell out too.
When I was removing the claws from the net, I GOT PINCHED! even when removed from the shrimp the claws can still pack a nasty bite - Beware!
I feel so sorry for the shrimp but I hope he recovers in the new tank. He has plenty of hiding places in the new rocks if he decides to molt.
earman88
Reefing newb
This tank already looks great. I really like the light color wood stand.. really makes the blue tank pop.
lilmatty5dimes
Reef enthusiast
Agreed with every1 tank looks great. cant wait to see all the rocks colored up
RockStacker
Reefing newb
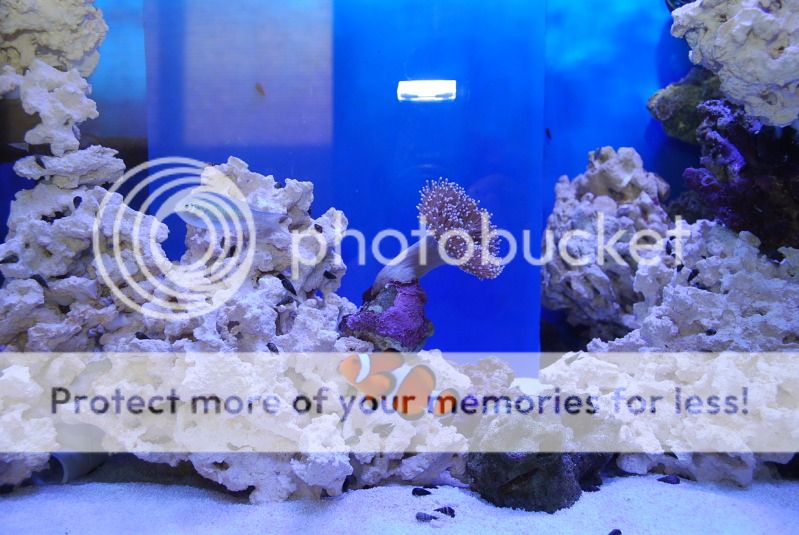
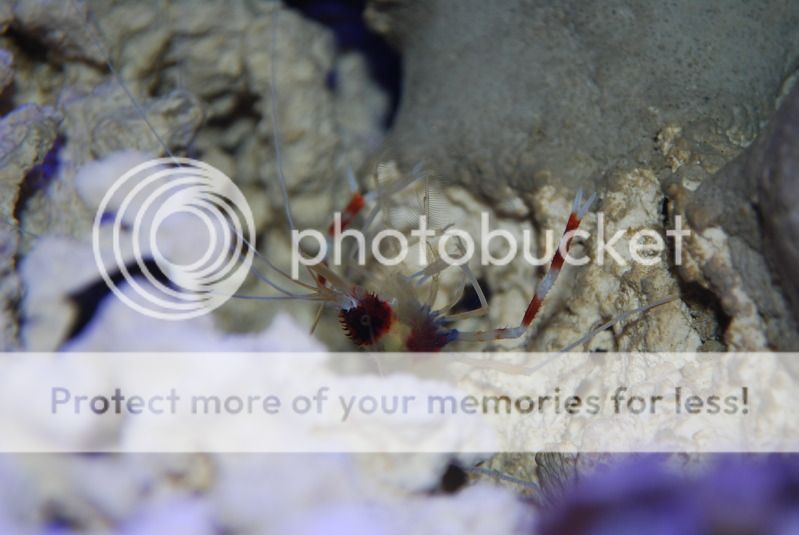
Here's my CBS with a new pair of claws after the fishnet incident.
They look skinnier than the old ones, but I'm sure it will bulk up in time.
He sure replaced them fast.
They look skinnier than the old ones, but I'm sure it will bulk up in time.
He sure replaced them fast.
Similar threads
- Replies
- 2
- Views
- 1K
- Replies
- 4
- Views
- 3K