bjohanson1234
.........
I think I would seal the acrylic sheets to the container and not the lid. It would keep the reflectors dry, and the lid will be easier to remove without the sheets on it.
I think I would seal the acrylic sheets to the container and not the lid. It would keep the reflectors dry, and the lid will be easier to remove without the sheets on it.
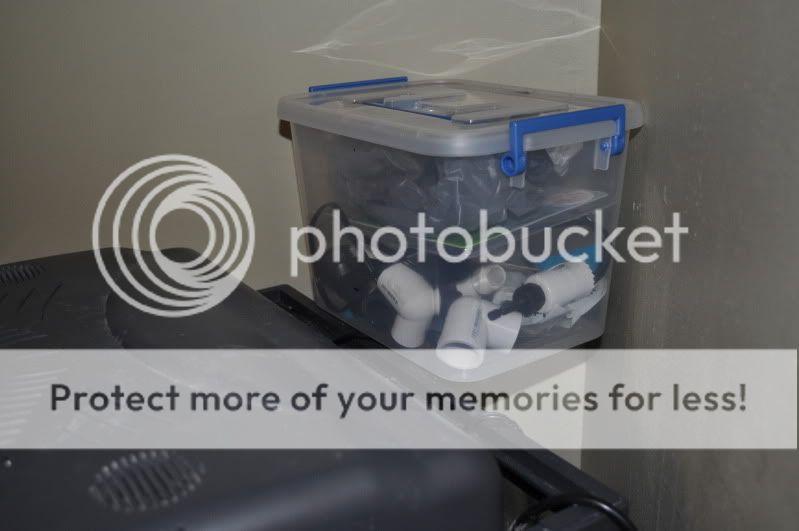
That was the plan, I'm going to rough but the acrylic then file it down by hand so that it fits the shape of the container. Then I'm going to silicone the crap out of them, in place to keep the bulb areas as waterproof as possible
Just going by the picture:mrgreen:
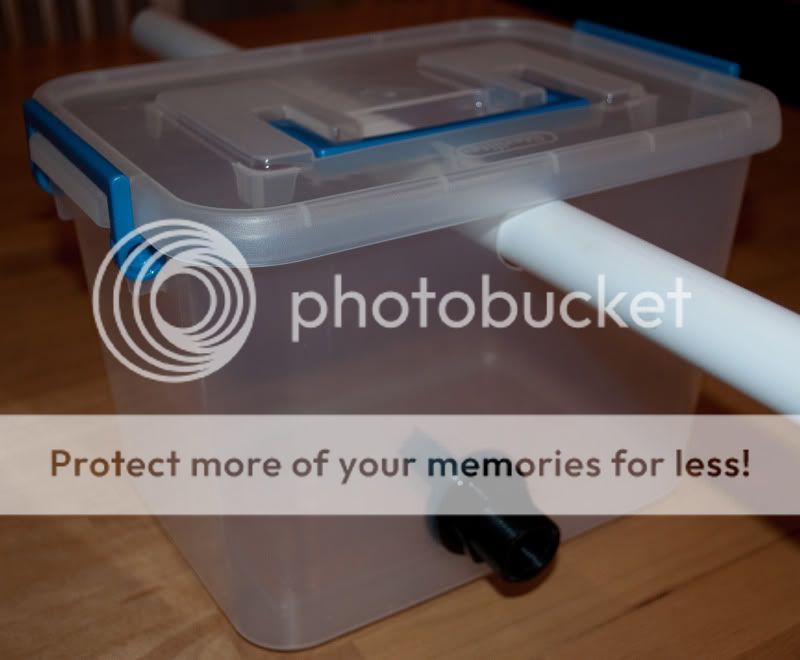
How is the pump going to be set up?
I would make sure that the pump is below the main tank water level., that way if you lose power, the pump wont run dry.
I'm confused, if I lose power the pump wont be running, so how could it run dry?
The pump will still draw water via a siphon? At least mine does when I do water changes.

You could mount the pump on the side of the stand that you are building then once you prime it, it wont run dry.
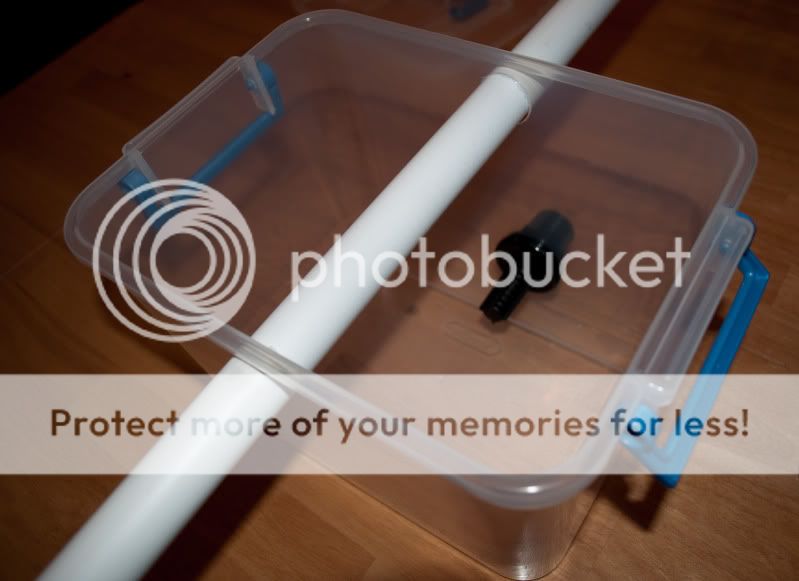
I think I'm a little confused. The thing I'm having trouble with is the sides of the container flare out a little. I made a template from cardboard that fits perfectly but, when I transfer it over to the acrylic and cut it it has yet to fit right.Have you thought of making two strips of acrylic about and inch or two wide for each side of the baffle?
It will go
Short strip, full length, short strip
That way you could overlap it a bit and it will give you a flat piece to glue to?
I will draw a picture when I get a chance if you dont follow me.


