wontonflip's 125g build

+1 Daugherty! and if you are going to apply any type of edge trim (tile, moulding, or even just corner bead) use mastic to apply it instead of trying to use nails or screws. Mastic is a slow drying adhesive that is used specifically to apply tile to the wall. It is a bit of overkill for hanging moulding or corner bead, but backer board tends to crumble if you try to screw into it near its edges so the mastic will make your life easier.
 
More pictures for the pic whores...

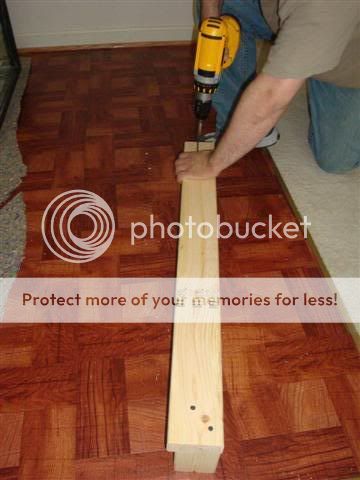
DSC00630.jpg


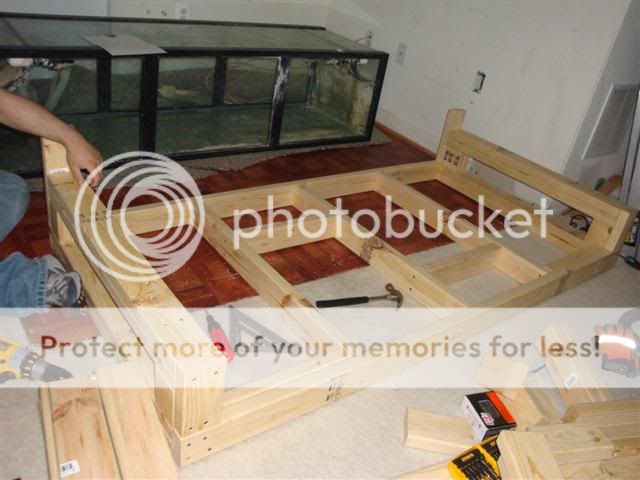
DSC00633.jpg


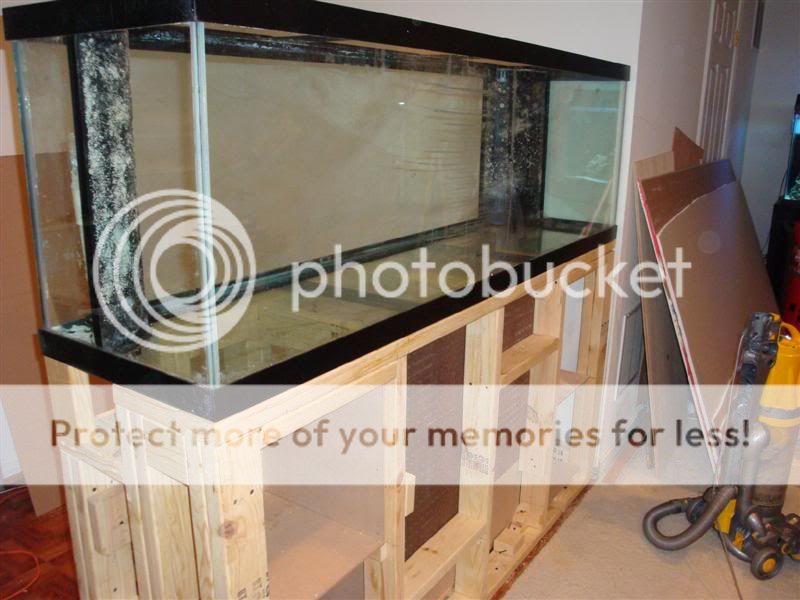
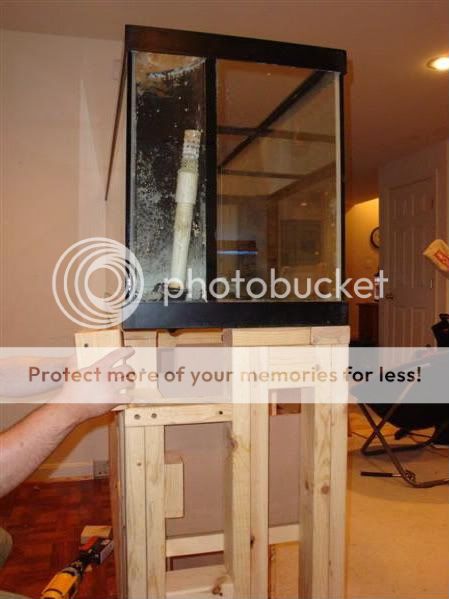
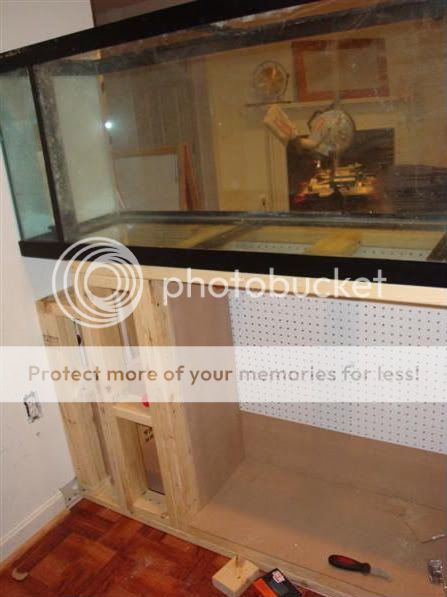
How perfectly straight are your tanks?? It's a teeny bit slanted....but it's almost negligible. I'm hoping once we do a trial run and the tank with some water in it to test the level that it evens out. Hopefully we won't need to add any shims on the bottom.
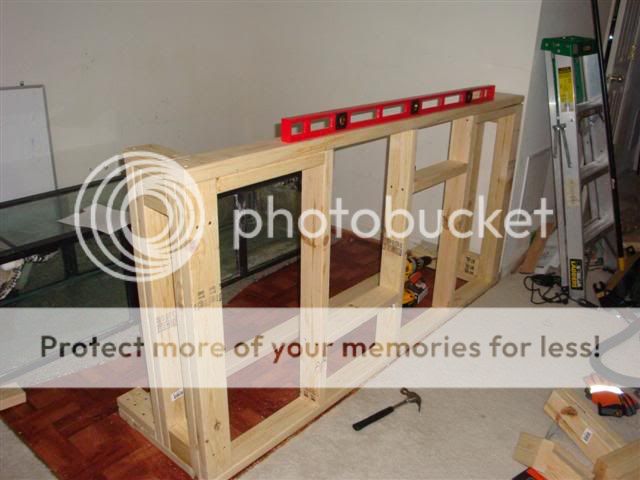
DSC00642.jpg


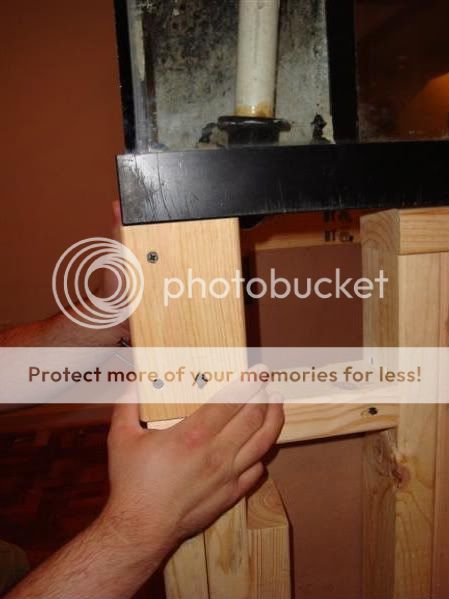
The lowered corner is to accomodate the built in overflows which come out of the bottom

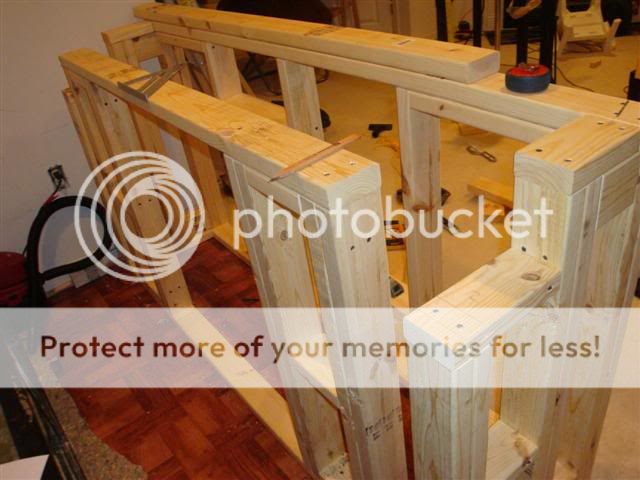
DSC00653.jpg


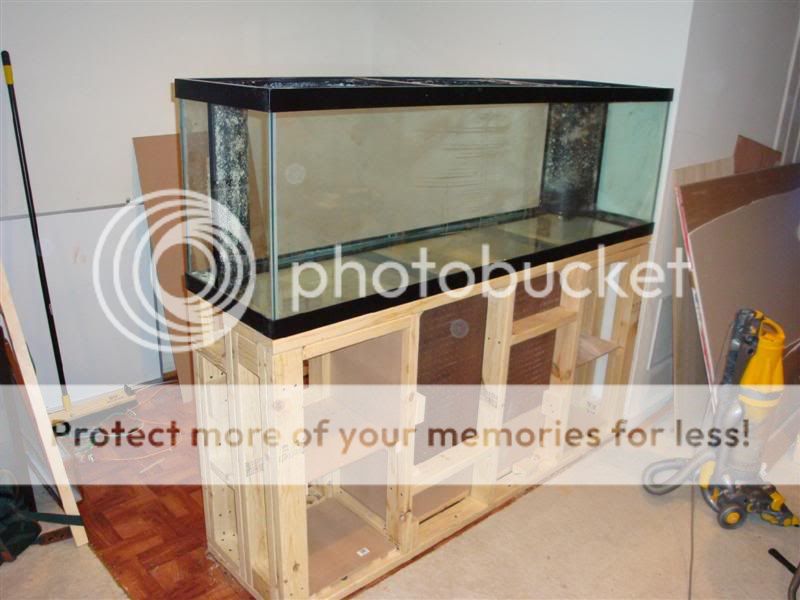
So what do you guys think so far? Think it will hold the weight?? I'm bad with eying things. Also he's considering screwing it into the floor (it's cement under the linoleum). He's got some long cement screws to do the trick, but what do you all think?
 
looks great so far. I think screwing it to the floor is fine. probably unnecessary but since you have the screws already I see no reason not to. Plus it gives him a reason to use the hammer drill which for me is reason enough:bounce:
 
No hammer drill. He didn't want to buy one. He did well using just his dewalt with a special drillbit. He already had to drill holes in the cement to put in the transition bars from the linoleum to the carpet.
 
That ought to hold your tank with no problems.
I think you could by without anchoring it to the floor.But anchoring it wont hurt anything either.
 
No hammer drill. He didn't want to buy one. He did well using just his dewalt with a special drillbit. He already had to drill holes in the cement to put in the transition bars from the linoleum to the carpet.
Sounds like the man needs a hammer drill... now be a good wife... :mrgreen::mrgreen::mrgreen::mrgreen:
 
It looks great! Don't forget to get your sump in place beneath it before you screw it into the floor!

AAAAH....but the sump and all the equipment will be in the next room and piped in through the side of the stand, and through the wall :) There was a time when my husband refused to do that...but the prospect of getting corals in a 125 got him totally hooked on the hobby Hehehehe

Sounds like the man needs a hammer drill... now be a good wife... :mrgreen::mrgreen::mrgreen::mrgreen:

Dood, I've been the best wife spending around $500 on a drill last year, and now getting him a circular saw, and a shopvac (so he'd stop using my Dyson!), and letting him get all the tools he wants to get :mrgreen: then again, there's no such thing as a selfless deed...I am getting a nice fish area out of this...hehehe.

To add to that, I let him gut out the den, rip out the carpet, and almost put down that garage floor paint so it would be his work room....that is, until he decided to let his brother move into it...heehehehe...his loss :P
 
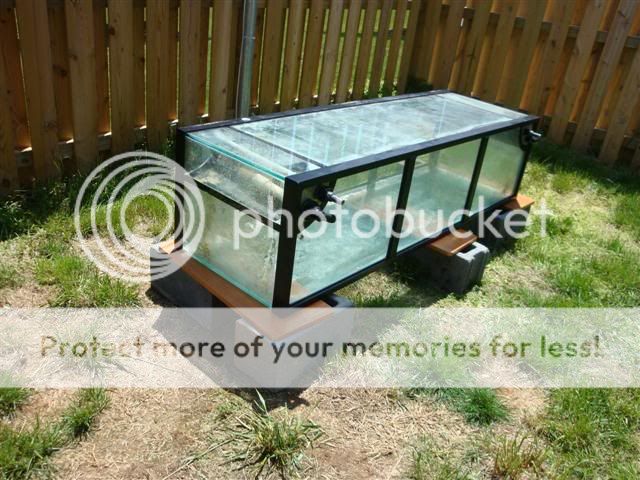
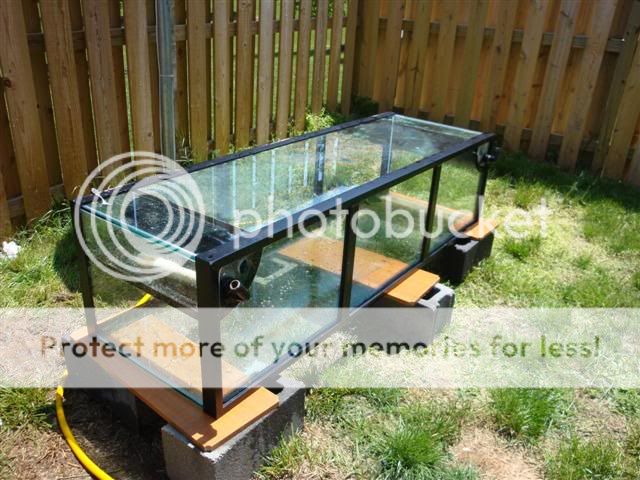
Ok, I know it doesn't look like it, but I scrubbed it...I swear :) It's just hazy from water that dried already. In the last picture though, is of the bottom of the overflow...it's got a lot of sand in it that I cannot get out...will that be a problem? It's the slots that are at sand-level. and when I shoot water through the top with the hose, it does come out the bottom slots. The upper slots are clear.

BEFORE:
DSC00659Small.jpg


AFTER:
DSC00664Small.jpg


Clogged overflow:
DSC00663Small.jpg
 
or you could fill that section of the overflow up ith some vinagar let it soak and get a long bottle brush to shove don in there to clean up the inside than pick out the crap plugging it.
 
You should pour some of that water on your grass! :).
Nah...our backyard is hopeless....we're eventually going to brick 90% of it, kill the remaining WEEDS, and just put down sod and a flowerbed on the outskirts. So I'm not too concerned w/ watering it. We mow it to keep down the insect population.

Good idea about the paperclip. But considering the sandbed will clog it up again anyway...should I bother?
 
If your 100% sure the previous owner didnt use copper in the tank,then you could leave it.But I think I would clean it out good so water could flow through there..
 
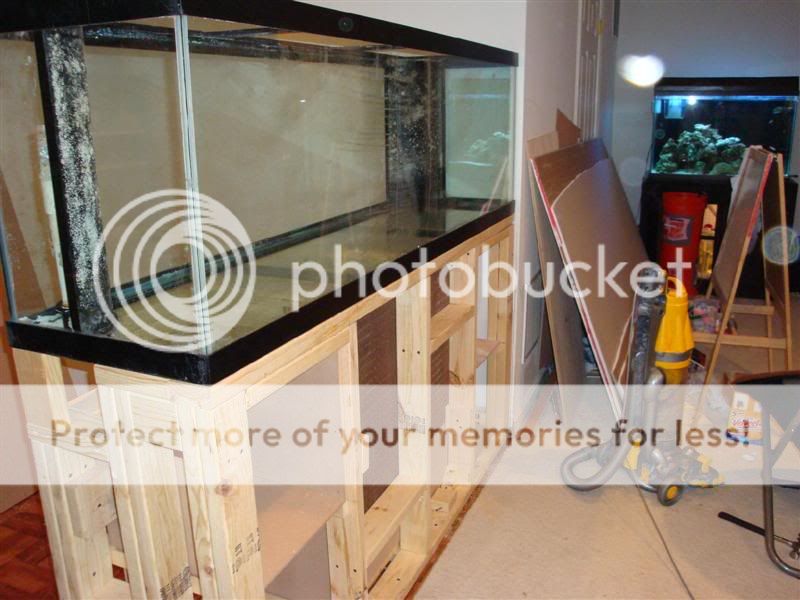
Hubby finished the stand's frame. Still missing the walls and doors, but finished enough to hold up the tank. I do see on issue, and I'm not sure how big of a problem it will post...so, what do you think -- along the mid-front of the tank to the corner furthest from the wall, I noticed the tank has a slight gap....so basically, it would seem that the stand part closer to the wall is slightly higher. We put shims on the corner, but how big a problem would it be to leave the gap in the longer part of the tank? Aren't the corners the most crucial points that need the support? I shouldn't worry, should I, about putting support in the center part of the tank?


View from behind the tank -- this area will have a couple of comfy chairs squished in the corner. (91)


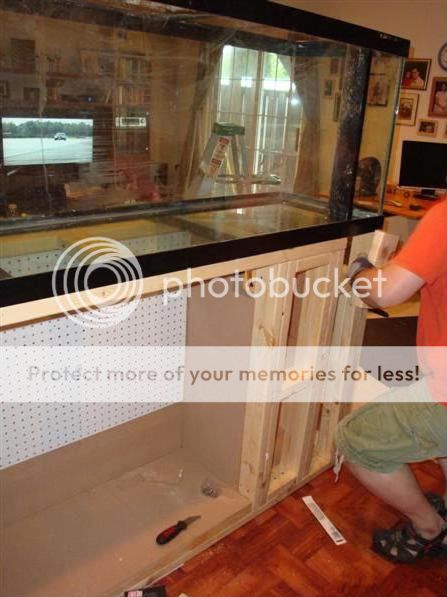
Adding last minute corner supports now that we knew exactly where the overflow pipes would be. The corner opposite the one we're working on here is the corner that we put shims in.


Last edited:
Back
Top