You are using an out of date browser. It may not display this or other websites correctly.
You should upgrade or use an alternative browser.
You should upgrade or use an alternative browser.
Rockstacker's 120g Build
- Thread starter RockStacker
- Start date
RockStacker
Reefing newb
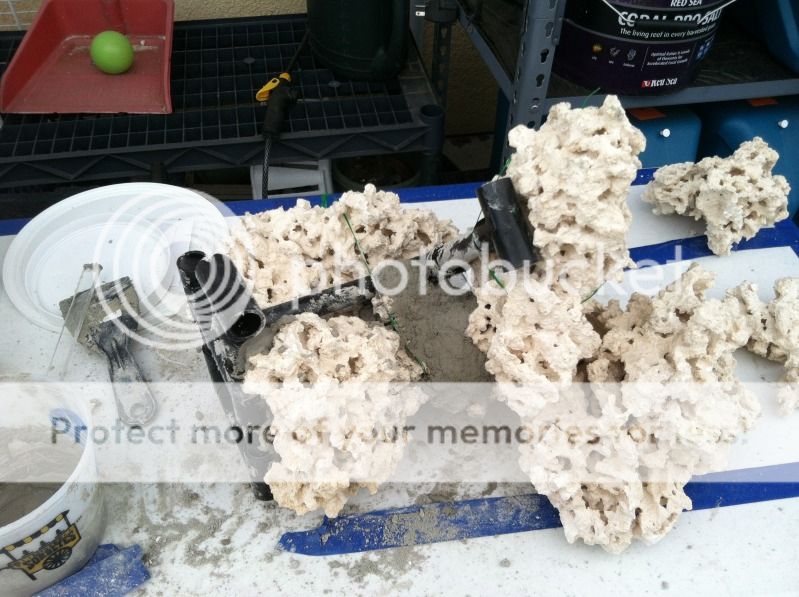
The rocks arrived today from Marco Rocks.
According to the shipping manifest the two boxes were 54 pounds each.
They were not kidding when they say they bubble wrap each rock.
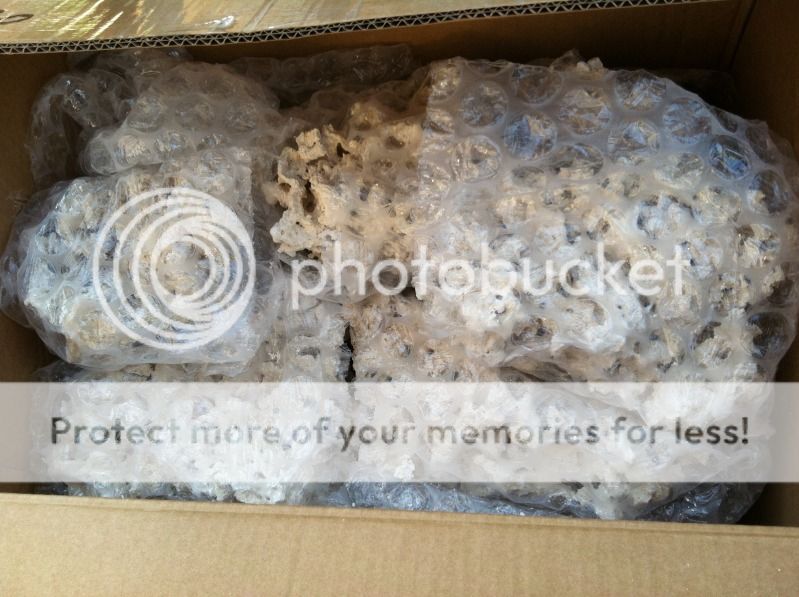
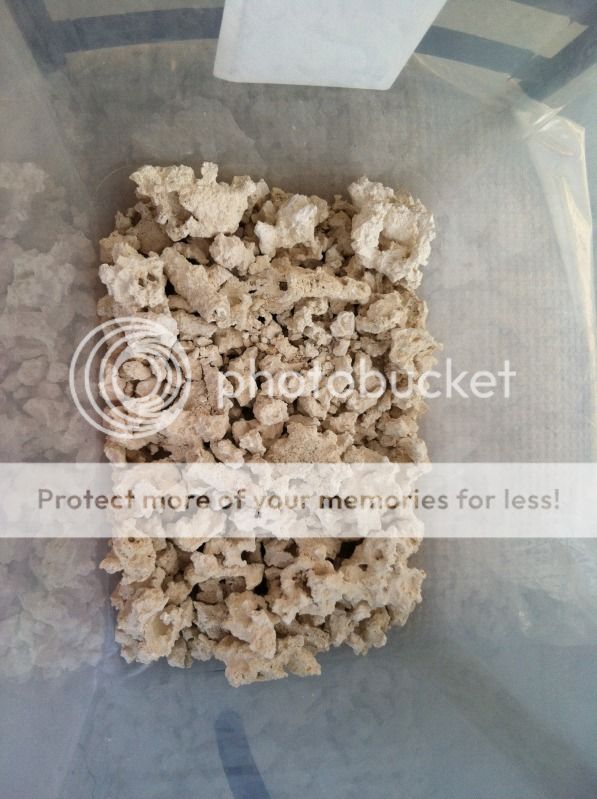
Contents of the first box. I put all the rubble in the plastic bin.
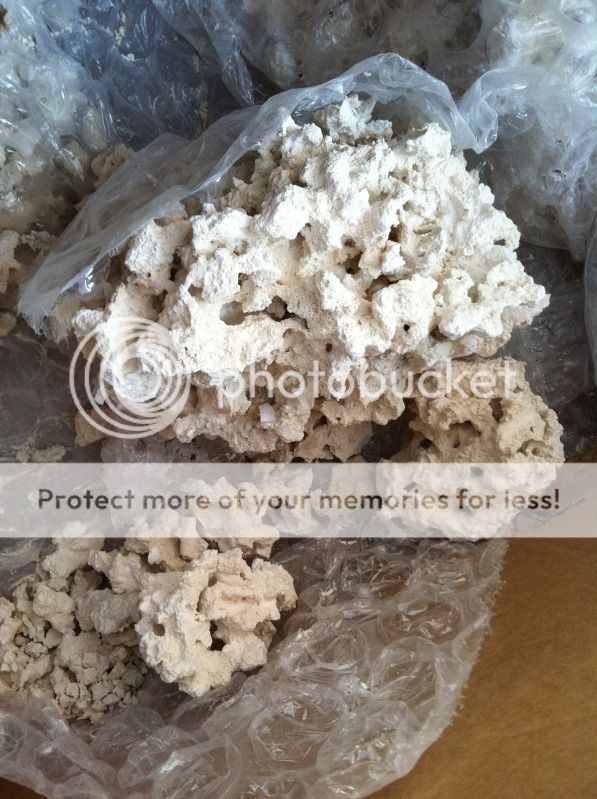
The second box looks like it went through a lot more rough & tumble than the first box.
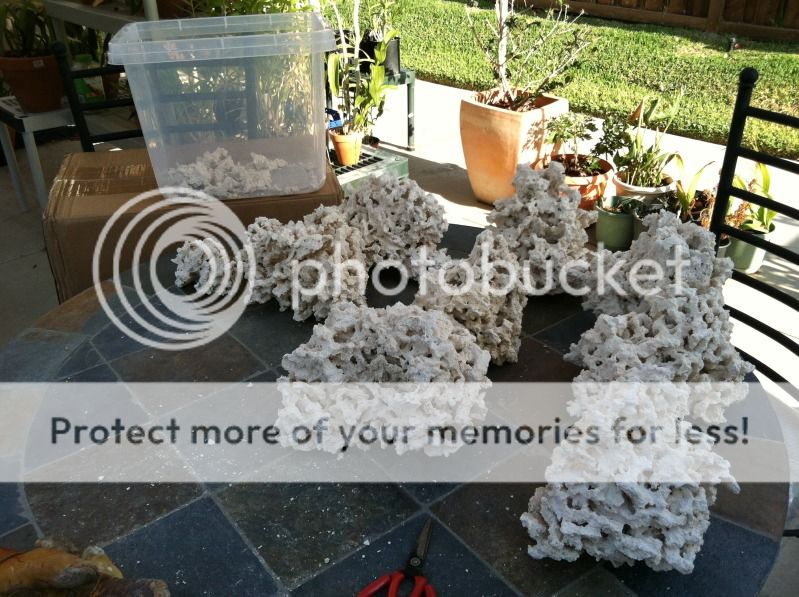
Both boxes unpacked:
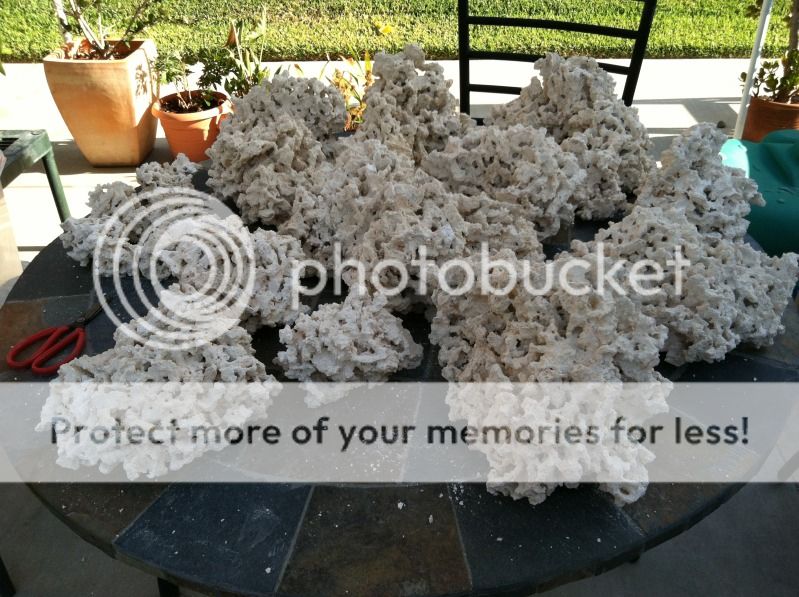
All the rubble collected:
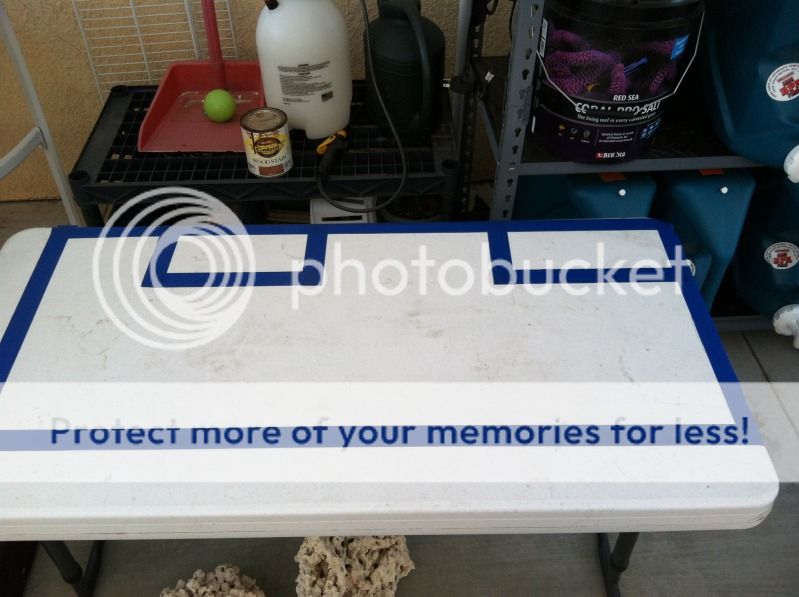
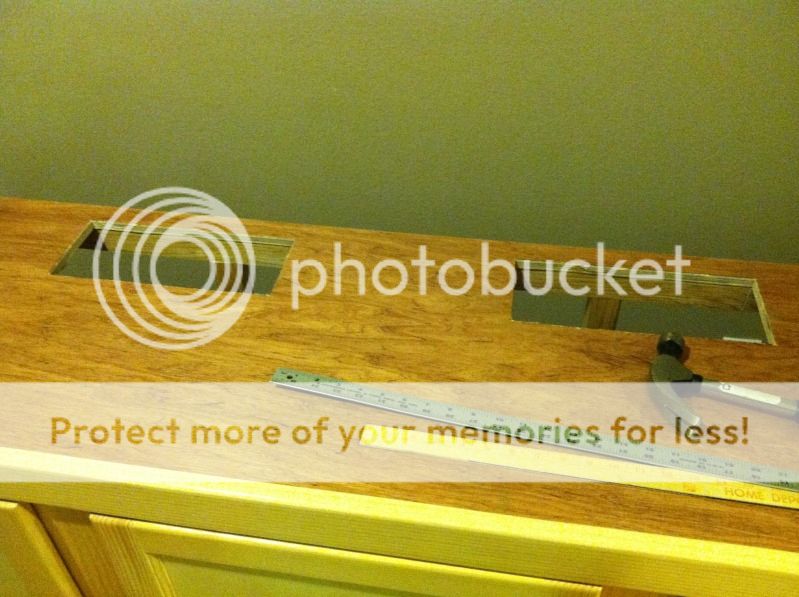
This is the area for the centerpiece rockscape.
However, I did not want to experiment with the rockscaping in the tank. It just increases the chances of an accident and break the glass.

So I made a cutout to represent the floor area of the target space.
Only the center section of the tank is represented by the cutout.
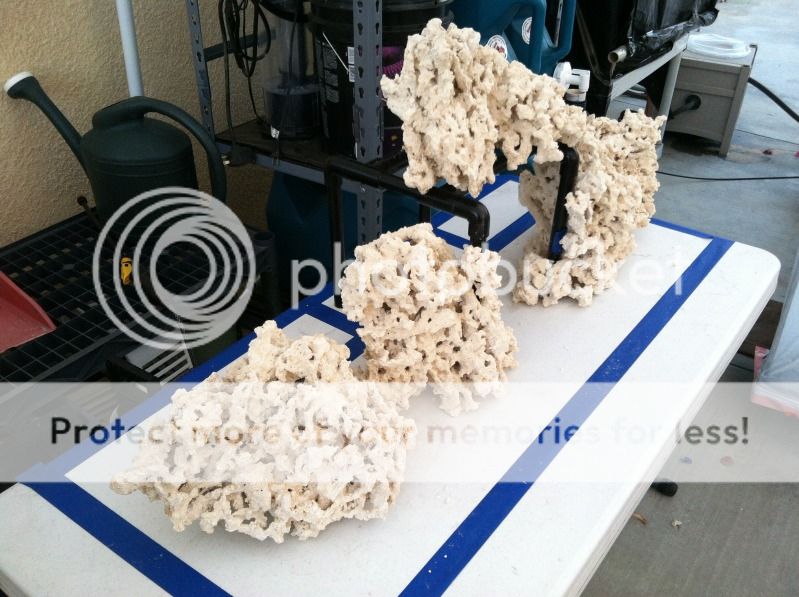
Trying out some ideas for the centerpiece. The gaps will be filled in with smaller rocks and putty/cement.
I will add some ledges and other horizontal features as gravity and structure permits.
I am also considering cutting off 2" from the legs of the frame to lower the top rock and not make it look like it is floating by itself.
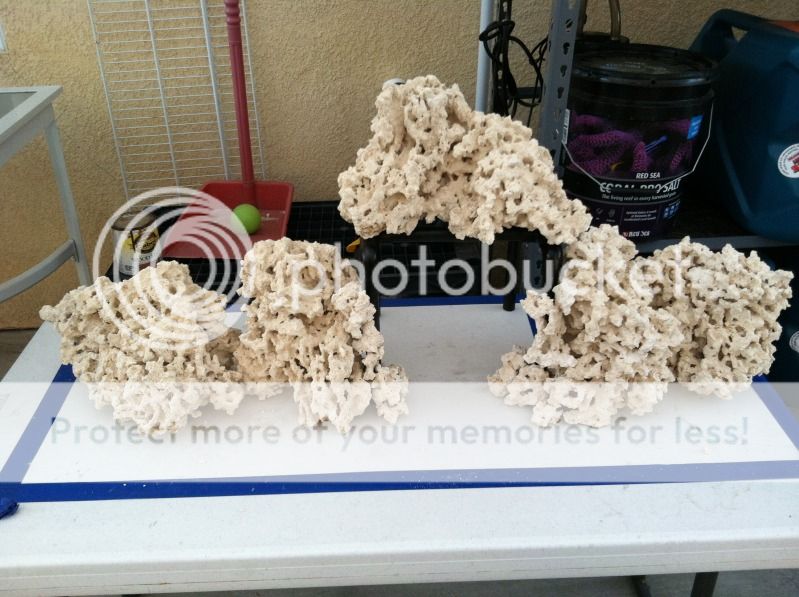
I want to leave gaps between the rocks for the fish to swim through.
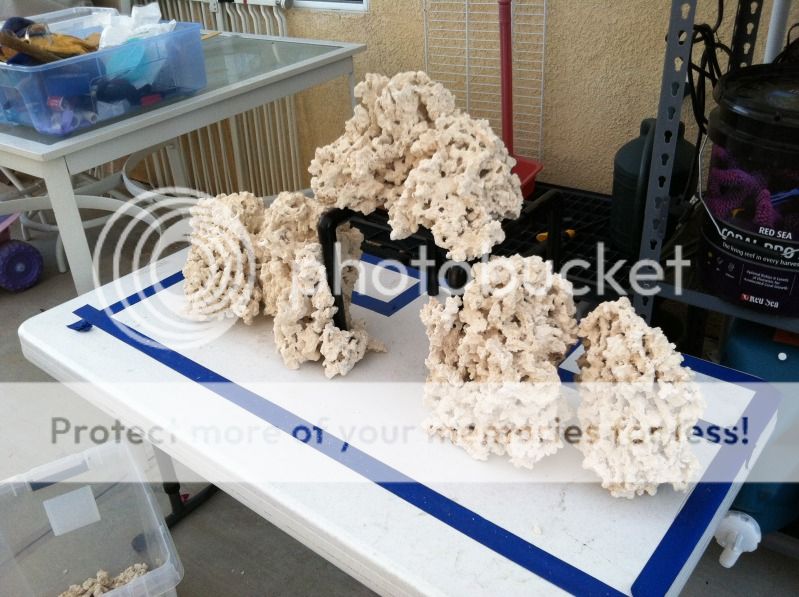
The other frame:
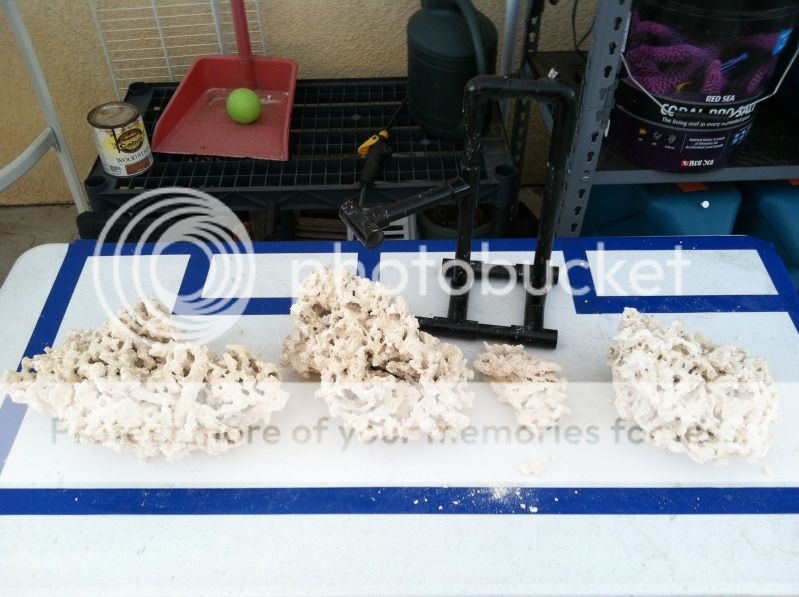
Nothing is cemented yet so I am not putting in all the desired pieces at this time.
I plan to have a couple more smaller pieces on top. I will also shore up the base with small to medium pieces.
For this piece, I am trying to go for a leaning tree look similar to some bonsai.
This piece will go towards one end of the tank.
According to the shipping manifest the two boxes were 54 pounds each.
They were not kidding when they say they bubble wrap each rock.
Contents of the first box. I put all the rubble in the plastic bin.
The second box looks like it went through a lot more rough & tumble than the first box.
Both boxes unpacked:
All the rubble collected:
This is the area for the centerpiece rockscape.
However, I did not want to experiment with the rockscaping in the tank. It just increases the chances of an accident and break the glass.
So I made a cutout to represent the floor area of the target space.
Only the center section of the tank is represented by the cutout.
Trying out some ideas for the centerpiece. The gaps will be filled in with smaller rocks and putty/cement.
I will add some ledges and other horizontal features as gravity and structure permits.
I am also considering cutting off 2" from the legs of the frame to lower the top rock and not make it look like it is floating by itself.
I want to leave gaps between the rocks for the fish to swim through.
The other frame:
Nothing is cemented yet so I am not putting in all the desired pieces at this time.
I plan to have a couple more smaller pieces on top. I will also shore up the base with small to medium pieces.
For this piece, I am trying to go for a leaning tree look similar to some bonsai.
This piece will go towards one end of the tank.
kevdogg
Reefing newb
Sweet!!!!!
SigEpLucas
Nano Reefer
This is by far my favorite rock. I am a huge fan of this rock because of how seamless it looks when it's stacked. It really gives the look of one big rock instead of stacked rocks...
RockStacker
Reefing newb
Tank stand is delayed a week. The shop is running behind.
It looks like there is some sort of frenzy going on with people building new tanks.
See what you did Dennis? :)
Anyway, here's some more pictures of making some of the rock structures.
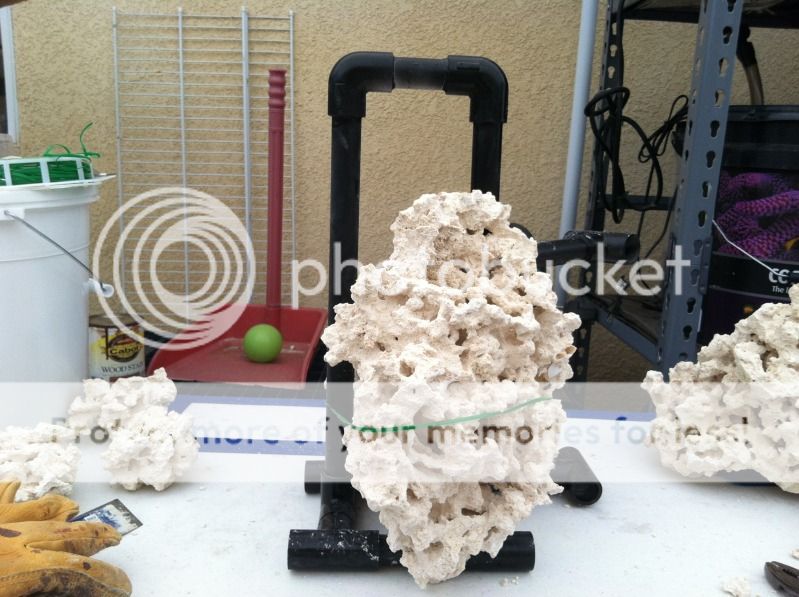
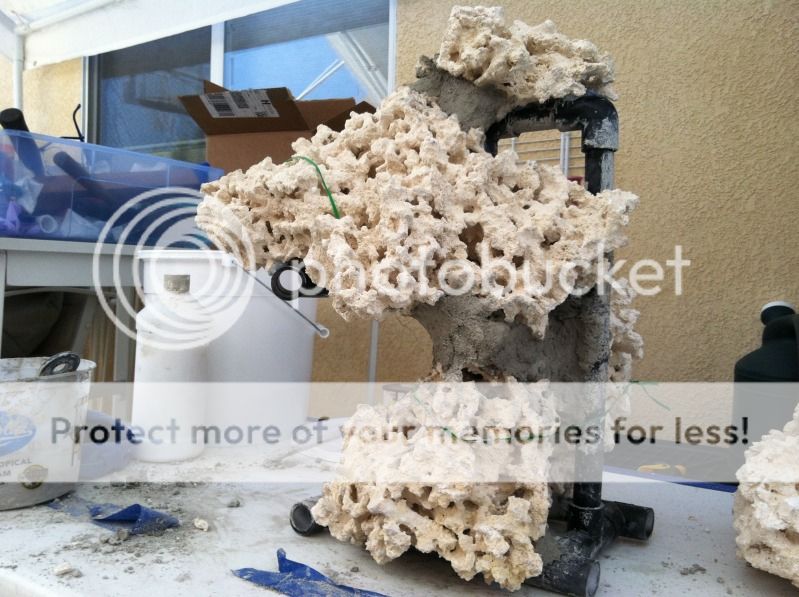
This is where the PVC contraptions begin to make sense:
Used wire ties to hold them in place while I chisel the pieces for a better fit.
Note how the bottom of the rocks "hug" the PVC. This prevents them from sliding out of place.
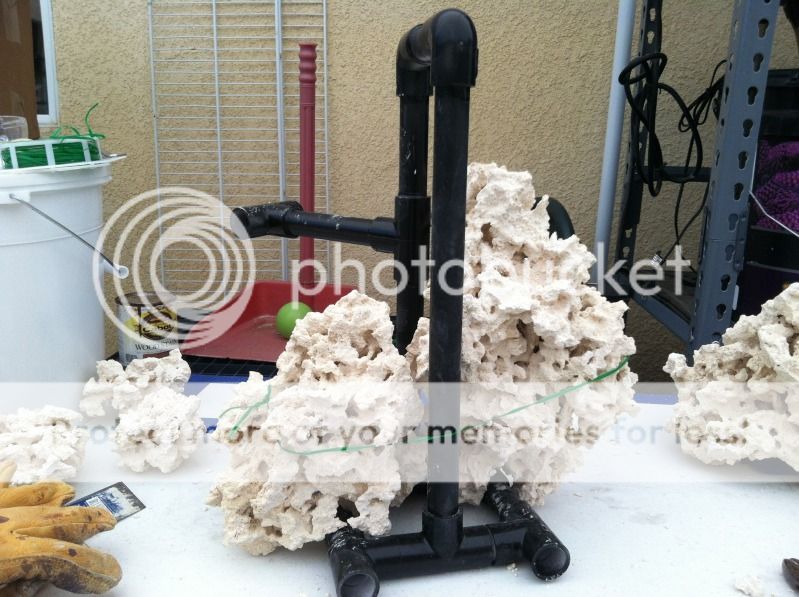
View from the back.
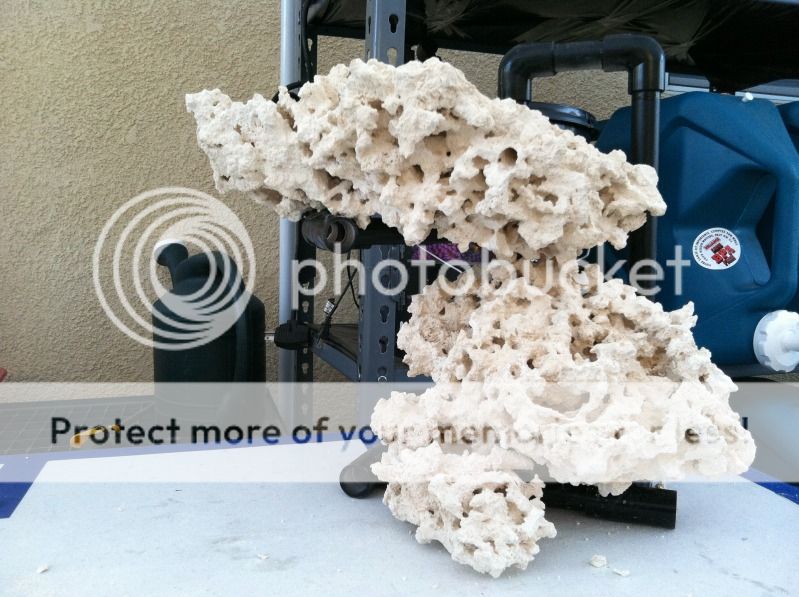
Got the two base rocks in the spot that I wanted:

Now for the overhang:
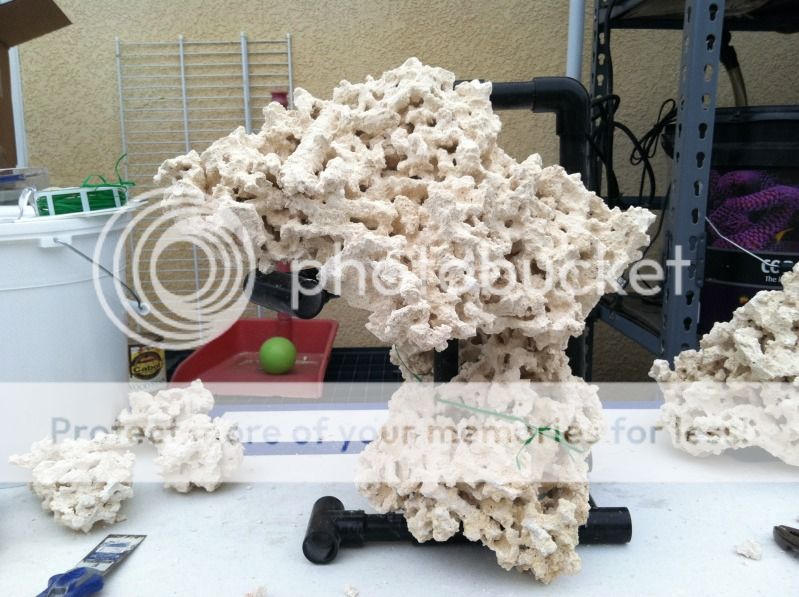
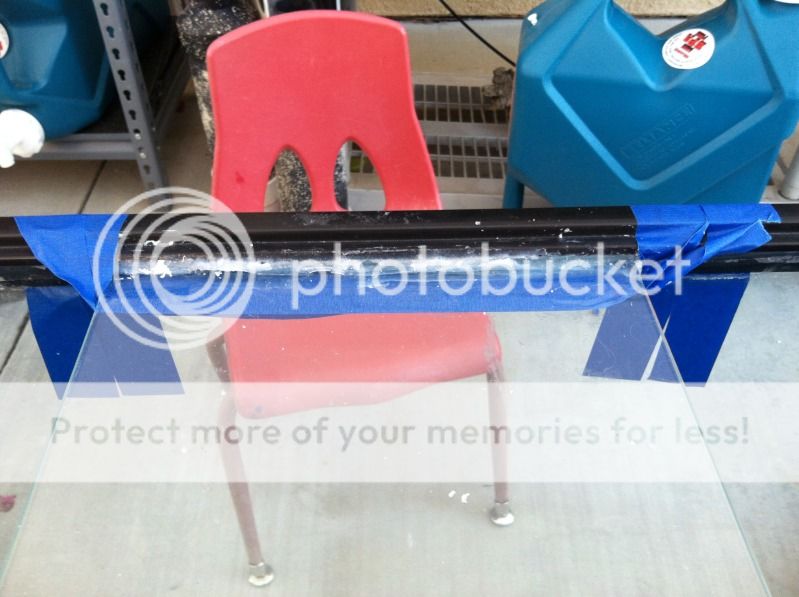
The blue tape represents the water level. I don't want the rockscape to be too tall.
Adding a smaller overhang going the opposite direction:
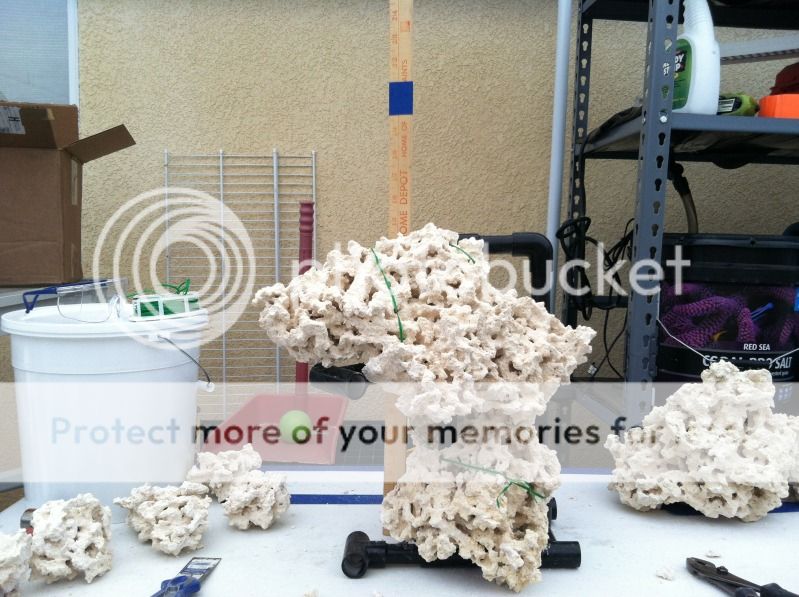
Now time to get messy. Where's Demi Moore when you need her?
And I think this one is all done.
The mortar should cure to a light gray in 24 hours.
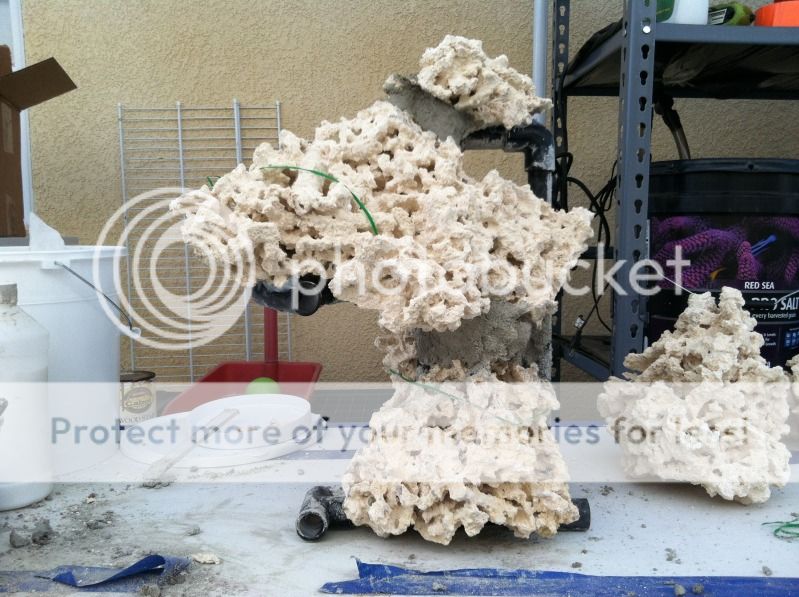
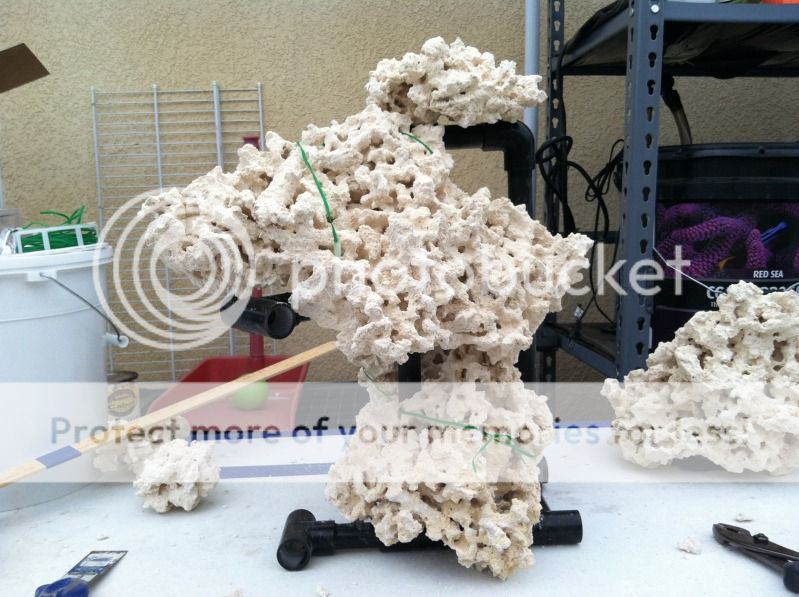
Another angle:
Once piece done, I got a bunch more rocks to go.
The house in the background is where I will be sleeping once my wife sees the total build cost.

It looks like there is some sort of frenzy going on with people building new tanks.
See what you did Dennis? :)
Anyway, here's some more pictures of making some of the rock structures.
This is where the PVC contraptions begin to make sense:
Used wire ties to hold them in place while I chisel the pieces for a better fit.
Note how the bottom of the rocks "hug" the PVC. This prevents them from sliding out of place.
View from the back.
Got the two base rocks in the spot that I wanted:
Now for the overhang:
The blue tape represents the water level. I don't want the rockscape to be too tall.
Adding a smaller overhang going the opposite direction:
Now time to get messy. Where's Demi Moore when you need her?
And I think this one is all done.
The mortar should cure to a light gray in 24 hours.
Another angle:
Once piece done, I got a bunch more rocks to go.
The house in the background is where I will be sleeping once my wife sees the total build cost.
RockStacker
Reefing newb
I also spent some time today just hashing out some of the things that bugged me about the tank.
I think this tank originally did not have a glass center brace, and the previous owner just added one.
Although a center brace is good insurance, I am not a fan of how it was done.
Before:
Unless it was being siliconed during a magnitude 6 earthquake, there is just no excuse...
I used painter's tape to support the glass just in case I end up taking off too much of the old silicone so the glass won't fall into the tank and destroy everything.
After:
Here's the new silicone job.
I still have to do this to the bottom of the center brace, and also on the top and bottom of the other end of the center brace.
I also sanded the sides of the center brace as they were rather sharp.
Just a few minutes of sanding with wet emery cloth did the trick.
RockStacker
Reefing newb
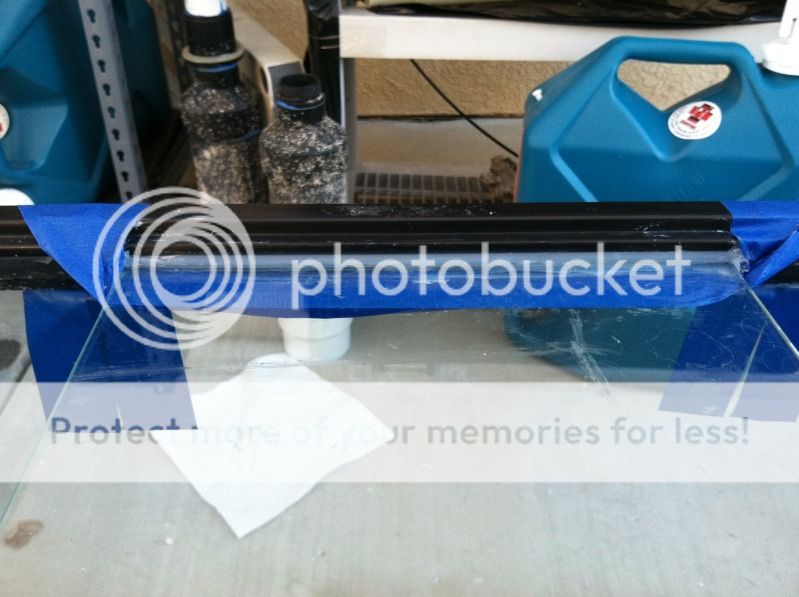
To make an overflow guard, I will be using a leaf grate that is used for rain gutters.
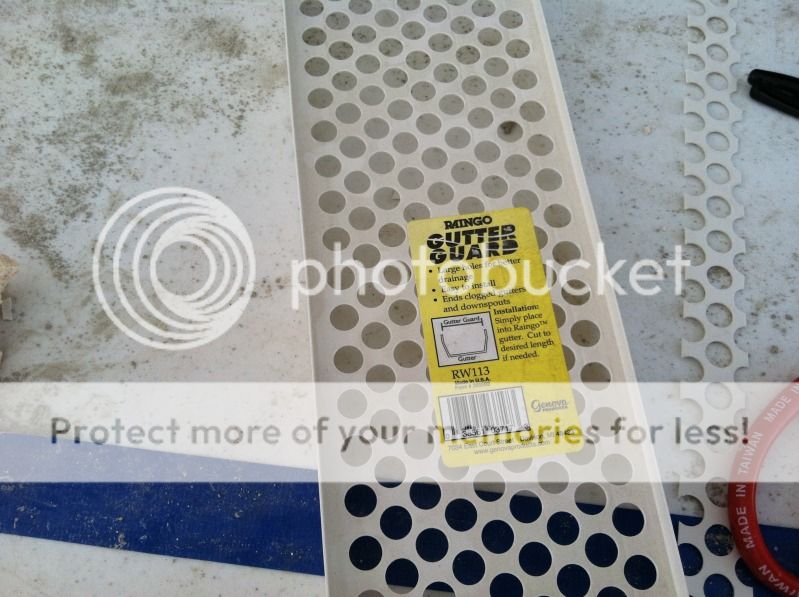
Here they are, cut to size and getting prepped for painting.
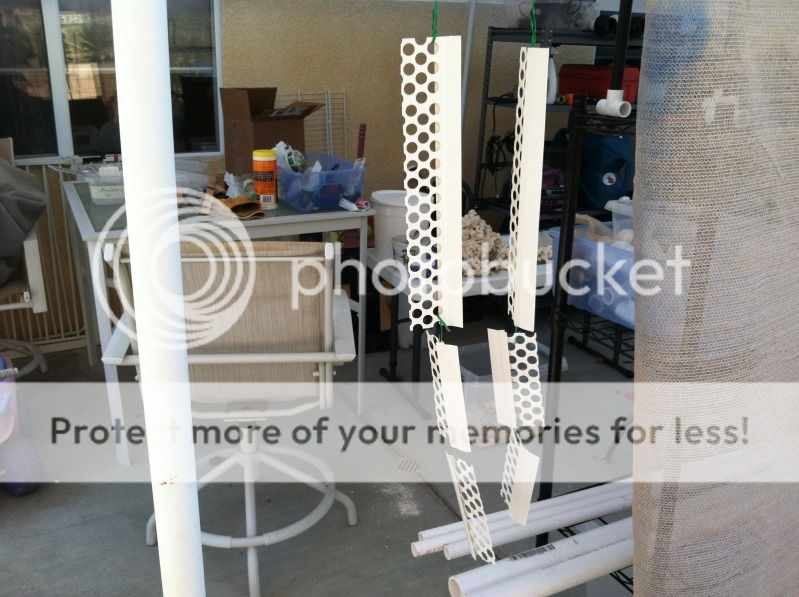
They will stick out about an inch from the edge of the overlow boxes to prevent fish from falling into the overflow box.
Here they are, cut to size and getting prepped for painting.
They will stick out about an inch from the edge of the overlow boxes to prevent fish from falling into the overflow box.
kevdogg
Reefing newb
Nice man! I love all the DIY in this build.
Humuhumununu
Reefing newb
May I suggest putting one overflow slightly higher above the other. If snails get stuck in one, then the other one will cover.
RockStacker
Reefing newb
May I suggest putting one overflow slightly higher above the other. If snails get stuck in one, then the other one will cover.
Thanks.
The tank will have two 1-1/2" Durso standpipes as overflows. And the overflow plumbing will be 1-1/2" all throughout.
With those overflow tubes I doubt I would have any snails big enough to clog both lines even if all my snails decide to start an "Occupy Overflow" movement.
There will also be an overflow guard to minimize snail intrusion into the overflow tubes.
There will also be three 3/4" return lines.
RockStacker
Reefing newb
The stand finally arrived.
Nothing I can do about the floor. I believe the homeowner's dog did this when they lived here prior to leasing the house to us.
I cut out the holes for the overflow and return lines.
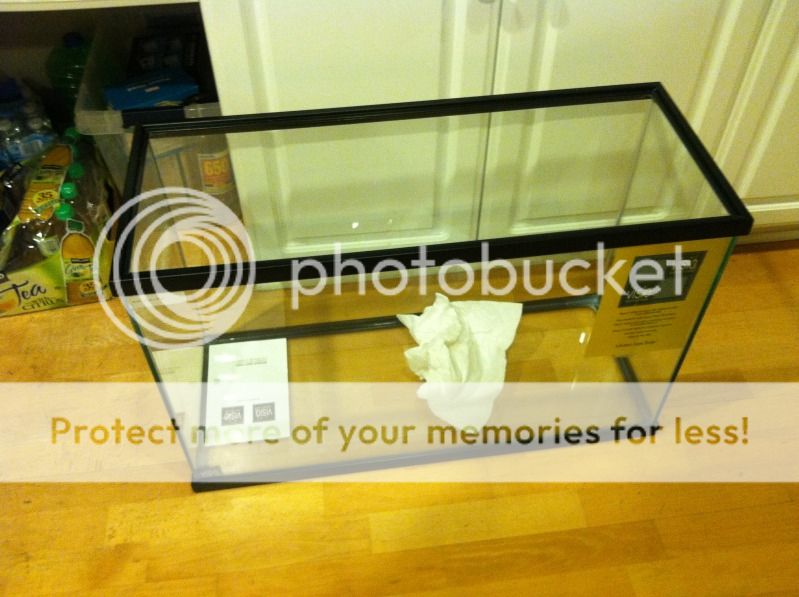
Here's the 30gallon tank to be used as a sump. 30"L x 12"D x 19"H.
This sump tank is just 18" shorter than my current 55gallon display tank LOL.
Installing the baffles. The 3/4" pipes are just used as spacers. They will come out once the silicone has cured.
This is not yet complete. There are more chambers to be installed.

Nothing I can do about the floor. I believe the homeowner's dog did this when they lived here prior to leasing the house to us.
I cut out the holes for the overflow and return lines.
Here's the 30gallon tank to be used as a sump. 30"L x 12"D x 19"H.
This sump tank is just 18" shorter than my current 55gallon display tank LOL.
Installing the baffles. The 3/4" pipes are just used as spacers. They will come out once the silicone has cured.
This is not yet complete. There are more chambers to be installed.
kevdogg
Reefing newb
Are you using glass or acrylic for the baffles? Cant wait to see more!
d2mini
Reef enthusiast
Nice stand!
And good idea with the pvc pipe spacers. :)
And good idea with the pvc pipe spacers. :)
RockStacker
Reefing newb
Are you using glass or acrylic for the baffles? Cant wait to see more!
The baffles are 1/4" acrylic (Lexan) sheets.
RockStacker
Reefing newb
Here's the tank finally set on top of the stand.
Next step will be plumbing to connect the tank to the sump.
I still need to get a return pump and skimmer, and maybe a third LED fixture to cover the additional length.
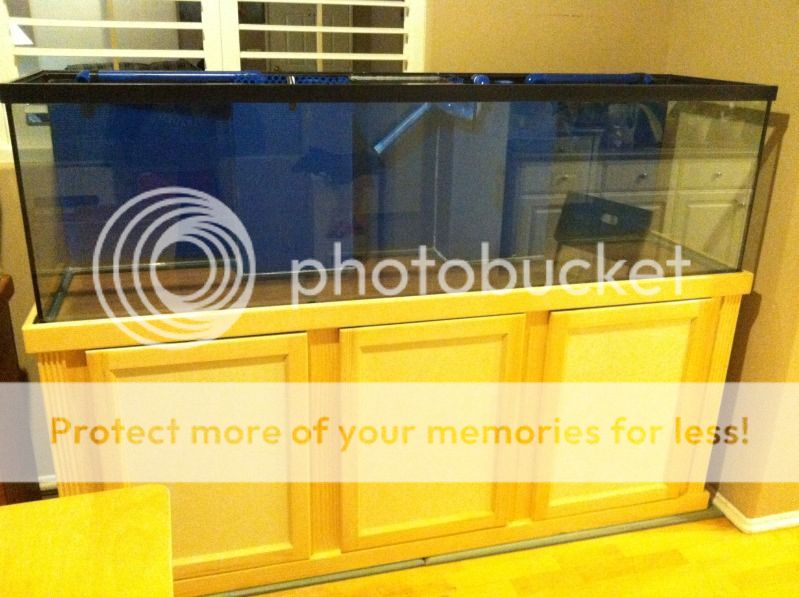
Man, the iPhone makes everything look so yellow lol.
Next step will be plumbing to connect the tank to the sump.
I still need to get a return pump and skimmer, and maybe a third LED fixture to cover the additional length.
Man, the iPhone makes everything look so yellow lol.
RockStacker
Reefing newb
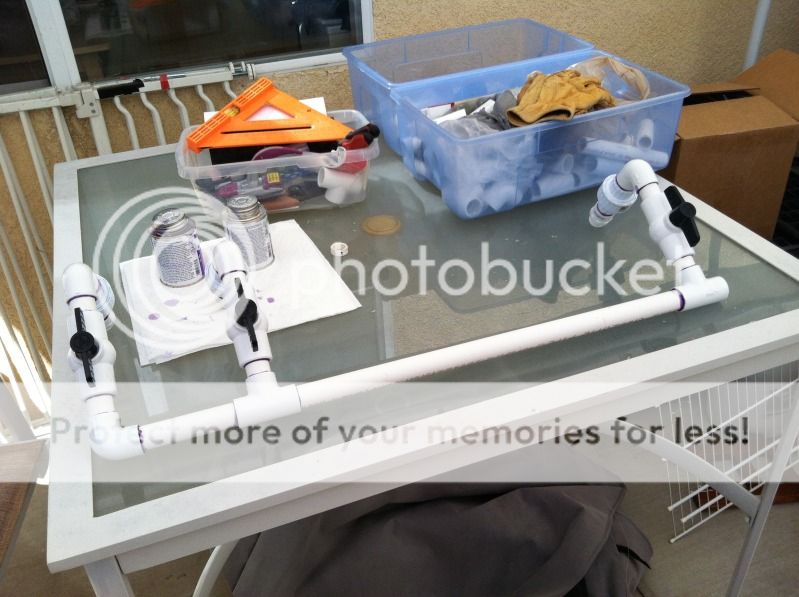
The build continues...
By this time I think I have gone through enough white PVC to build myself a complete Star Wars Storm Trooper suit.
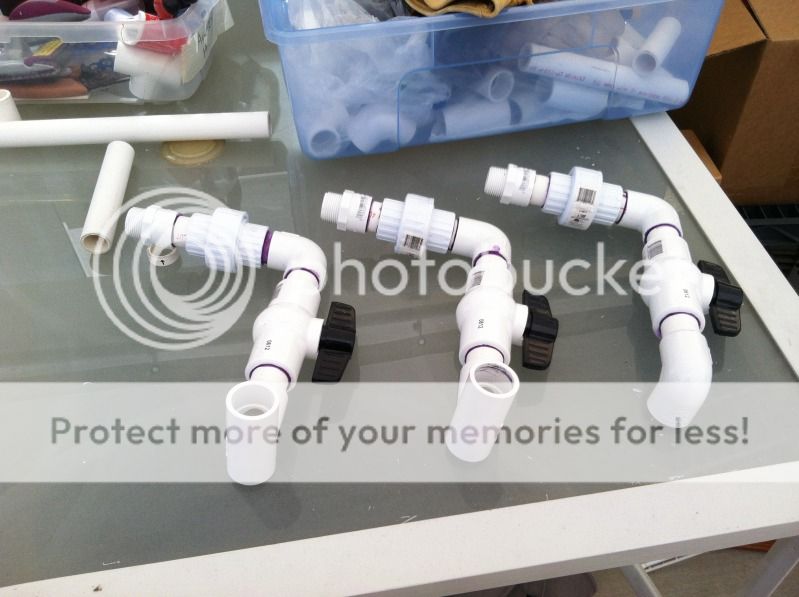
Building the manifold for the return lines.
Each return line will have its own ball valve for fine tuning of water flow, as well as a ball valve just above the return pump.
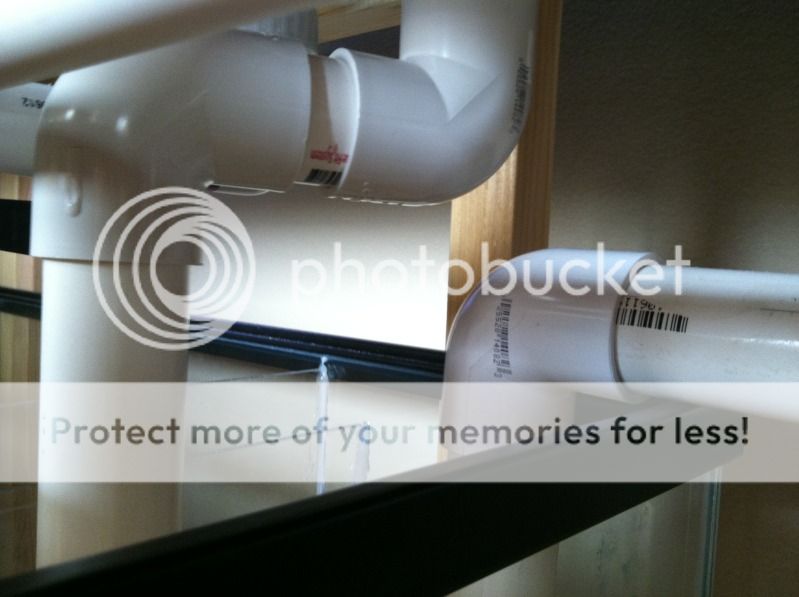
Pieces of each manifold from top left to bottom right:
3/4" male threaded to slip adapter
3/4" coupling
3/4" elbow
3/4" ball valve
3/4" Tee (the third set has an elbow instead of a tee).
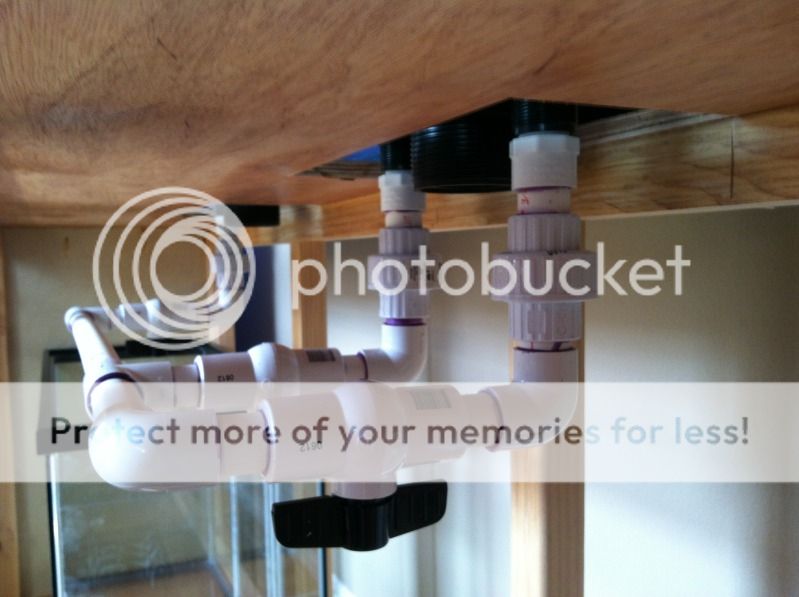
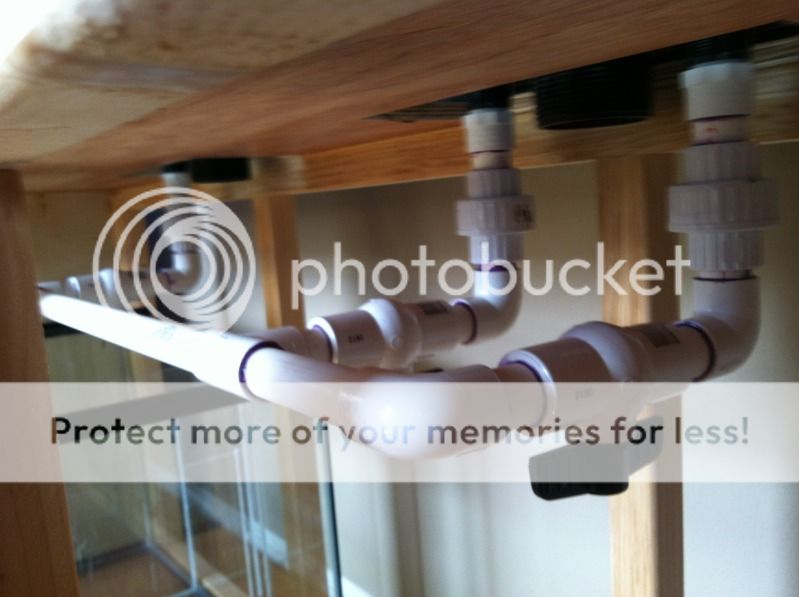
Manifolds attached to the main feed pipe.
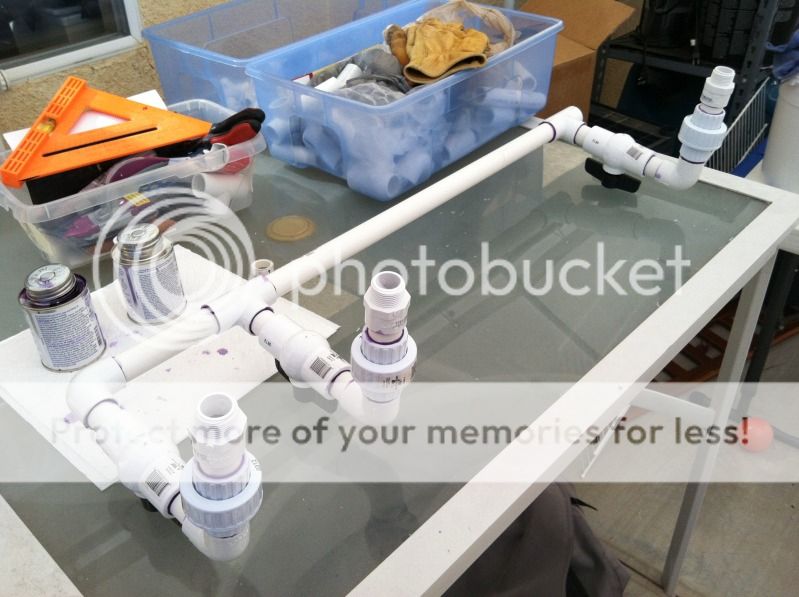
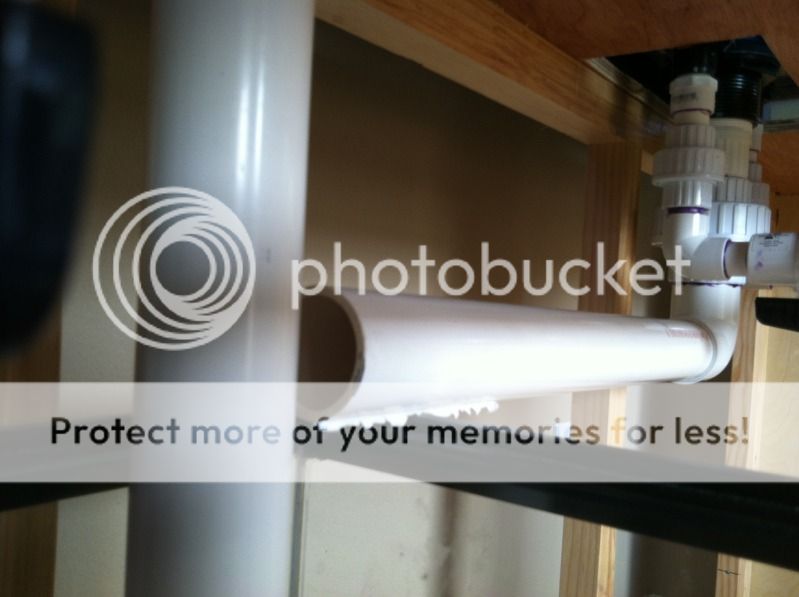
Here they are installed under the tank.
Well, back to the workshop for more building!
By this time I think I have gone through enough white PVC to build myself a complete Star Wars Storm Trooper suit.
Building the manifold for the return lines.
Each return line will have its own ball valve for fine tuning of water flow, as well as a ball valve just above the return pump.
Pieces of each manifold from top left to bottom right:
3/4" male threaded to slip adapter
3/4" coupling
3/4" elbow
3/4" ball valve
3/4" Tee (the third set has an elbow instead of a tee).
Manifolds attached to the main feed pipe.
Here they are installed under the tank.
Well, back to the workshop for more building!
RockStacker
Reefing newb
Since I am halfway through the build, I thought I'd share one blooper picture.
Can you say Design Flaw?

Problem fixed with some elbow grease, and some real elbows.

Can you say Design Flaw?
Problem fixed with some elbow grease, and some real elbows.
d2mini
Reef enthusiast
LOL! Don't you hate that?
Luckily I'm smart enough for this to never happen to me. :ugh:
Luckily I'm smart enough for this to never happen to me. :ugh:
RockStacker
Reefing newb
LOL! Don't you hate that?
Luckily I'm smart enough for this to never happen to me. :ugh:
Shuuuure Dennis.
So when are you going to ship that rig to me?
Similar threads
- Replies
- 2
- Views
- 1K
- Replies
- 4
- Views
- 3K