buddy08
SPS Addict
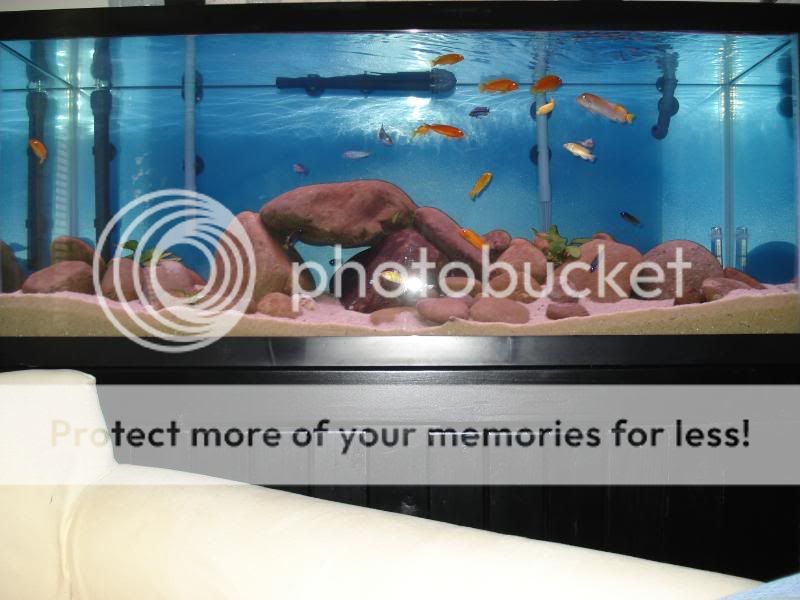
First of all, I want to tank everyone and their advice given in the "New to Reefing" thread. You all have been a tremendous help in making one of my dreams a reality; Owning a beautiful saltwater aquarium. Although mine is still in the beast stage, its a beauty in the making.
After deciding to get away from cichlids, i thought i'd try my luck at a saltwater aquarium. I gathered all my equipment and took inventory. After talking to a few hobbyist locally, I discovered my stuff was outdated and so it begins.:helm2:
Here is what I started with:
Inventory:
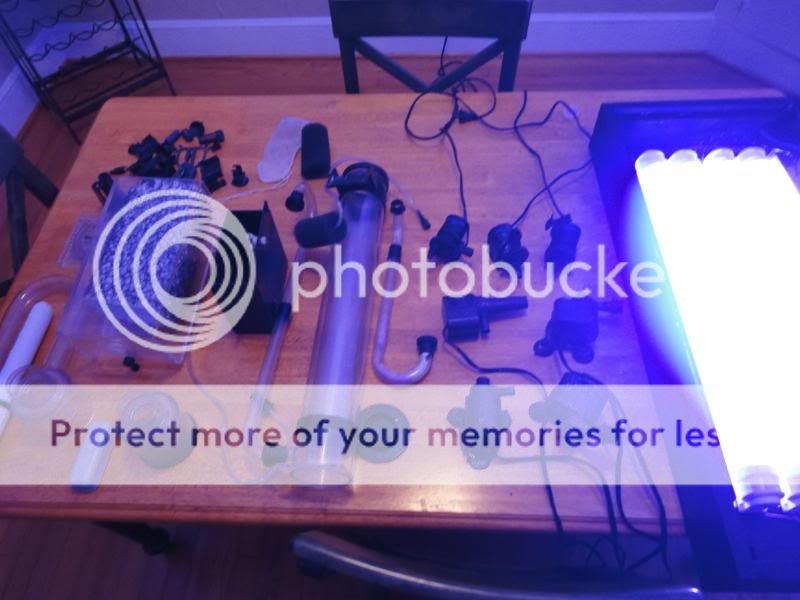
later, everything in the picture was replaced excluding the vho ballast, and powerheads.

note: I also purchased 2 sureflow mod kits and magnets for my maxi 1200s, t5 endcaps with standoffs and reflectors
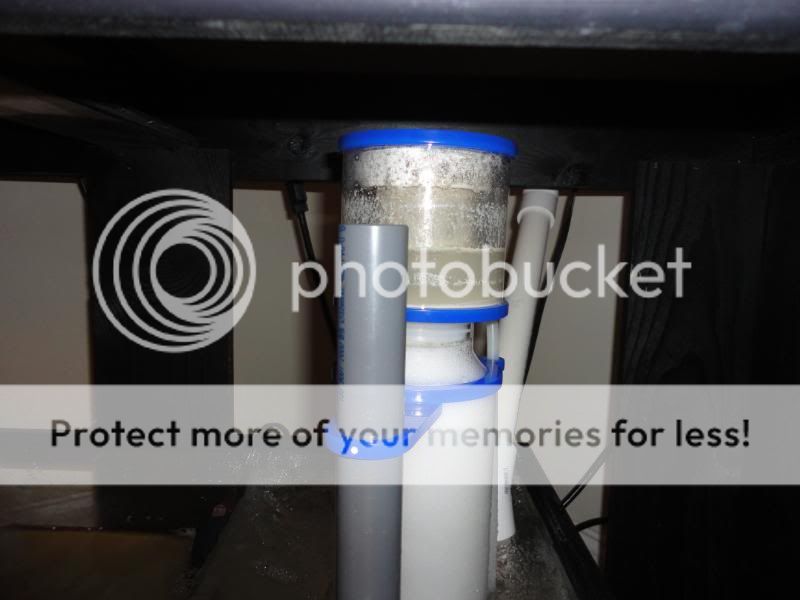
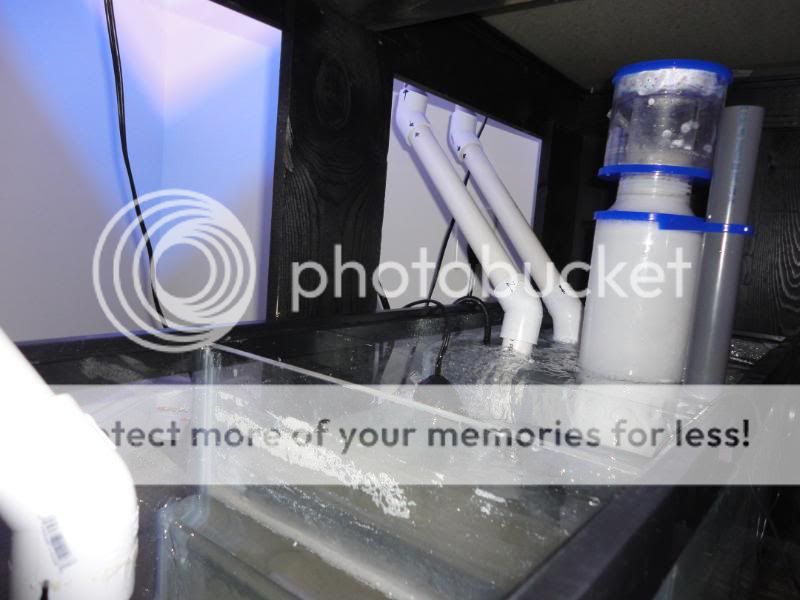
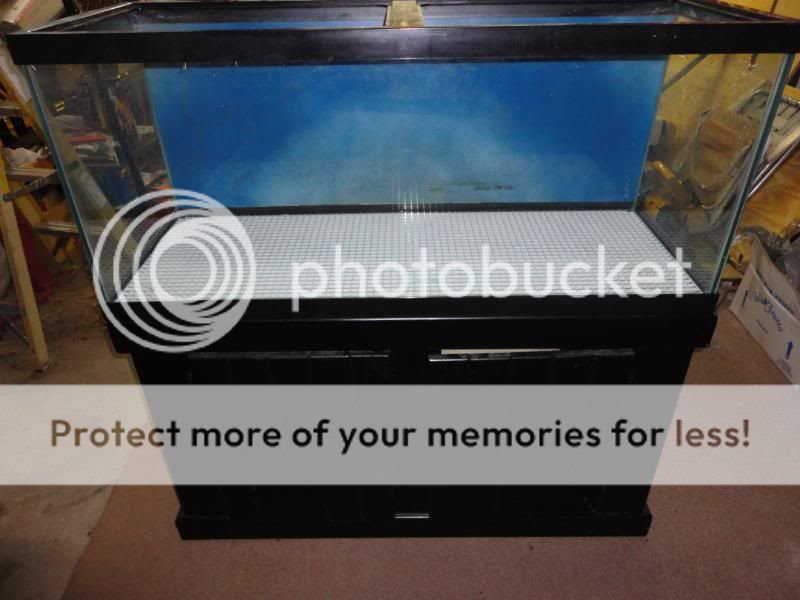
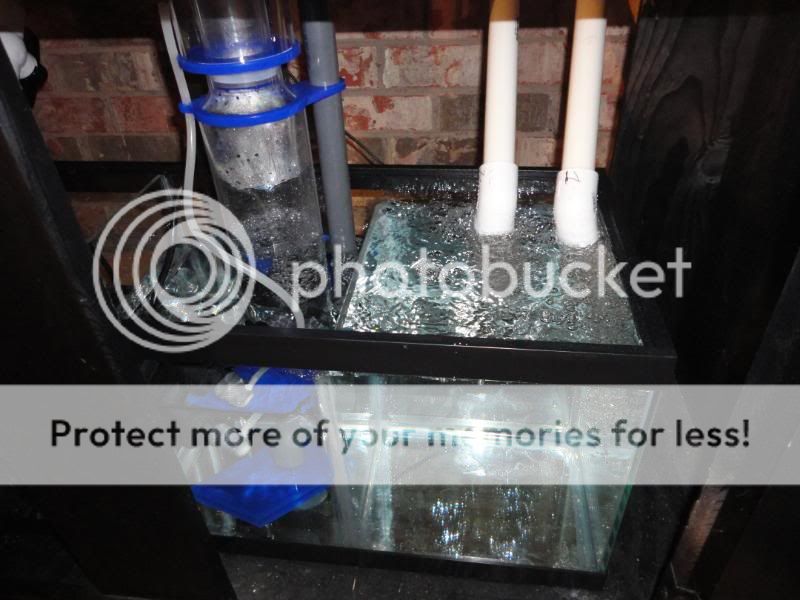
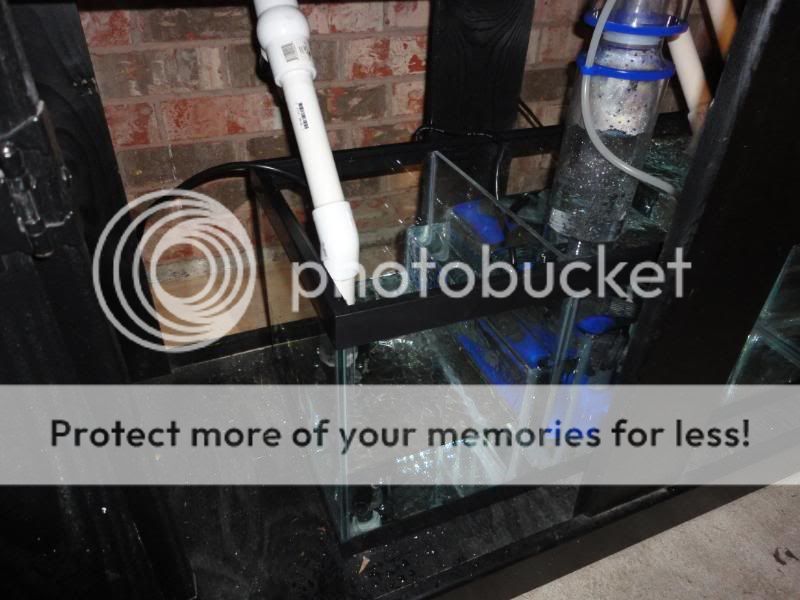
For my sump i decided to use a 20g long, i would have liked to use a 30 gallon but didnt have enough room under my stand. I used 1/4inch acrylic plexi glass for my baffles
Needed Tools
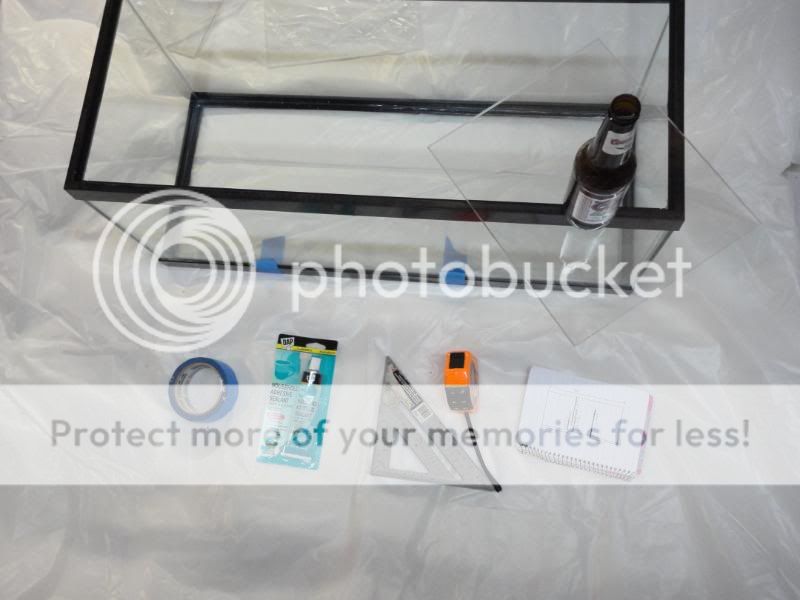
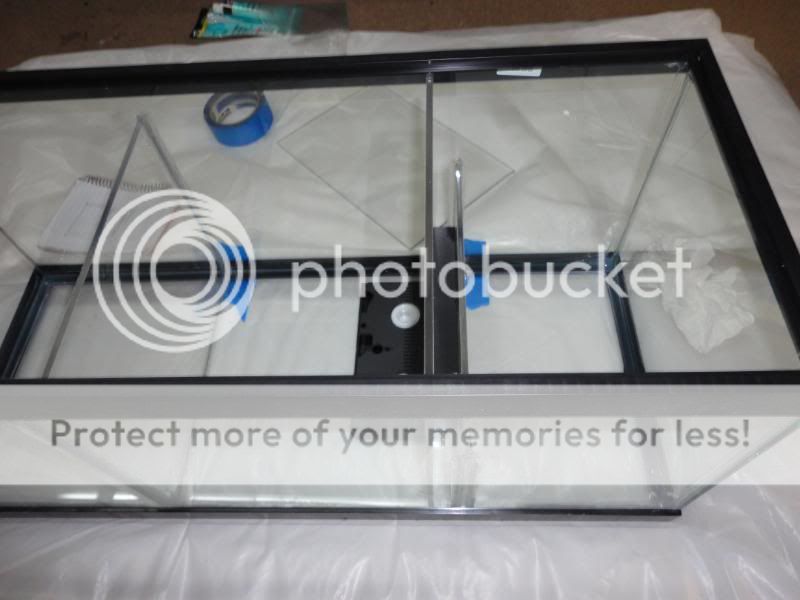
do make note of those old VHS tapes... came in handy for the 1" gaps in my bubble trap. The sump took me 3 days to complete, with silicone cure time and leak tests.
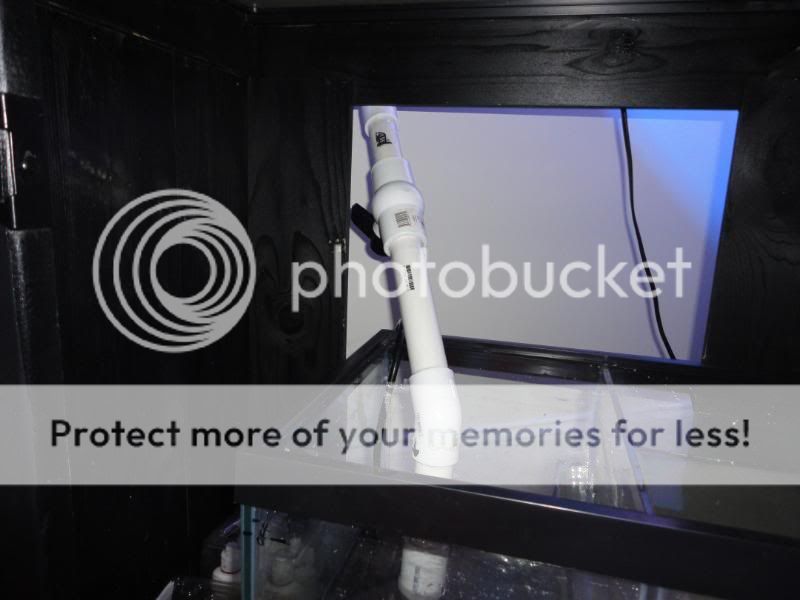
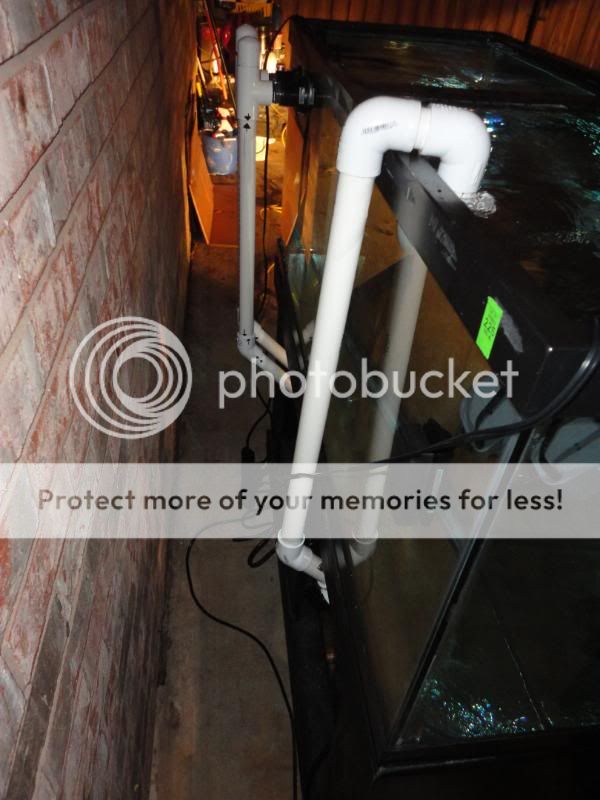
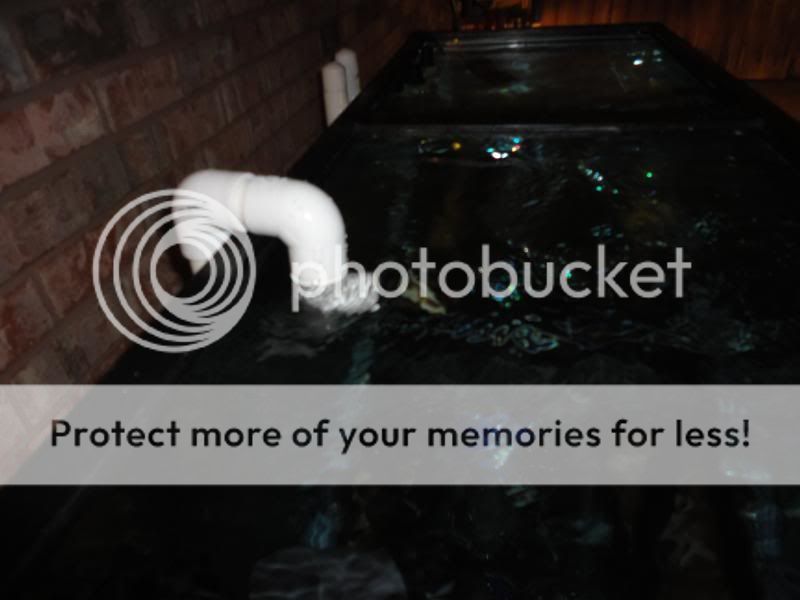
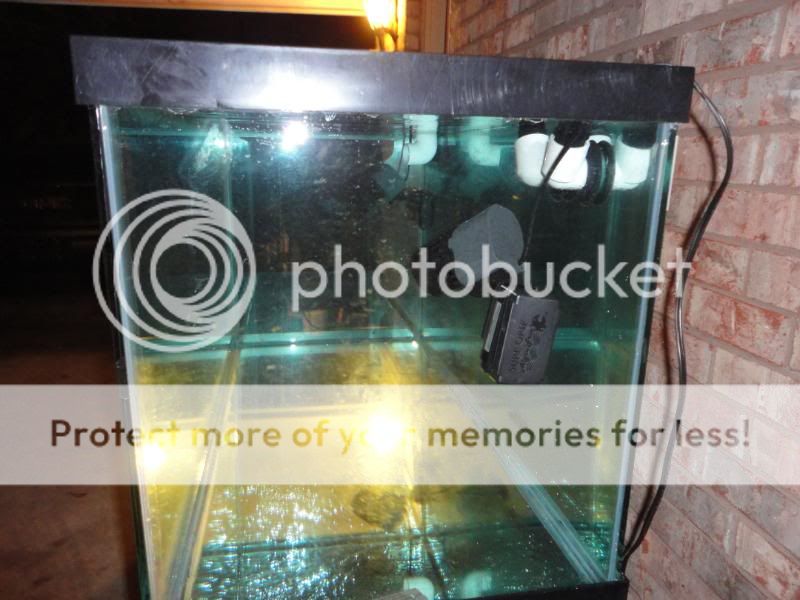
I also drilled my aquarium, I did not want to see an overflow box, IMO it gets in the way. I would have pictures for this but the camera was dead during construction, sorry :[ I was told 2x 1" bulkhead overflows would give me a good water supply to my sump and mag 7 return. I bought the drill bit from ebay for 15$ and some plumbers putty from lowes. Made drilling the tank an ease. Just be sure to use duct tape on the inside so the glass disc that is drilled doesn't fall and crack the opposite side.
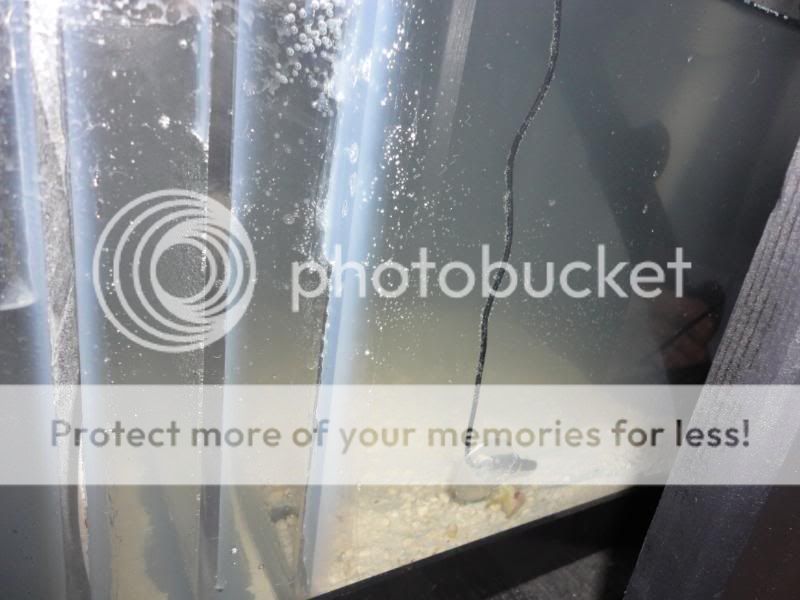
After drilling and installing my plumbing, i decided to test it for leaks and functionality. To my surprise, it was a success!
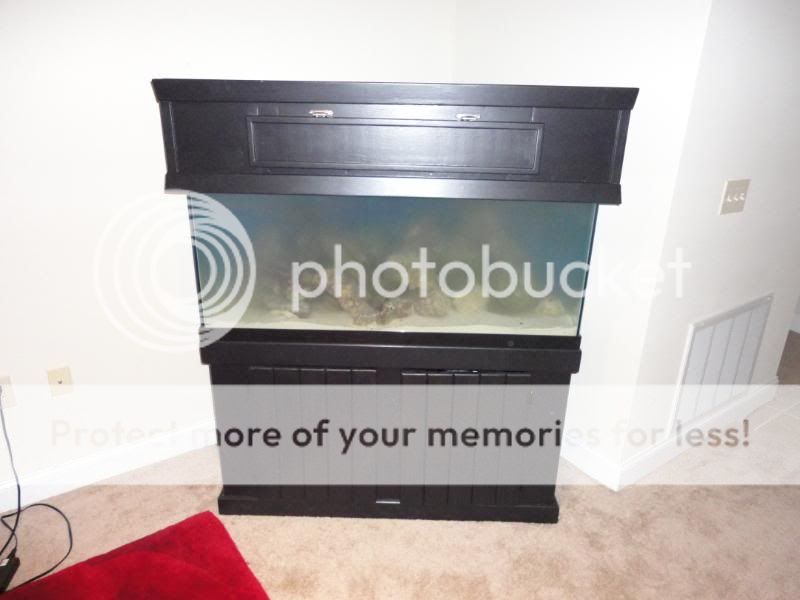
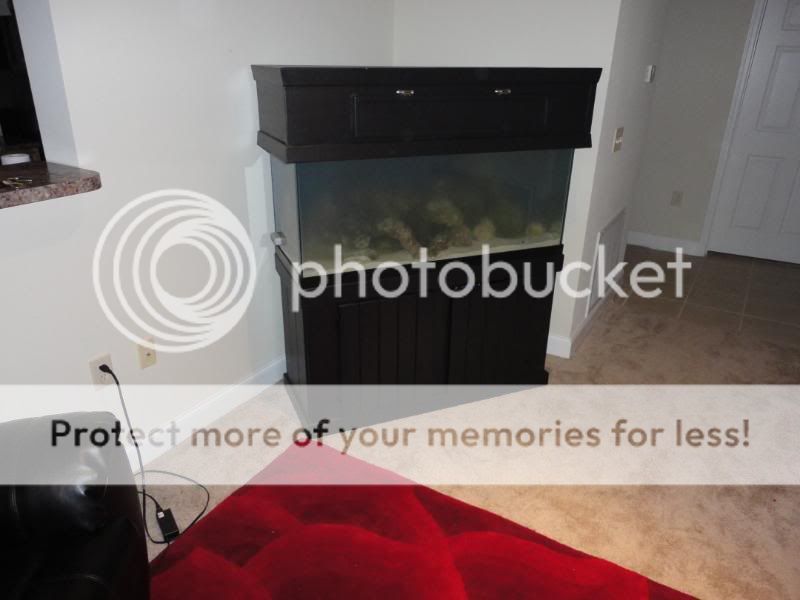
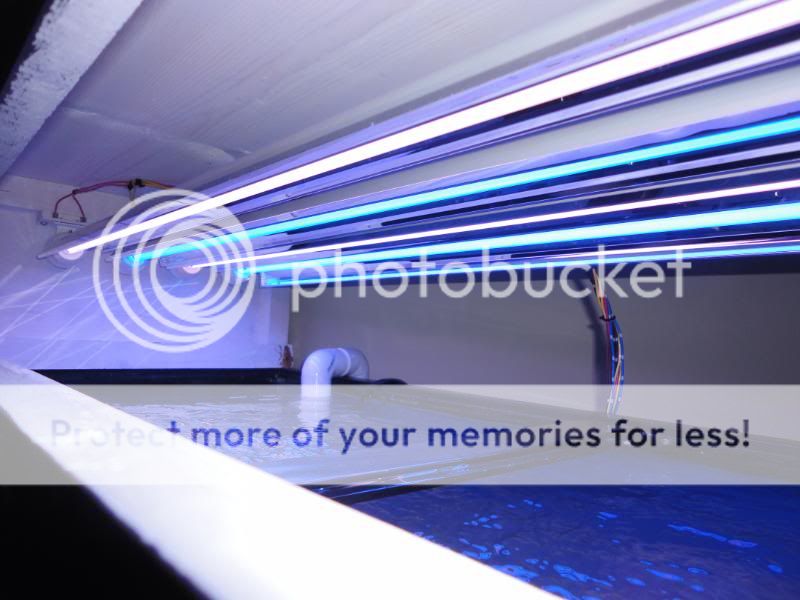
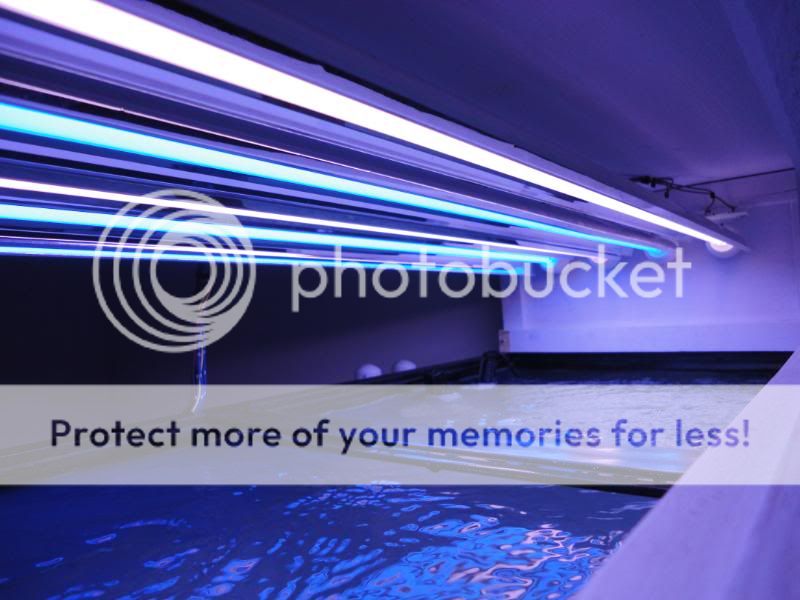
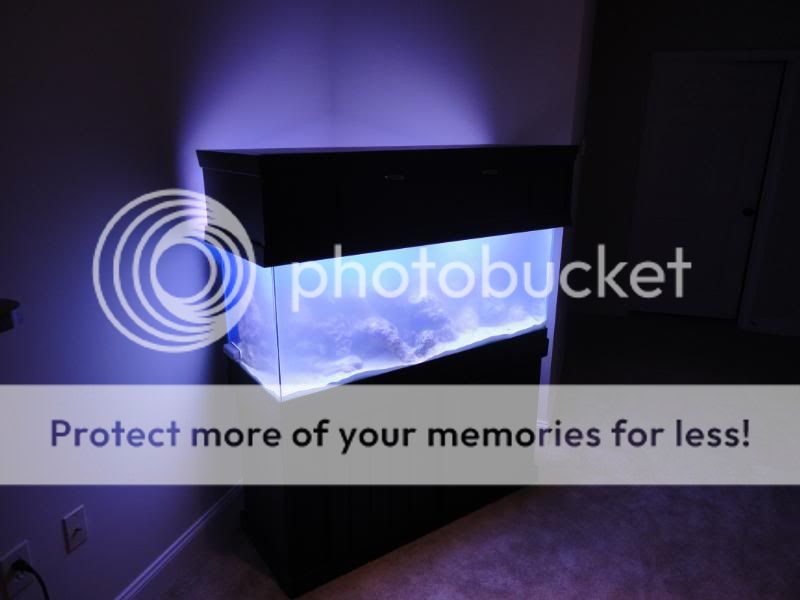
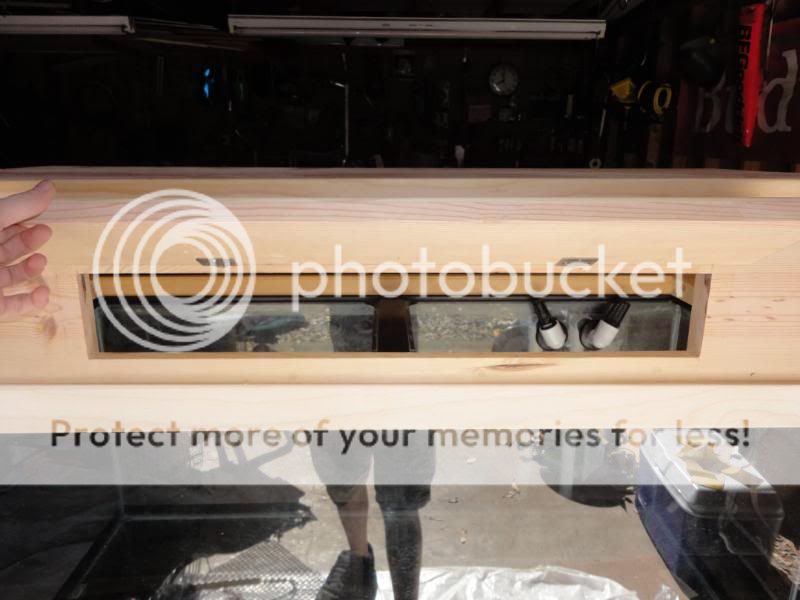
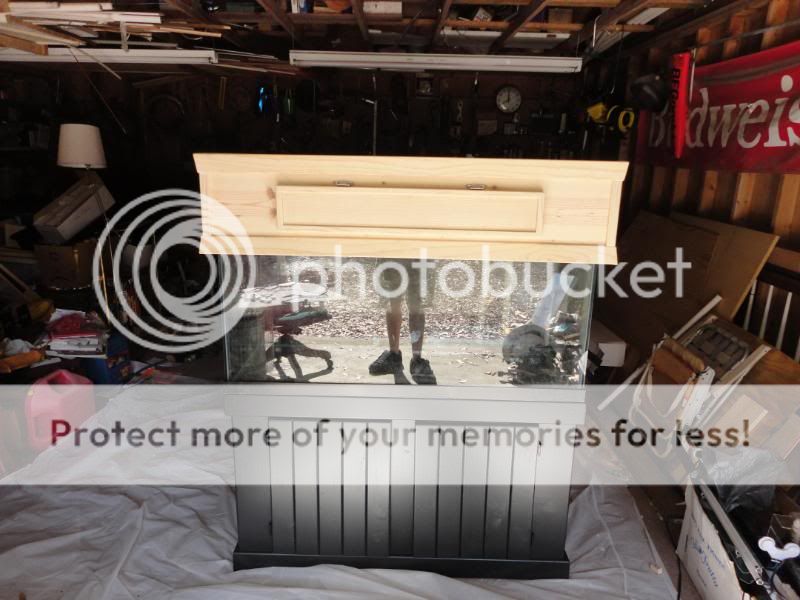
a few days later, i began construction on my DIY canopy. Again, camera was dead but i did snap a few shots after i finished it before paint. the canopy frame and skin is all pine and cost roughly $100 after finished (not including lighting). I'm in the process now of getting 2 fans to keep the HO t5s cool. Heres pics before it was painted black to match the stand.
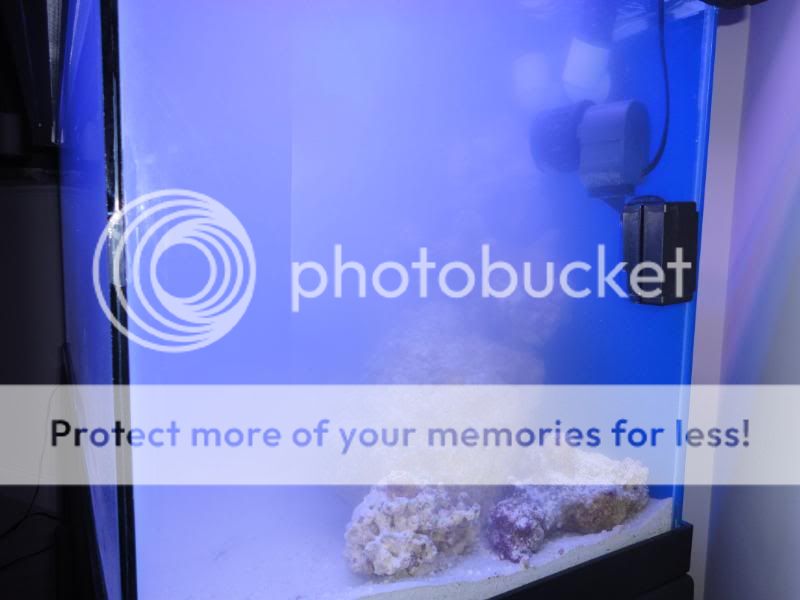
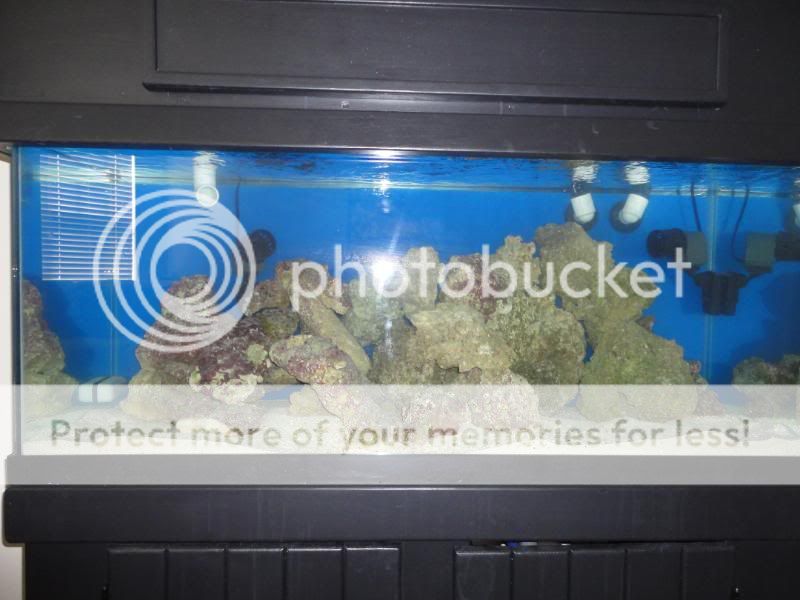
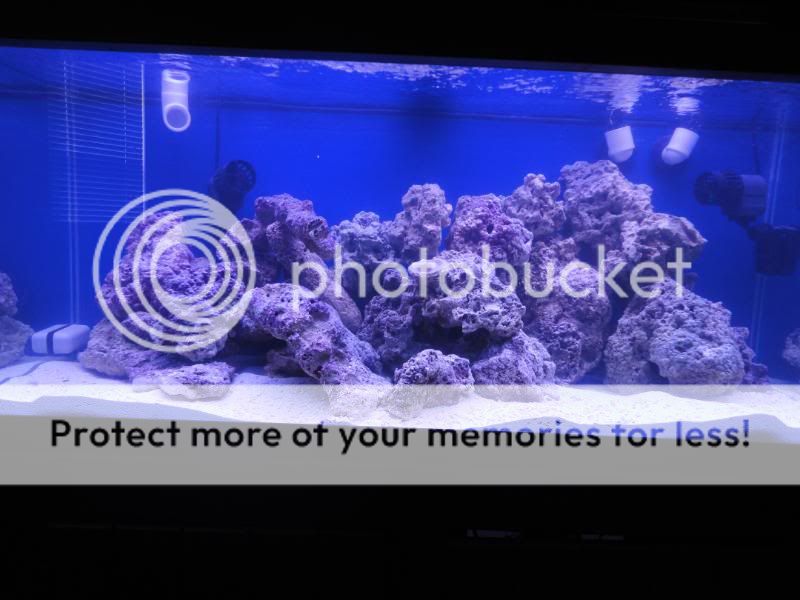
Then came the live rock... By far, the most stressful step in this build. It was hard deciding what I should buy (live rock, base rock, dry rock and so forth based on quality). After a lot of searching and a decent drive, i came across a pet store in pensacola fl; the owner made me an offer i couldnt refuse. I purchased premium liverock covered in beautiful purple coraline algea for under $3.50 a lb and with my purchase, he also threw in some live sand. Since he was so nice, i decided to buy my ro/di unit from him (Also gave me a great deal on this as well). So needless to say, i scored a decent amount of goodies!:^:
After deciding to get away from cichlids, i thought i'd try my luck at a saltwater aquarium. I gathered all my equipment and took inventory. After talking to a few hobbyist locally, I discovered my stuff was outdated and so it begins.:helm2:
Here is what I started with:
Inventory:
later, everything in the picture was replaced excluding the vho ballast, and powerheads.
note: I also purchased 2 sureflow mod kits and magnets for my maxi 1200s, t5 endcaps with standoffs and reflectors
For my sump i decided to use a 20g long, i would have liked to use a 30 gallon but didnt have enough room under my stand. I used 1/4inch acrylic plexi glass for my baffles
Needed Tools
do make note of those old VHS tapes... came in handy for the 1" gaps in my bubble trap. The sump took me 3 days to complete, with silicone cure time and leak tests.
I also drilled my aquarium, I did not want to see an overflow box, IMO it gets in the way. I would have pictures for this but the camera was dead during construction, sorry :[ I was told 2x 1" bulkhead overflows would give me a good water supply to my sump and mag 7 return. I bought the drill bit from ebay for 15$ and some plumbers putty from lowes. Made drilling the tank an ease. Just be sure to use duct tape on the inside so the glass disc that is drilled doesn't fall and crack the opposite side.
After drilling and installing my plumbing, i decided to test it for leaks and functionality. To my surprise, it was a success!
a few days later, i began construction on my DIY canopy. Again, camera was dead but i did snap a few shots after i finished it before paint. the canopy frame and skin is all pine and cost roughly $100 after finished (not including lighting). I'm in the process now of getting 2 fans to keep the HO t5s cool. Heres pics before it was painted black to match the stand.
Then came the live rock... By far, the most stressful step in this build. It was hard deciding what I should buy (live rock, base rock, dry rock and so forth based on quality). After a lot of searching and a decent drive, i came across a pet store in pensacola fl; the owner made me an offer i couldnt refuse. I purchased premium liverock covered in beautiful purple coraline algea for under $3.50 a lb and with my purchase, he also threw in some live sand. Since he was so nice, i decided to buy my ro/di unit from him (Also gave me a great deal on this as well). So needless to say, i scored a decent amount of goodies!:^: