ilyad's JBJ build

Wow, so get ready for this guys, a major update this time....

on 1/9/12 I bought a single polyp of the Blond Blue Eyed B!tches (aka Blondie)
IMG_1665.jpg


Here it is acclimating to the lights
IMG_1681.jpg


And in its final spot
IMG_1688.jpg


Here is the picture from the seller of another frag to show how these guys look in person:shock:
IMG_1670.jpg

I cant wait for mine to grow and spread!!!

Then on Friday the 13th I had one hell of a day. It started out great with this package I got with some goodies for my tank
IMG_1698.jpg


I got the Eheim Heater and a digital thermometer
IMG_1699.jpg


So to test the thermometer, I threw it in the tank and this is the reading I got!!
IMG_1700.jpg

Keep in mind, this is not the hottest the tank has gotten during the day :frustrat: My first reaction was that the thermometer was broken, or inaccurate, so I rushed to the LFS, dropped it in their tank (with their permission) and got a reading that was spot on to the one on their expensive temp gauge... Both the owner and myself were shocked that nothing has died in my tank. So instead of getting the Midas Blenny and the chalice I was planning, that money plus a lot more went towards a chiller. :grumble:

Here is the one I ended up getting (same day thanks to the guys at coral collection)
IMG_1720.jpg


The guys at the LFS and I spent a few hours researching online how to best connect this thing and finally found that the best method is to use one of the return pumps to go directly to the chiller and then back right into the jet to the DT (if we were to send it back to the filter area, it would be a little counter productive as it would be next to the heater and whatnot)

Here is where the chiller was to sit, which means all that tank stuff would have to go somewhere else
IMG_1721.jpg
 
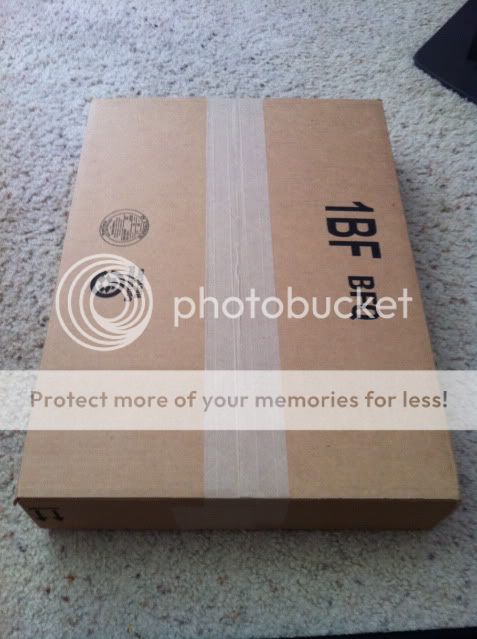
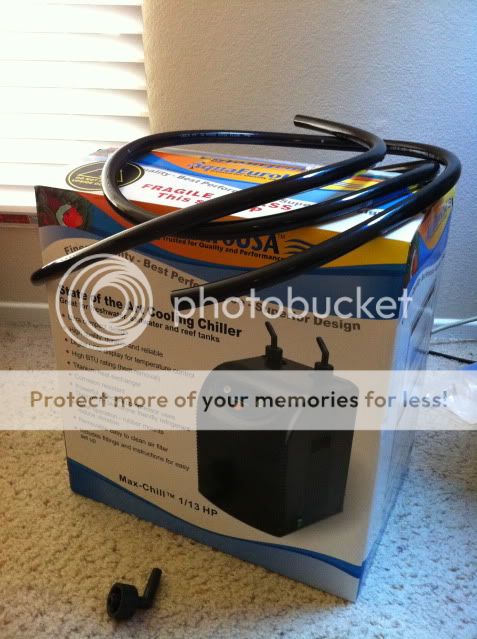
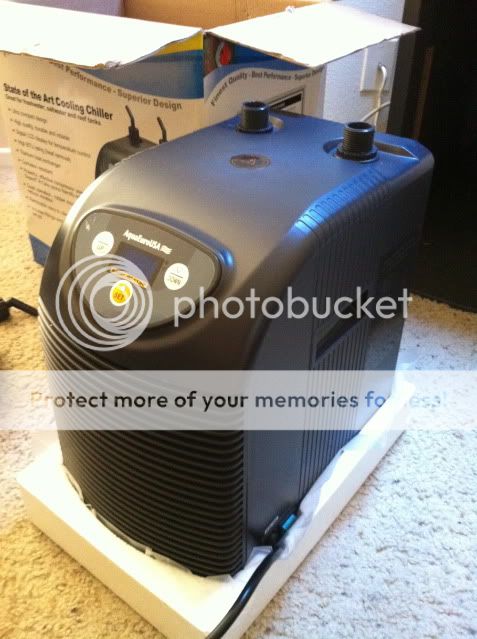
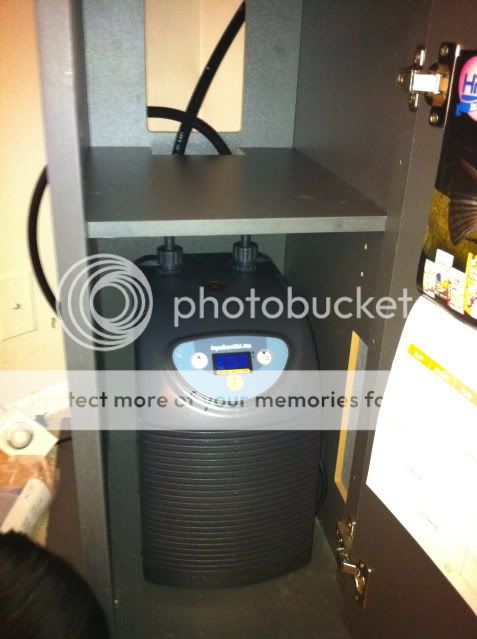
So to install the chiller, obviously it had to come out of the box. This is how it looks (pretty slick if I must say so)
IMG_1722.jpg


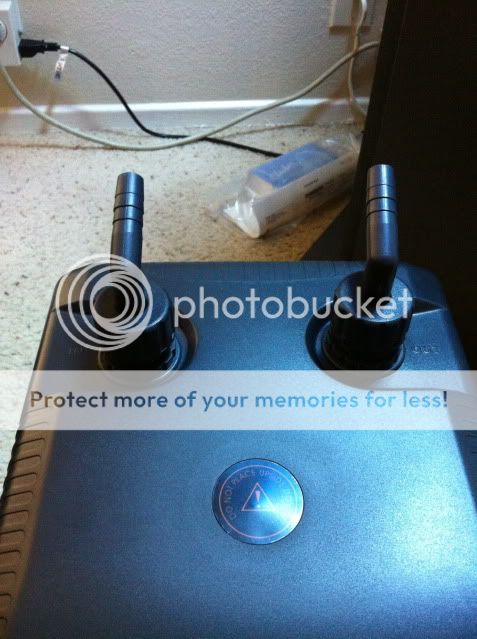
Then per the instructions I attached the hose connectors
IMG_1723.jpg


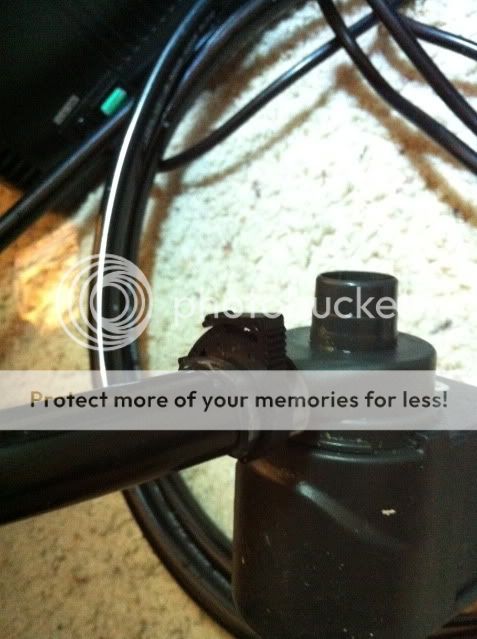
In the back of the tank I used plastic clips (to prevent rust and corrosion, which the guys at CC gave me for free) The tubbing was 1/2in pond hose that I picked up at another LFS
IMG_1724.jpg


The ones on the chiller we used a metal clip that came with the chiller
IMG_1725.jpg


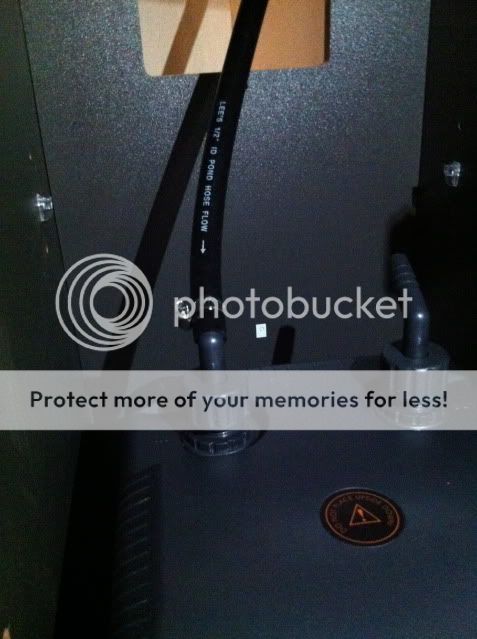
Thats how it looked installed
IMG_1727.jpg


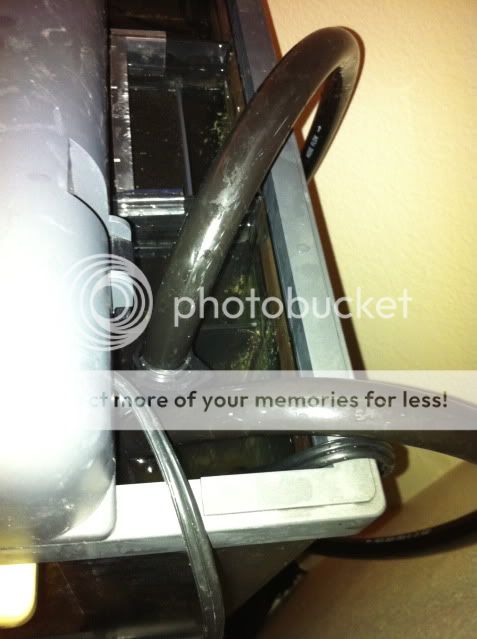
And now to connect it back to the top of the tank
IMG_1729.jpg

The hose on the right is connected to the return pump and the hose on the left goes back to the tank

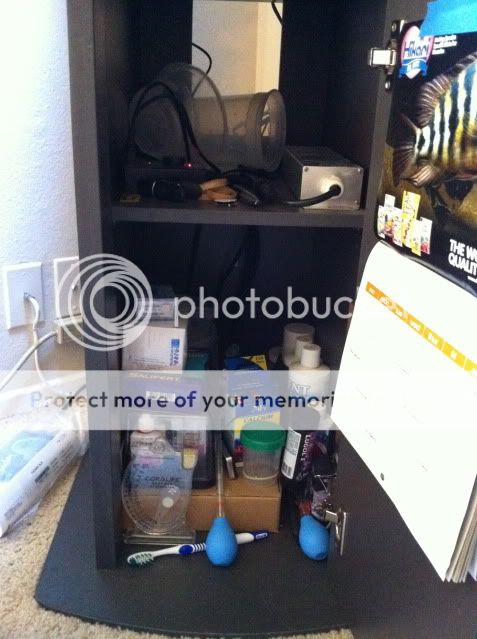
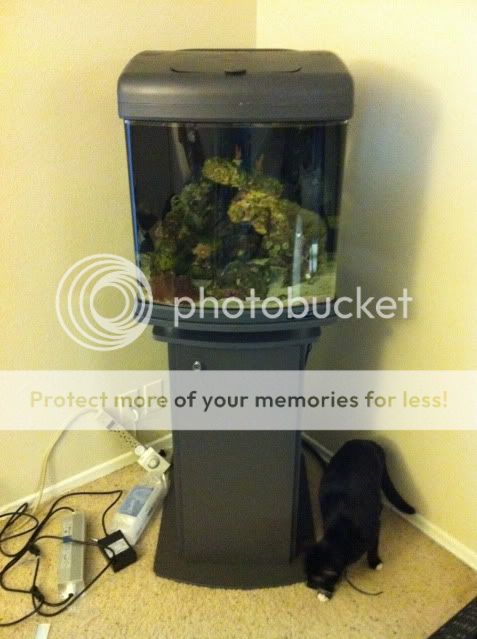
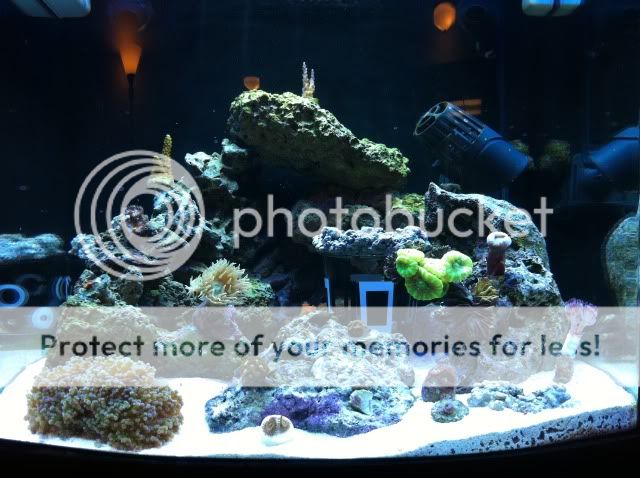
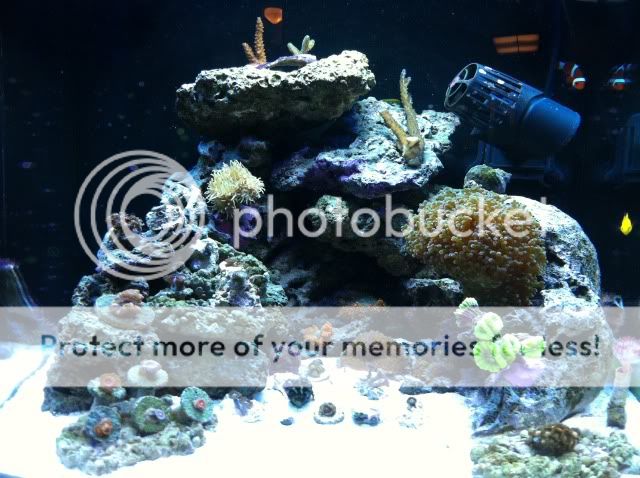
How the tank looks from away (you cant see anything at all)
IMG_1731.jpg


And with the door open
IMG_1732.jpg


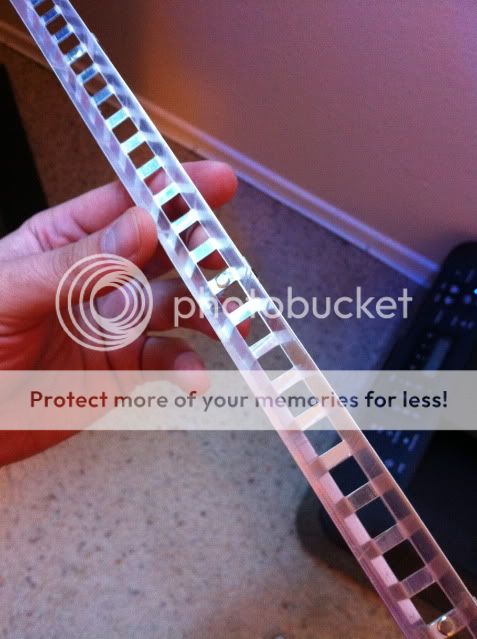
A few problems I ran into was that before my two pumps (upgraded to maxijet 1200) ran on a wavemaker meaning that at any given point, only one would be working. When I had to constantly run one to the chiller and another alternating, the pumps would kick out more water than would trickle back into the back :frustrat: So I had to downgrade back to the original pumps that came with the tank (although checking online, each was only 30gph less than the 1200's and since both would be running now, I should get more water turning over!!). I also had to break out a few of the bars on the overflow to allow more water to flow in (at this time I have nothing that can fit through the space, but if I ever do, I will make sure and attach a screen of sorts in front of them)

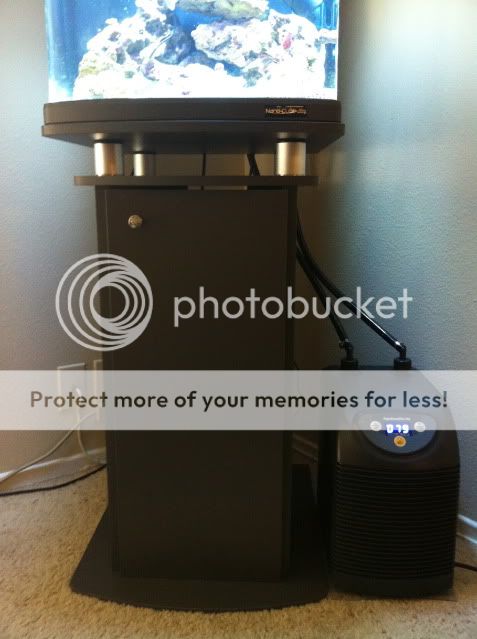
Unfortunately this wasnt the end, the chiller did not do well in the stand, there was just not enough air movement there and it created a little sauna in there, both being counterproductive since the water would warm up a little on the way in and out and worst of all, the internal thermometer on the chiller would read the real temperature a lot higher than it really was, making the chiller work longer and cooling the water a lot less than needed. So it had to come back out and outside the tank. An hour later reconnecting everything again, this is how it looks
IMG_1735.jpg


I also used an old computer chair mat and cut out a rectangle to put under the chiller so that its more stable than on the carpet
IMG_1734.jpg

I wish I did this for the tank as well

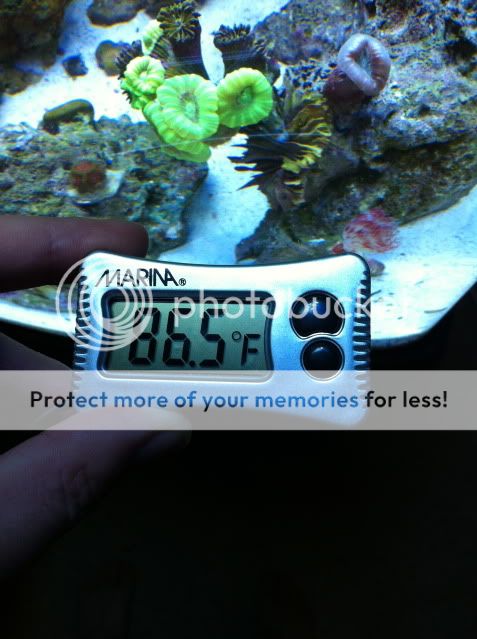
So after some tweaking I dialed in the chiller and we were good to go on the temp. (A little note for anyone interested in this chiller, its it pretty quiet, although I havent heard many other ones to compare) (A SECOND MORE IMPORTANT NOTE IS THAT THIS CHILLER COMES ON ONCE THE TEMP IS 2 DEGREES ABOVE YOUR SET POINT SO THAT IT DOESNT TURN ON ALL THE TIME 1 DEGREE GOES UP) I wanted to set my temp to 79 and I found that setting the chill point at 77 did the trick. Its been pretty much constant at 79 since then (sometimes 78)

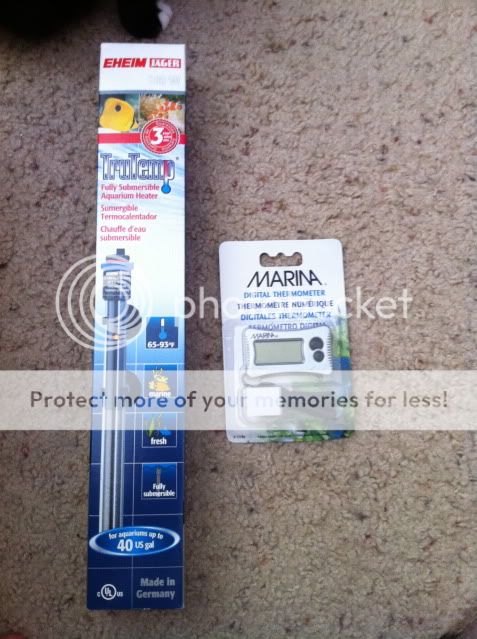
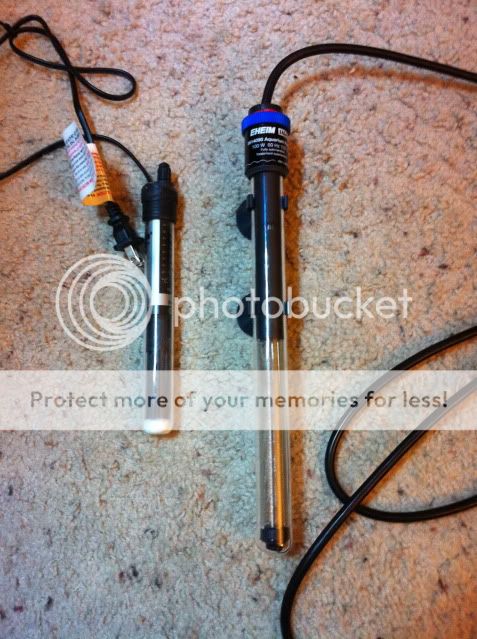
So now to I put in the new heater that I already forgot I had gotten earlier that day. Here is the comparison of the size to the previous heater
IMG_1733.jpg


After some confusing instructions and some hours of tinkering, I thing I have it dialed in right and its working great!

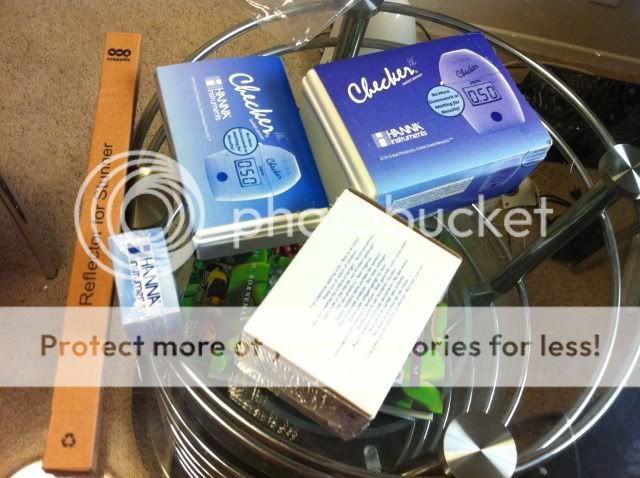
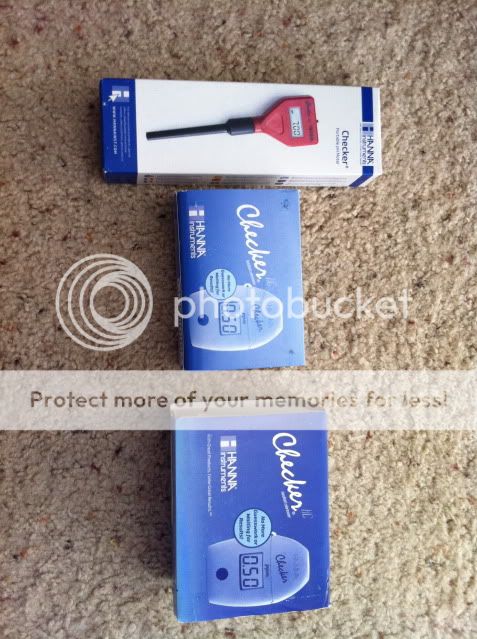
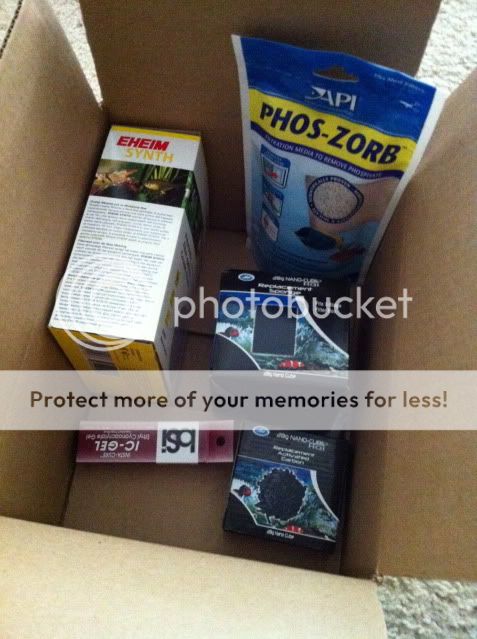
Also, while all of that was going on, I had gotten my order of other goodies for the tank
IMG_1701.jpg

Hanna Colorimeter checkers for Calcium and Phosphate, a stunner strip reflector and extra regents for the checkers.

Ok, I though, at least these will cheer me up after this long day of dealing with my temp
 
This is the reflector
IMG_1704.jpg


And the tank w/out
IMG_1705.jpg


And with
IMG_1706.jpg


My honest opinion, its pretty useless... I did get better light penetration depth wise, but it focused the light in such a specific area that only a small part of the tank got the added color... I ended up not using this thing at all (if anyone has these strips and wants the reflector let me know)

Now on to the testers...
Here they are in all their glory
IMG_1710.jpg

Looks pretty awesome so far!!

So i took them out and inspected them, played around a bit and this is what I found
IMG_1711.jpg

The Phosphate checker was broken!!! As if this day couldnt get any worse :pooh:
I did get the checker replaced for a new on after the weekend and I ended up getting a pH reader as well
IMG_1744.jpg


IMG_1745.jpg


And here is me trying it out
IMG_1746.jpg

This makes it so much more easy to read and its actually fun testing the water now. Plus its freaking accurate to a small degree. No more messing with trying to find out what color it is and stupid ranges like 0-.25 - 0.5 - 0.75. Best investment I made thus far. I love them. I plan to upgrade all of my testers to these guys as my tests run out... next in line Alk, Iodine, and Mg (in that order)

So now for some good news! I was bummed out about not getting any new livestock I was planning to get but I found a way to do it, I put up my pumps online for a trade for a list of corals I really like. I got a reply and to my surprise got more than what I expected

I traded one of the pumps for this
IMG_1750.jpg

a frag of Sunny D's!!! hhhmmm.. these are so awesome looking!!! Love the colors (which my stupid iphone doesnt do it justice, and they look awesome in the night mode)

And for the second pump I got these
IMG_1747.jpg

Ive always wanted a blasto, and I got a frag with 13 heads!! Yes, there small. Yes, there not quite a crazy looking color, but I love them, so thats that!

I love the deal I got on the trade... Im honestly considering buying some equipment and trading them for corals, LOL because I really got a much better deal than what those pumps cost!
 
Great work. I like the way on how everything came about as you started from scratch. I really admire what you have done. Waiting for more updates :)
 
Great work. I like the way on how everything came about as you started from scratch. I really admire what you have done. Waiting for more updates :)

Thanks puffy... it is crazy looking back and looking at the old pictures of when it was just sand, rocks and water... LOL

wow, you have come a long way. tank is looking awesome!

Tank is looking great...good job with everything.

Nice pick ups on everything. Tank is looking good!!!

Thanks guys
 
Cut a small hole in the back of that cabinet, right be hind that chiller. Place a computer fan in there to pull the air out while it is on. Otherwise it is just re-using it's own heated air in there.
 
Cut a small hole in the back of that cabinet, right be hind that chiller. Place a computer fan in there to pull the air out while it is on. Otherwise it is just re-using it's own heated air in there.

Thanks Wade,

But I think Im over it... it looks fine where it is, and Im really not in the mood to mess with cutting the stand and installing fans... Especially since I dont have any of my tools out here, they're all at my parents house (since this is just my apt while Im going to school)
 
Man that sucks about all the bad news but at least you got everything sorted out in the end. The new corals look great!
 
Another update for you guys - Had another one hell of a week

To start off, I got a bunch of filtration goodies to change in my tank (sponges, filter floss, carbon) also some additional items (frag glue and phos zap - incase my phosphates jump up)
IMG_1755.jpg


And then this package arrived too
IMG_1756.jpg

In it, a batch of 3 mushrooms shipped from Florida

The poor guys ended up flying over for 2 days in the bags and they came in pretty tough shape

IMG_1762.jpg

This one has the best coloration but most of it melted away overnight. There is still tissue left and some foot (hopefully, it lives up to the name of hardy mushrooms and makes it back)

IMG_1765.jpg

This one was torn and only partially attached to the rock

IMG_1766.jpg

This one is not as bad, only some coloration loss (this one was for Kilo) and he's picked it up since

The flow for the mushrooms was just too much, so I placed them in a glass in the tank to reduce flow. I also picked up some rocks at the LFS to use as a light shield, since the glass wouldnt fit anywhere where the lights werent too strong

Here is how the mushroom hospital looks
IMG_1781.jpg


If and when the mushrooms recover, the rocks will be used to glue the paly frags to in order to start my paly gardens

From the research Ive done and consulting the guys at the LFS, this is a St. Thomas mushroom, with a rare coloration. So not only are these guys rare to start with, but the colors make it that much more rare

I really really hope these make it!!

Also, while my friend and I was at the LFS, he wanted to give me a gift and bought a frag of the Space Invaders


The frag
IMG_1778.jpg

It was one head and a little baby... the sold it to us as one (and still discounted even more)... My store from now on is definitely Coral Collection (Im sorry if it sounds like an ad, but they have some crazy corals and they always, always give me a deal, they deserve a little shout out at the least)

Opening Up
IMG_1780.jpg


All Open
IMG_1782.jpg


And now for the current FTS
IMG_1789.jpg

I cant wait for the mushrooms to recover so I can get rid of the "hospitals" and then put the paly frags on those rocks and in their place

So the tentative plan is to have colonies on the rock around the tank with mother colonies. I will then cut up polyps of each one of the ones I have and stick em all on the rock upfront. That way I will have patches of colonies around the main rocks and a paly garden of all the ones I have to make a tie dye paly rock center piece

Here is my collection as of right now

Captain Americas
IMG_1791.jpg


Blondies
IMG_1792.jpg


Sunny D's
IMG_1793.jpg


Space Invaders
IMG_1796.jpg
 
Nice pickups, don't worry, they'll perk up. I went thru the same thing with my fuzzy mushrooms when I got them, and now they spread, multiply and grow like crazy.
 
Nice pickups, don't worry, they'll perk up. I went thru the same thing with my fuzzy mushrooms when I got them, and now they spread, multiply and grow like crazy.

Thats what everyone is saying, so its really making me feel a little bit more at ease. I would have never imagined that they're so resilient... but thats great

Looks really good!

And give those mushrooms time, they will bounce back. And then you can send one to me!

Well after Wade, Jake and myself have one for sure, you're next in line! So give it a few months and we should have enough to start sending out to other on here
 
OK. This thread needs some updating

This is the few other paly's I picked up from Coral Collection

Pink Ladies
IMG_1865.jpg


Hawaii Sticky Punch
IMG_1858.jpg


Mary Jane
IMG_1844.jpg


Valentine's Day Massacre
IMG_1833.jpg


and, Red Devil
IMG_1848.jpg


Then I picked up a great frag pack with these guys

Blue Rhino
IMG_1939.jpg


Pink Fusion
IMG_1940.jpg


Ring of Fire
IMG_1962.jpg


Raptor's Rainbow
IMG_1942.jpg


Mohawks
IMG_1943.jpg


Blue Hornets
IMG_1958.jpg


and Orange Tip Cloves (for some reason these are not liking my tank, any tips on where they go and what kind of lighting and flow they require?)
IMG_1970.jpg


and the garden pic
IMG_1964.jpg


Oh yeah, I also picked up a Yellow Corris Wrasse (awesome looking fish)

And then I moved away from my paly collection and got my first acan

This is the Aussi Golden Rainbow
IMG_1984.jpg
 
Finally, I made a trade this weekend that was amazing, I got myself a monster colony of a purple haze monti and a frag of the blue stag

Here is the Monti (This is the picture of the monster after a huge piece broke off)
IMG_1993.jpg


Close Up
IMG_1996.jpg


And then I used one of my mag floats to prop it up so it gets enough light
IMG_2001.jpg


And here is the piece that broke off
IMG_1995.jpg


In preparation for the huge monti, I moved some stuff around and put the corals in a different spot

FTS 2/19/12
IMG_1997.jpg


Close up of the Frogspawn on the right (it likes being off the sand a lot!!!)
IMG_1998.jpg


Oh yeah, and here is the blue stag "frag"
IMG_1994.jpg

I love this traders idea of frags!!! I will definitely get more from him

And finally, I got myself one of these babies at our local reef club meeting, its an Utter Chaos Paly
IMG_2002.jpg
 
Back
Top