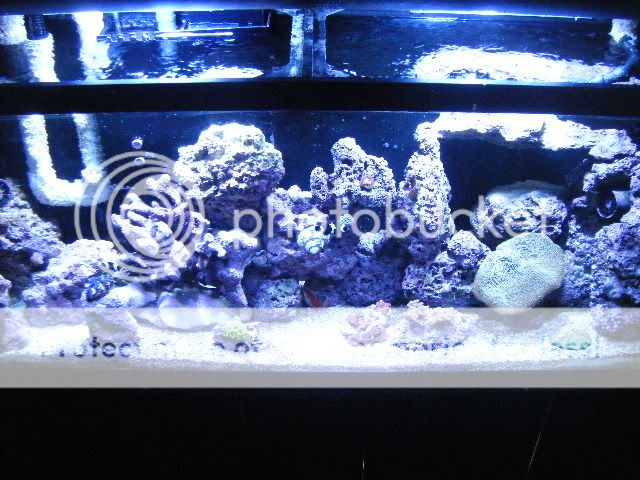
DIY Rubbermaid container sump

i'm building my Rubbermaid sump right now.....I have a 54 gal tub and a 3gal or so tub that i'm gonna set inside the 54 gal for my SWC EXTREME 200 skimmer thats on order:bounce:
 
I get the feeling he's not understanding the overflow from the display to the sump. And I really doubt his tank's drilled. Dunno, maybe I'm wrong, but I wouldn't want him just sticking a tube/pipe in there for an overflow and end up with a disaster lol.

Tristan, if you wanna DIY an overflow instead of paying $100+ for one of the boxes, you can make one for under $10 made just out of pvc. I switched out my DIY overflow box for one of these things and I really like it.

Some people are DIY types and some aren't though. I just like making stuff :)
 
Do you have a pic of your DIY overflow, Solarfall?

Tristan, can you post a pic or a drawing of your plan? That way it can be checked out so you don't have a flood on your hands. Looks interesting....

Catherine
 
I've made one of those diy pvc overflows for my 10g before I took that tank down. I never used it because the pvc I used was too small, and couldn't keep up w/ the pump I was going to use, and when I remade it with bigger pipes, the siphon wouldn't keep. But the first one worked great in trial runs :) Siphon never once broke when I would turn off the pump. It would stay filled, but stop siphoning, ready for whenever I turned the pump back on. My problem with it is not enough surface area, but I'm sure it's easily redesigned.

I'd love to see pics of yours, too, solar. The pics I kept finding on the web aren't of all angles, so I know I was off in something when I made the 2nd one. No air leaks because I sealed it w/ pvc glue. Dunno why my 2nd one wouldn't keep the siphon. I have no plans making another one, but I'm sure others would love to see it.
 
I'll go find a camera I guess.

The problem that it was losing syphon was probably because you didn't have the inside and outside water chambers at the same level. Just like with an overflow box, you need both resivoirs (sp?) to be even in the event of your pump going from a power outage or whatever. That way it won't continue to syphon after it get's past the water level of your intake. I actually have that problem with mine right now and I need to make a new inside part of the overflow. I kept adjusting it to the size I wanted and now it's not at the right level, so as it stands now, I'm doomed in the event of a power outage lol.
 
yea mine isnt drilled, and im starting to understand the overflow part. how about the return pipe. would that go into the oveflow box or do i just let it go over the aquarium

i will try to get some pics up as soon as my parts come in.
 
Tristan, your return line would go right into the tank. But you want the return to either be above surface level or have a hole drilled above the surface so that it won't back-syphon if you have a power outage.

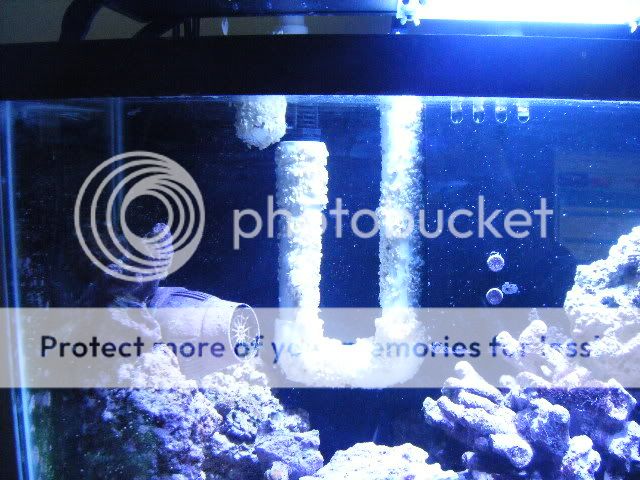
Here's my DIY overflow. Pics doesn't really help show how it works, but if you want I can draw up a quick plan on my exact dimensions since mine's also on a 55. It gets about 500-600 gph:

ImportedPhotos00029.jpg


ImportedPhotos00030.jpg


ImportedPhotos00031.jpg


The air vent (middle picture) is pretty noisy with an annoying gurgling sound, that can be muffled but I don't even bother because there's already so much noise between my return pump and halide ballasts/ cooling fans that I don't even notice.

I also decorated mine similiarly to how you make those cool eggcrate backgrounds. It's starting to fall off but since I have to make another one anyway, I'm just gonna use a dremel to make the pvc more abrasive so the silicone will adhere to it much better.
 
Yeah, that's exactly how I made my first one. Diagrams are good ;) I wish I still had my pics. They're unfortunately in my external hard drive that's broken.
 
those pictures are awesome. is there a way to make it so it's less space consuming?

Thanks!
you could maybe cut it down a little but not much. If you don't make the intake long enough it won't be able to get a good syphon.

Plus if you decorate it like I did it will just look like a branchy peice of live rock after awhile. I just put that thing in there maybe two weeks ago so it hasn't been able to discolor much yet.
 
Back
Top