ilyad's JBJ build

OK so I know Ive been MIA for a while now, but thats due to me being bugged down with law school...

Anyways, I have a pretty major update to the tank, I bought many new goodies to update my tank...

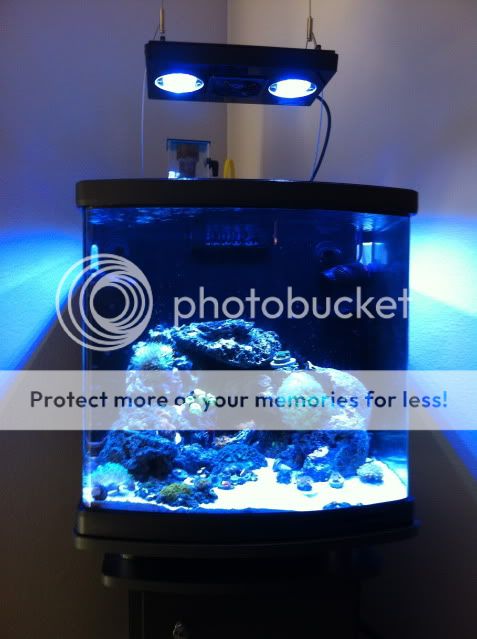
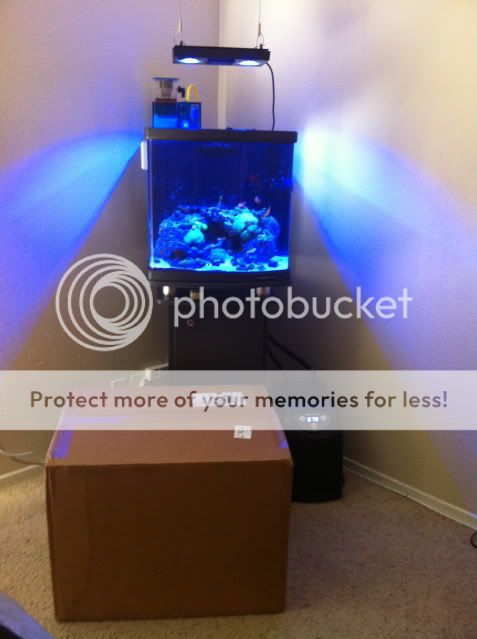
First, I upgraded my lights from the stock hood to a Ecotech Marine Radion, now Im running an open top tank which lets me have more aeration and an overall good look

IMG_2588.jpg


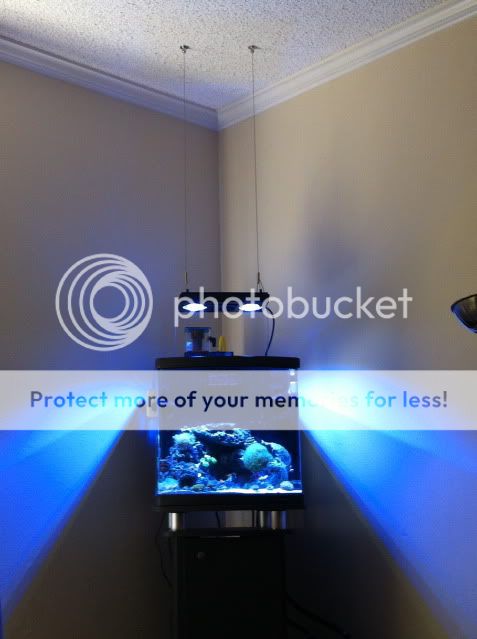
And how it looks from farther away

IMG_2591.jpg

This let me exchange 4 plugs (daytime, moonlight, dawn/dusk and accent LED's) for only one single plug... less wires = less mess

Im still in the process of dialing in the right schedule, light cycle and all the other good stuff... Im hoping to find the right settings sooner than later. (Currently Im running Jon's program at 40% with some minor tweaks for the nighttime look)

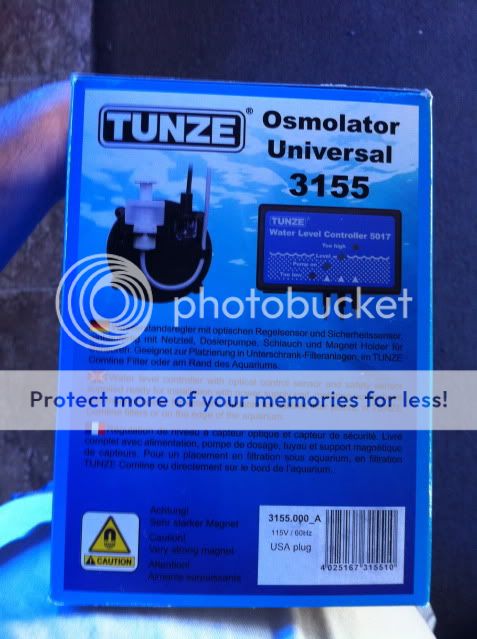
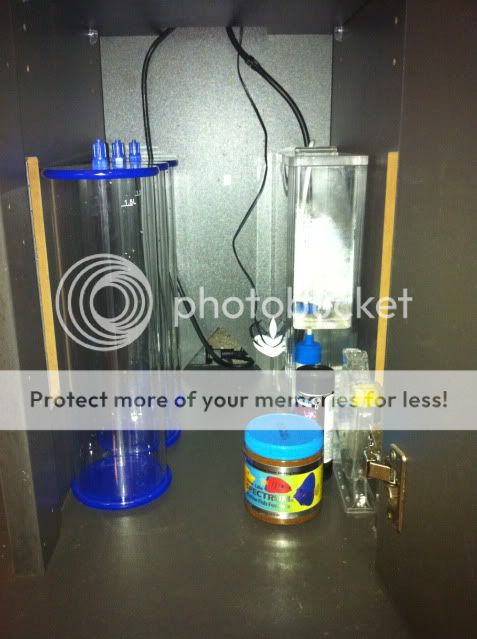
With an open top I was experiencing more water evaporation than before, and quite frankly after almost a year of topping off my tank by hand I finally sprang for an auto top off system...

Meet the Tunze Osmolator
IMG_2611.jpg


This thing comes with absolutely everything but the bucket and water to run the top off system
IMG_2620.jpg


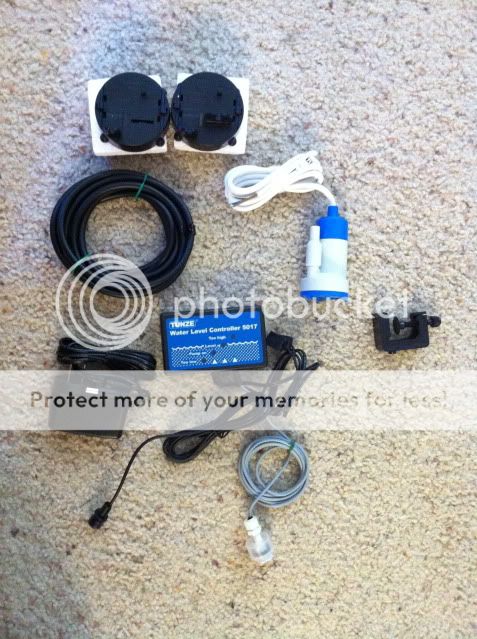
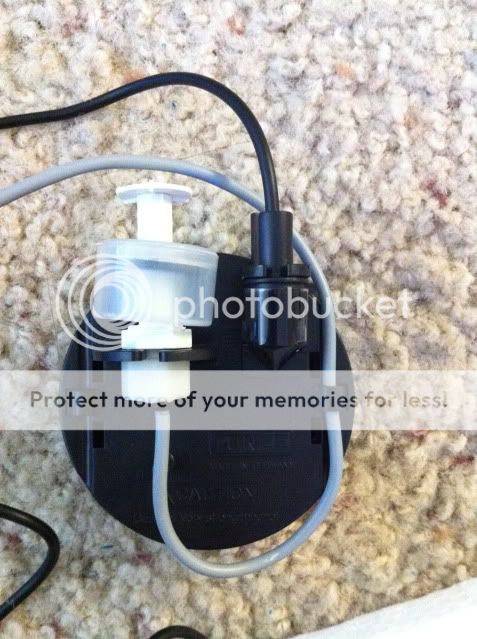
And here is the sensors: an optical sensor and a safety float switch
IMG_2621.jpg


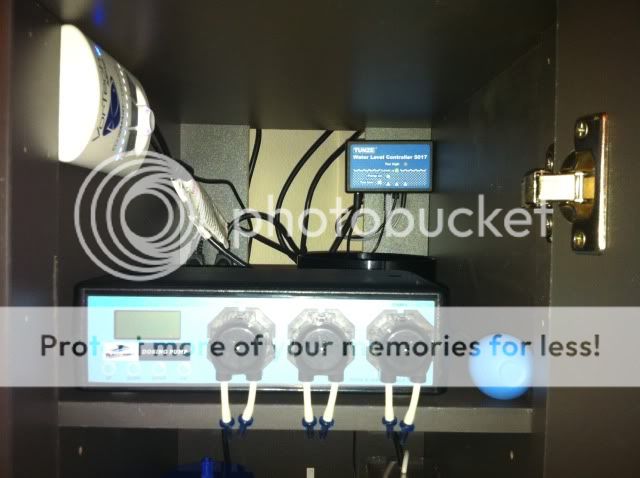
Here it is mounted in the back part (the magnet mount for the sensor fits perfectly and works extremely well)
IMG_2731.jpg


I adjusted the speed of the tunze to be on "nano" and added a check valve because the pressure necessary to keep a steady low flow was not enough to keep it precise (after the check valve was added, it solved the problem)... also, I removed the jumper from inside the controller so that it does not sound the alarm when the emergency stop switches would come on, I hated the noise anytime I shut down my return pumps and without the warning it still does the safety auto shut off.

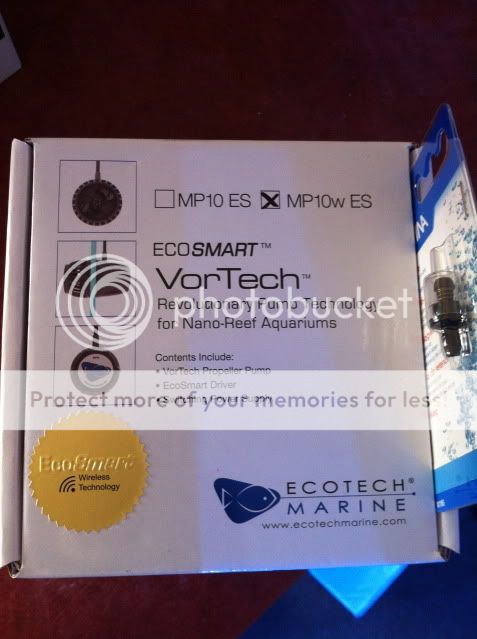
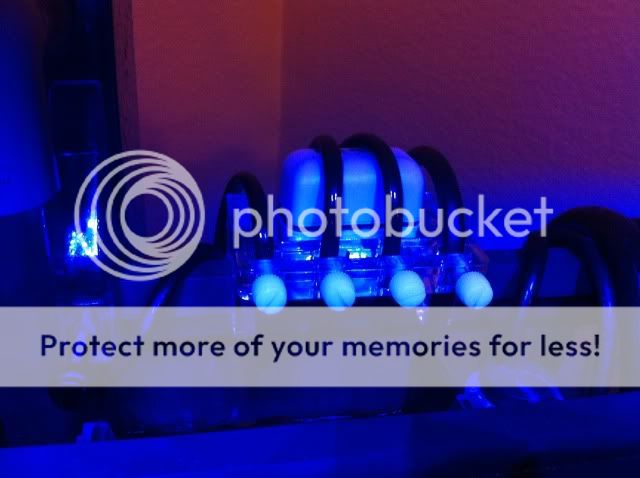
Well, since I had this nice light and top off, I figured I'll spring for one more and bought the Ecotech Marine MP10wES (so that it can communicate with my light and generate flow that is relevant to the time of day)
IMG_2651.jpg


This thing is awesome!!! I have to run it at only about 50% otherwise it makes a sandstorm in my tank. I especially love that I was able to replace 3 of my pumps for this one... less wires = less mess and less room taken up in the tank. I also really enjoy the fact that I can put the pump in "feed mode" and turn it off without unplugging it when I do my water change.

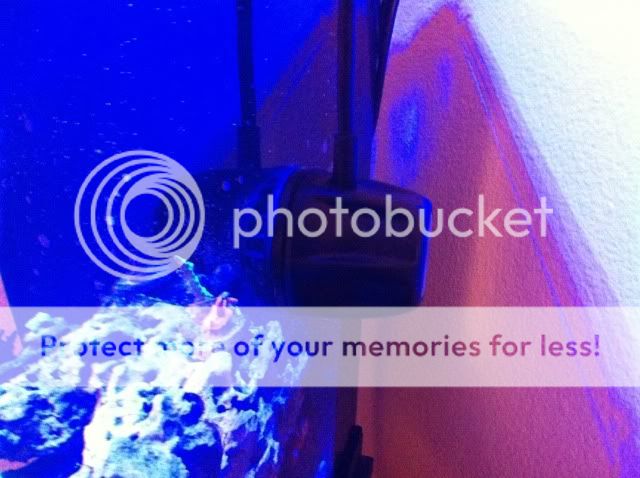
Here it is on the tank
IMG_2733.jpg


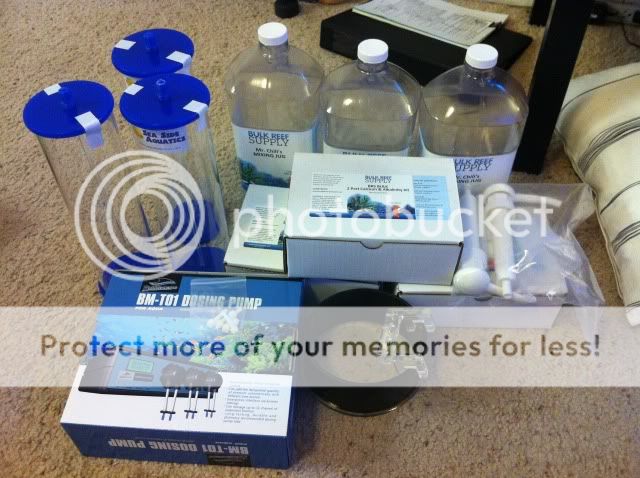
Then to the dislike of my wallet, my local reef club had a group buy on BRS and I ended up buying a lot... just look at the size of this box
IMG_2689.jpg


Here are all the goodies laid out
IMG_2690.jpg

I bought their 2 part starting kit, the Bubble Magus Doser, 3 1.5L containers, a dosing tube holder, and a viewing glass (now since I have an open top, I can look at stuff from above :P)

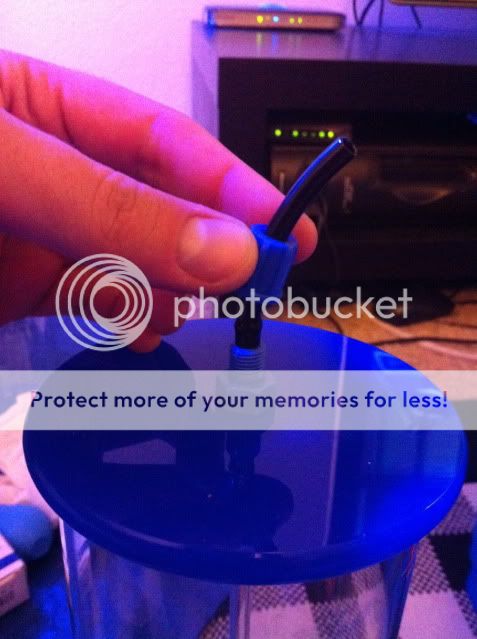
Here is me connecting all the tubing to the doser
IMG_2712.jpg


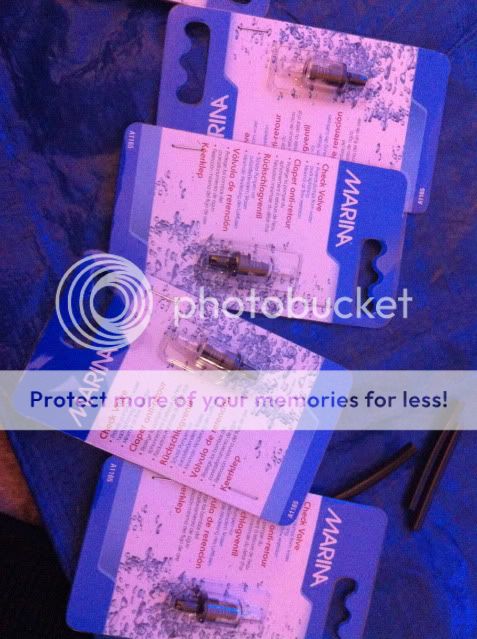
I ran a bunch of check valves to make sure the little doses are more precise
IMG_2713.jpg

I connected 6 total, 1 just after the containers and 1 just after each of the 3 pumps

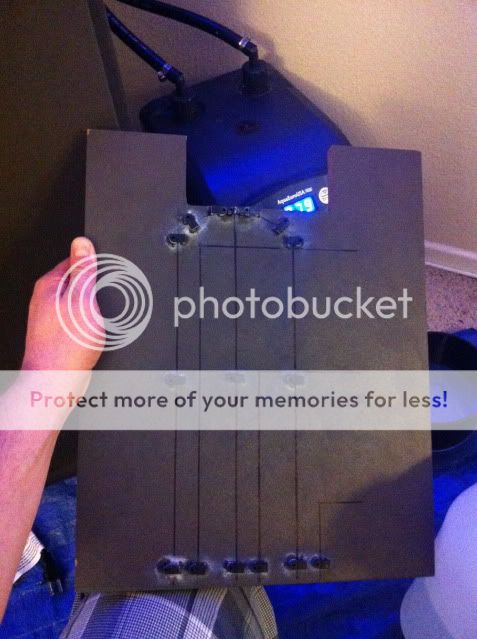
I also had this clever idea of running the tubbing under the top shelf of the stand so its less messy, and got a bunch of cable holders

Here is the mocked out view
IMG_2695.jpg


And after I glued the holders in place
IMG_2710.jpg


However, after putting the shelf in place, I actually realized that some of those holders were impractical, so I snapped some of them off leaving only the necessary ones (too many of them were pinching the tubing in some places)
 
So this is how everything looks now

Bottom of the stand: 3 dosing chambers, and a top of container (custom made acrylic box with 2 holes to allow for the tubing and cable to the pump)
IMG_2699.jpg


In this picture you can see how the tubing runs through the cable holders
IMG_2736.jpg


The top of the stand: Bubble Magus Doser, MP10 controller, and the osmolator controler
IMG_2700.jpg


And the tubing on the top of the tank (holding the Alk, Ca, Mag, and Top Off)
IMG_2729.jpg

For now I had to place this mag float to keep the tubing from pinching (I will try and find better tubing which doesnt pinch and replace the lines I have now)

So for now its a lot of changes, from top off, to the dosing to the lighting and flow... the corals are still adjusting to everything as well as tolerating my adjusting of all the stuff at once... I figure that in a few weeks once everything is dialed in, I should expect them to look very happy...

So just a recap, here is the equipment Im currently running

Tank: JBJ 28g nano
Filtration: HOB basket (filter floss, purigen and ceramic rings) + Aquamaxx HOB-1 Skimmer
Temp Control: Eheim Jager heater + AquaEuro USA chiller
Lighting: Ecotech Marine Radion + Mounting Kit
Circulation: Ecotech Marine MP10wES + 2 stock return pumps
Top Off: Tunze Osmolator + custom acrylic storage + check valve
Dosing: Bubble Magus doser + 3 1.5L chambers + cheap tubing + check valves

Future plans for upgrade:
InTank media basket for the JBJ 28 tank (already ordered and shipped)

A modded AquaClear 50 filter converted into a refugium using the InTank media basket which will run some filter floss and cheato (Im also hoping this will give my pods a place to breed before the fish and other stuff in the tank decimate them) (this is also ordered and shipped)

Once all of that arrives, I will most likely switch the MP10 to the left side of the tank and run the "refugium" on the right side of the tank

I will post another update when all those goodies arrive (which according to UPS tracking will be this Friday!!!)
 
Much better pics here than what you were texting me. It looks amazing, very nice job.
How are the coral I dropped off to you?
 
Wow, you've been busy...looks great.

Well not too busy... this all happened over a period of 2 months or so... I havent gotten too many new corals just because I really wanted to dial in the tank before I buy any more livestock

I bet your wallet feels empty right now! Looking good!

Its def a lot lighter than before (its kind of crazy thinking that my set up now costs the same as a decently priced used car, lol)

Awesome build man seriously jealous; cant wait to see the pics in a few weeks!

Me too!!! The corals right now are not too happy about all the things changing at once, but Im noticing that theyre all getting better with each day

Looks very professional!

Thanks! I try to do things clean right away otherwise it takes me forever to come back and redo things once they're already "doing their job"

WOW. That looks amazing!

Thanks

Much better pics here than what you were texting me. It looks amazing, very nice job.
How are the coral I dropped off to you?

Thanks Wade, theyre doing good so far... hopefully they stay the same and I dial in my tank before they start to change.
 
Back
Top