RockStacker
Reefing newb
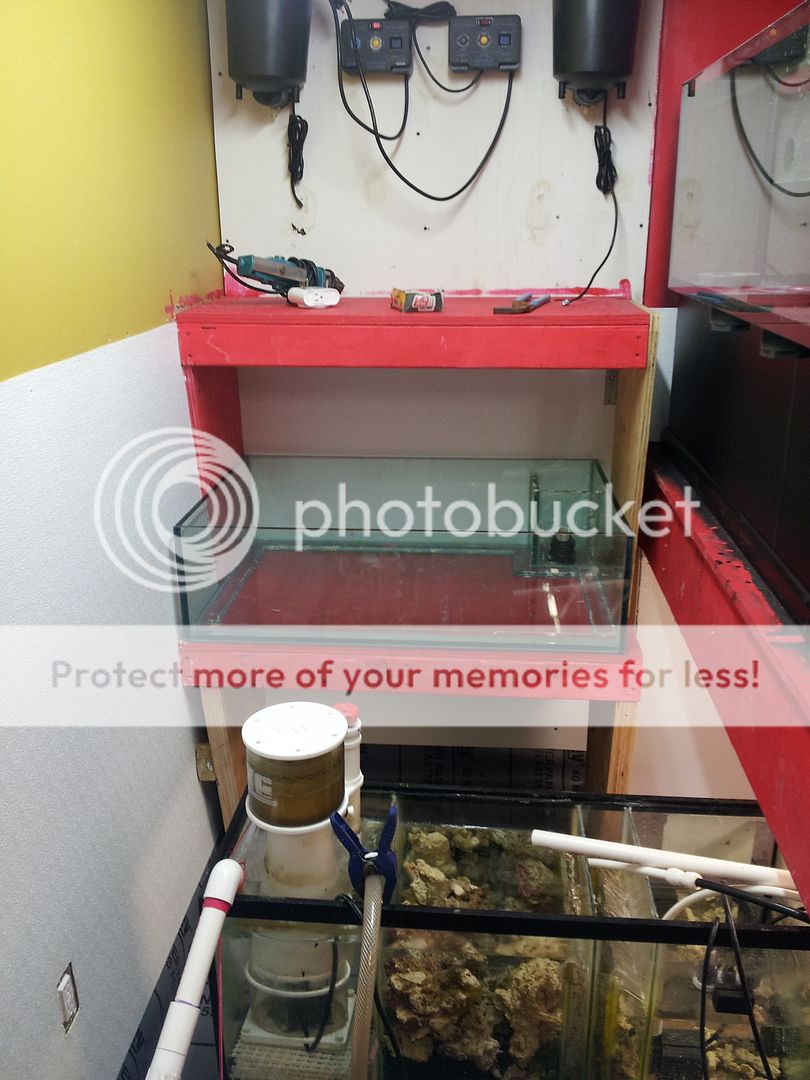
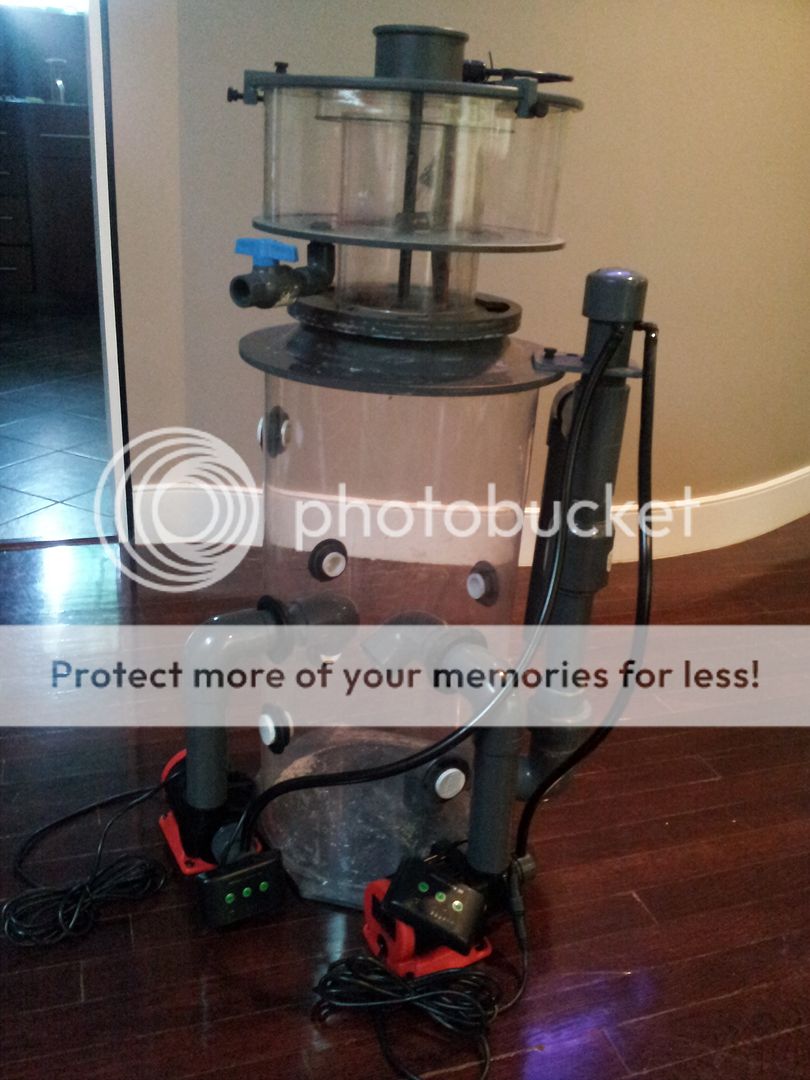
Holy cow that is a monster!


Your tank is gonna be so AWESOME I can't wait to see it running.
You've done and excellent job so far.


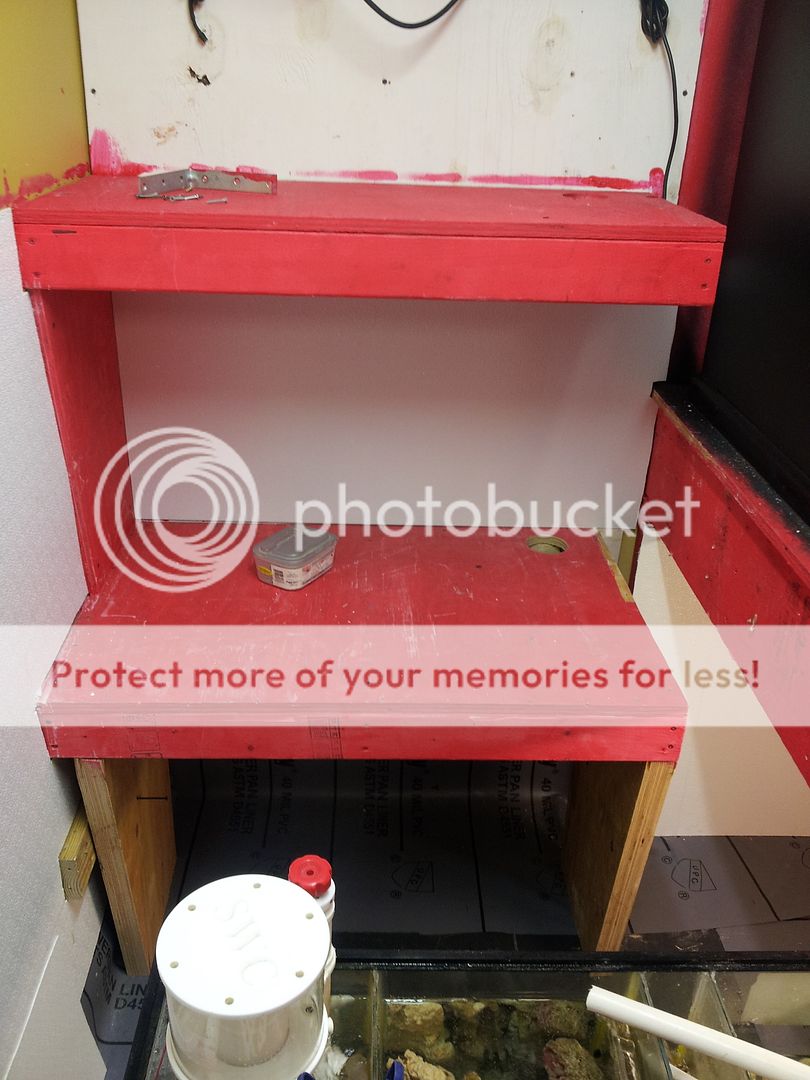
With the exit for the water on the skimmer being up so high wont your skimmer be just about all the way full with water ??? since the water will be travaling so high to make its way out ??


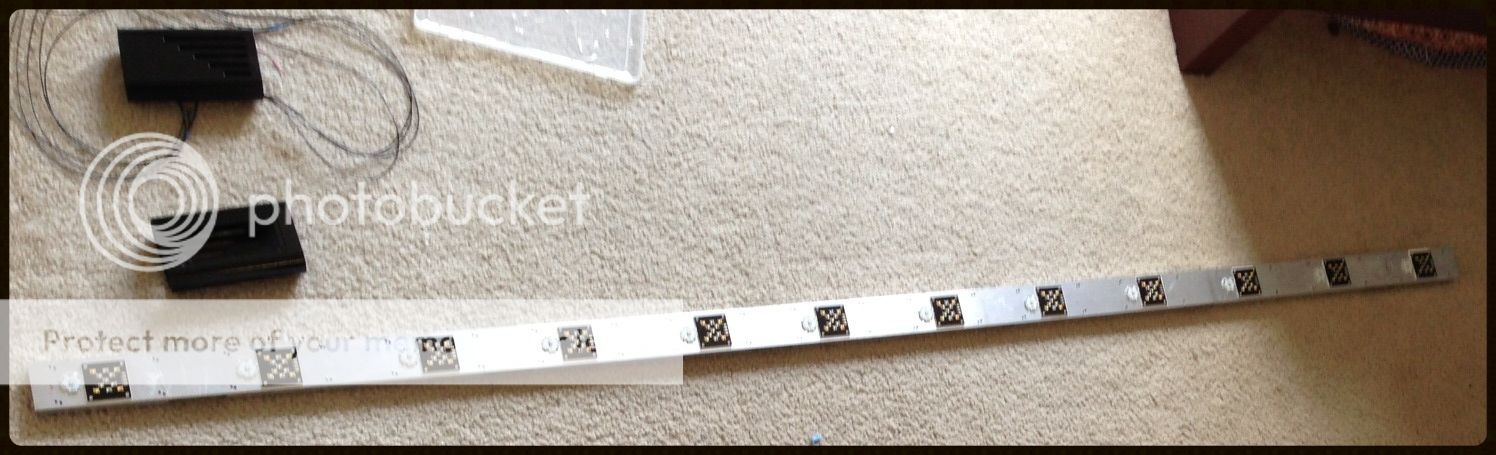
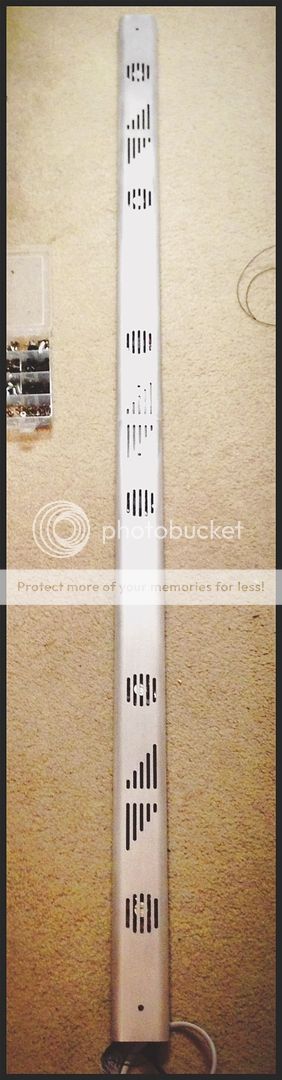
thanks! haha, i dont know if dave will want to make that trek but all things look like a go for this weekend - fingers crossed! i'll post updates of course.That looks awsome so far. Can my tank be a test.dummy for the lights also. Hehehe i wish.
haha...shoot him an email ([email protected]) and tell him marcos sent you. i'm sure he'll hook it up for you! he does it all in house and really is a creative and engineering talent. maybe you guys can get together on your own project!Lol ueah i know, but hey he can just mail me one and ill give it a write up lol. Just need one to fit in a 6 foot canopy so maybe 5' 8'' lol. Make sure togive him the lenght for me lol. No but in all seriosness cant wait to see those rocks and everything set up. Looking great so far..