Still alive and kicking, no huge cliffs to worry about near me.
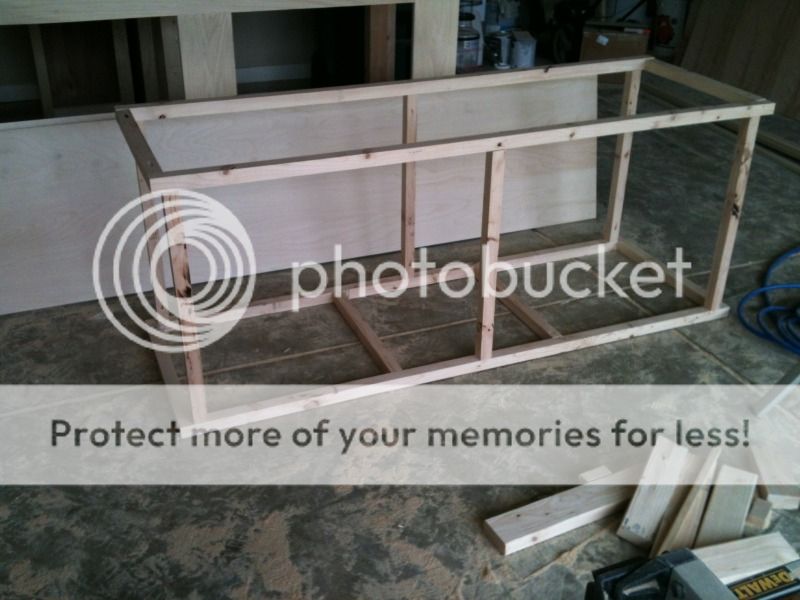
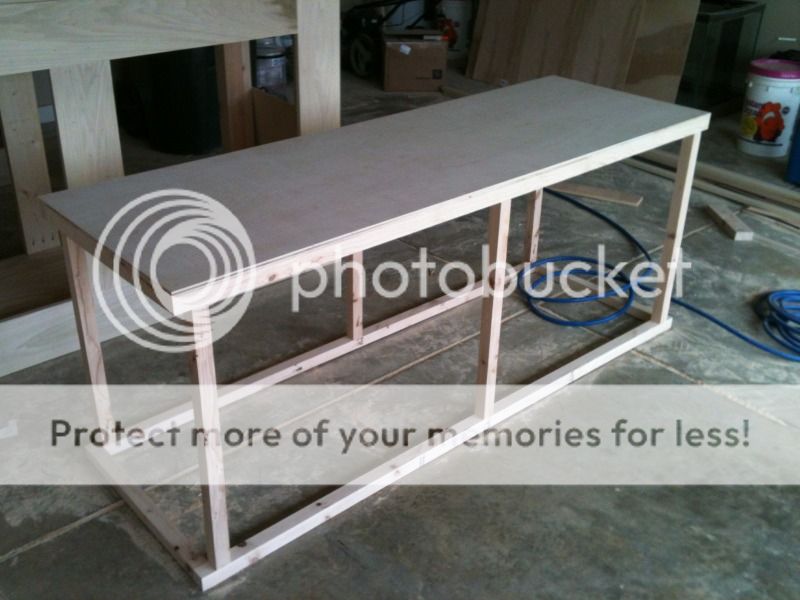
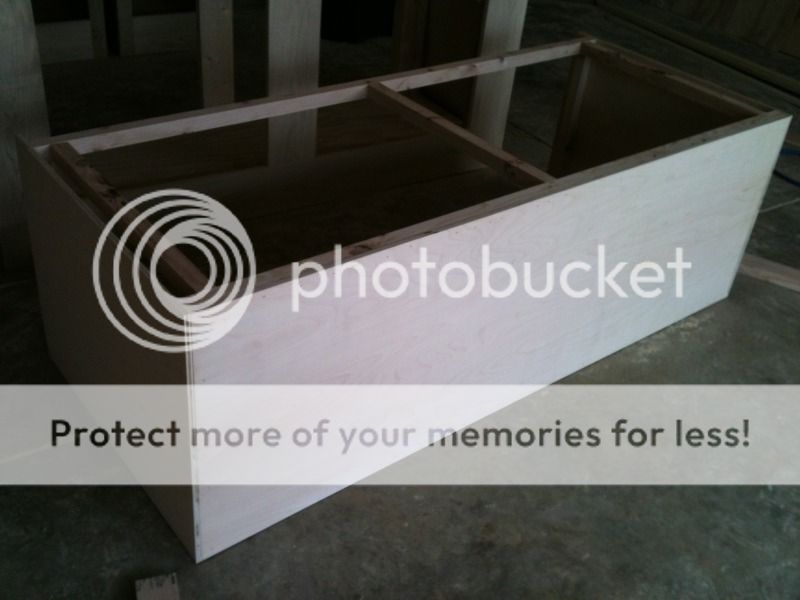
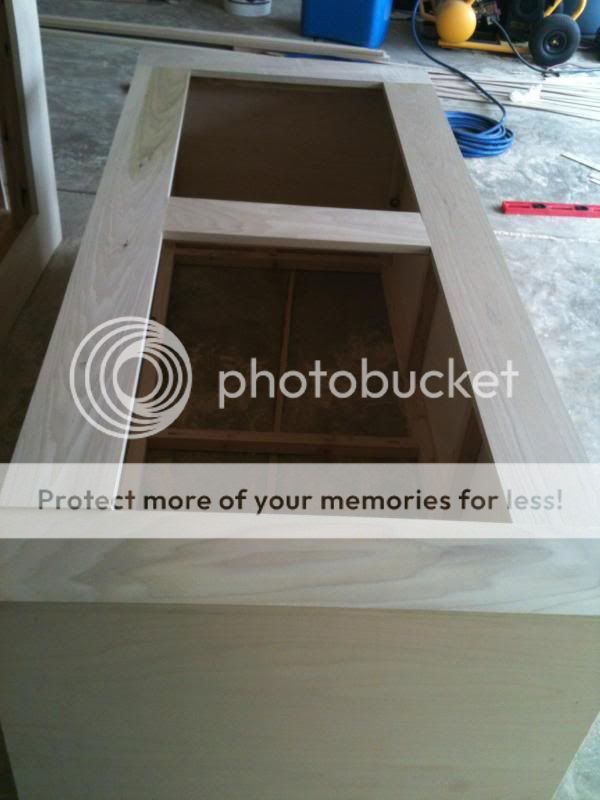
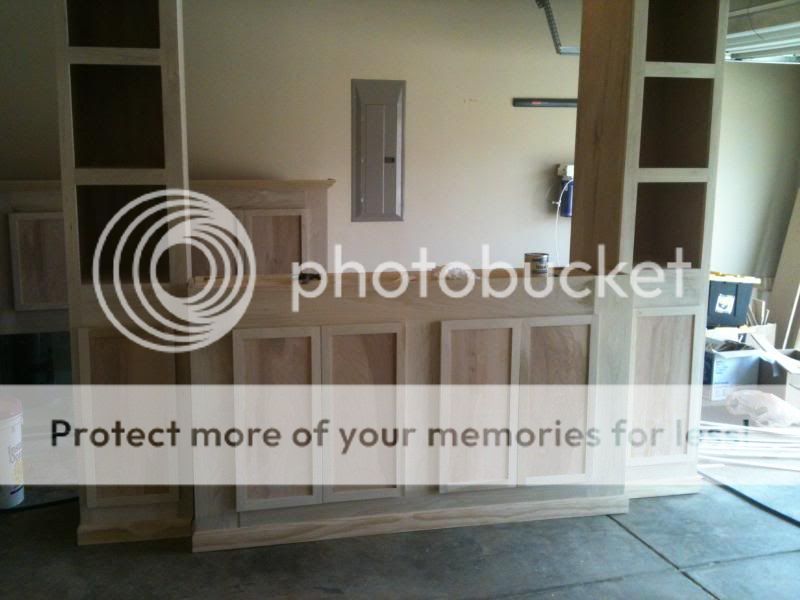
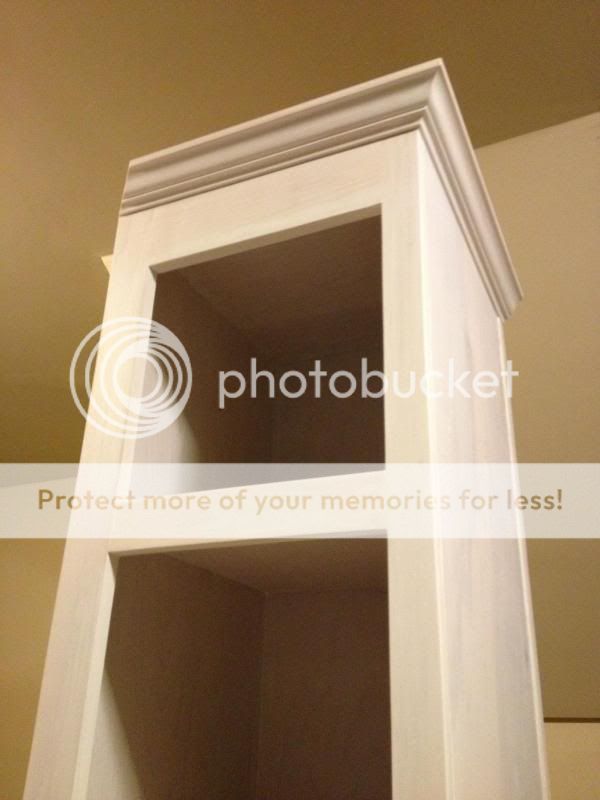
Update (please excuse the iphone 3s photos:shock:): Stand and Canopy is finished. I added the crown molding and trim to the stand as seen in photo. Really cant explain how to cut the molding via text so its something you will have to google if anyone attempts to do it...Miter saw is needed to do so unless you have a hand held coping saw (much harder). Here is a photo of it with molding installed. you will see the canopy in the back as well.
As for finish, I chose to go with the whitewash pickled look. My ole lady said we had enough white in the living room and if I painted this white, it would be to much. She was right, plus the wood was to pretty to cover which brings me to the next point and mainly why it has taken so long to update/finish. We bought minwax's white wash pickling stain and I was thoroughly disappointed with the results. It went on like paint, not stain and covered the grain. I realized I paid to much money overall for the grain to be hidden so I decided to try and remove it. Like I had assumed, it covered just like paint would and came off with paint stripper, something that wouldn't phase an actual stain as it seeps into the pores of the wood but the minwax junk layered on top. So after many days in the heat, piece by piece, I removed all of it and re-sanded everything. Unfortunately I had painted every piece top to bottom with the stuff. Lesson learned, try things on samples and be patient. With that being said, I created my own whitewash. I diluted kilz primer with water to create a milky substance which covered very well and dried quickly. As for a ratio, about 1 cup of paint to 5 cups of water well mixed. The end results turned out great after 3 coats.

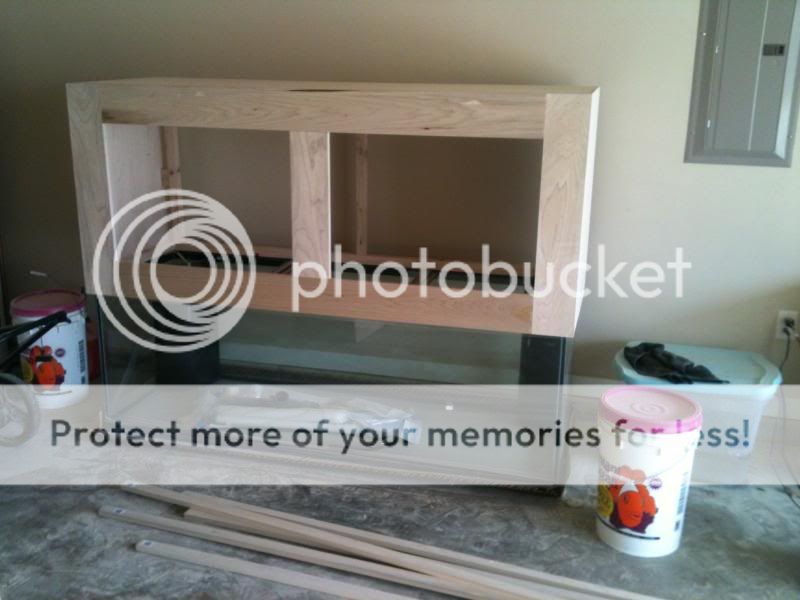
Once I "Stained" all pieces and allowed them to thoroughly dry; I then painted the inside of the stand and canopy with kilz primer which will help with the moister as well as providing a nice clean surface that will reflect light where it needs to be (i.e. canopy) which took 2 coats. Lastly, I sealed everything inside and out with a poly acrylic cover. This will help keep moisture out of the wood and gives it a nice smooth finish. I used semi gloss inside the stand and canopy and clear satin for the outside sides that are visible. Since then, everything has been moved inside and set in place. Heres some follow up photos:
Doors off:

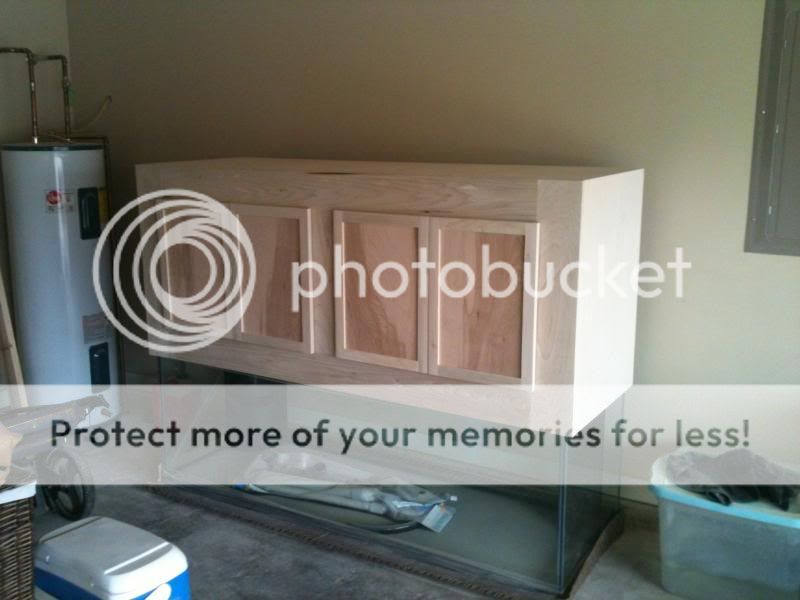
Doors on:

Now I have to wait for the electrician to come install a separate 20 amp and gfi outlet for the tank. I do not want to compete for electricity with everything else in the living room and want to ensure there is plenty of wattage available for the aquarium. I have cut the outlet hole in the wall and ran the line for it but prefer not to open the breaker panel to install the breaker without having someone experienced here to help.

Once that is in place, I will begin building the sump and ordering the lights so stay tuned!