Gonna be like 2 weeks before I can get water in it... Gotta get my skimmer and scrounge up some temp lighting to get the cycle started.. The lights I am getting are a bit pricey, so I have to save a bit for them.. Gonna still take pics of the build up, so I will keep ya'll in the loop..
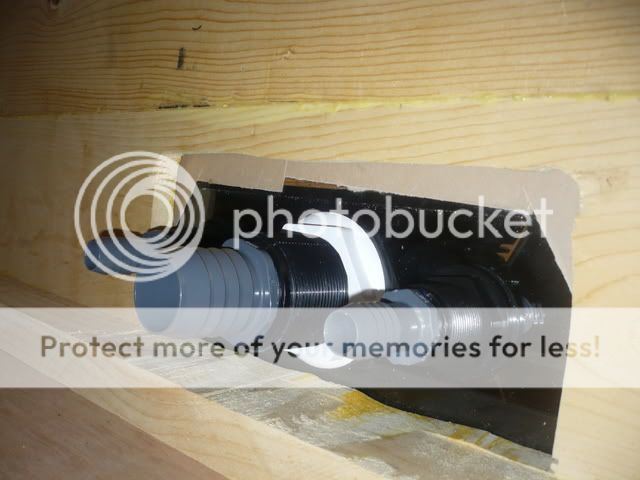
Started to do the plumbing a bit today. The tank builder forgot to ship the bulkheads for the top left and top right returns so I have to wait a couple of days to install them..
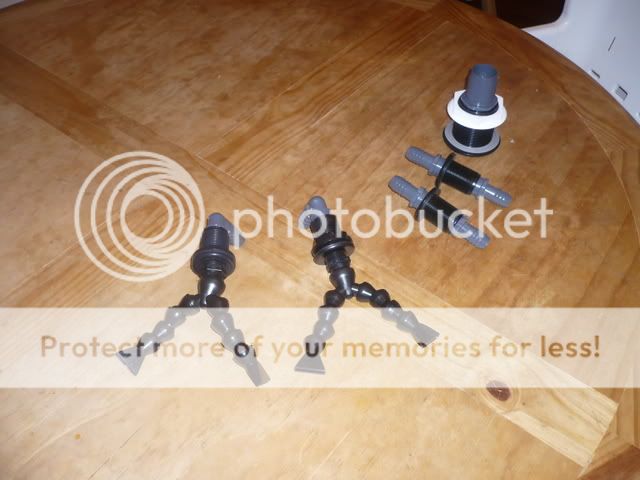
The 2 straight thrus are for the returns at the bottome of the overflow box. The 2 with the diverters on em are for the top of the overflow box..
I have a total of 4 returns, 2 in the middle and 2 on the outsides, top left and right....For the center ones I was thinking about using the loc-line(think thats what they are called) with the splitters and 2 diverters on each. On the outside ones I was thinking about using the Hydor Flo diverters...
Tell me what ya think. Should I use these or just some basic flat diverters?
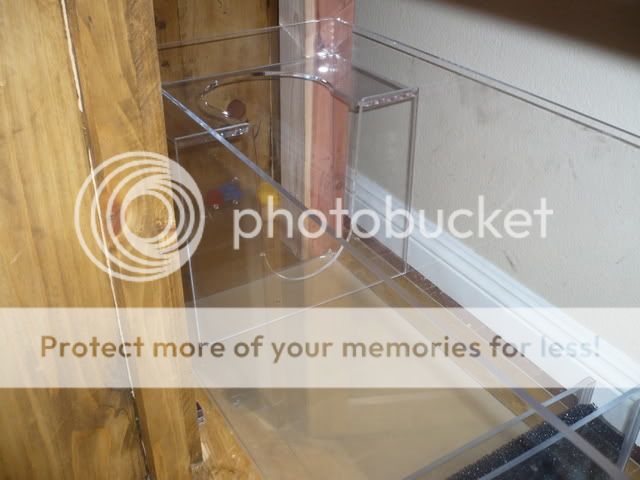
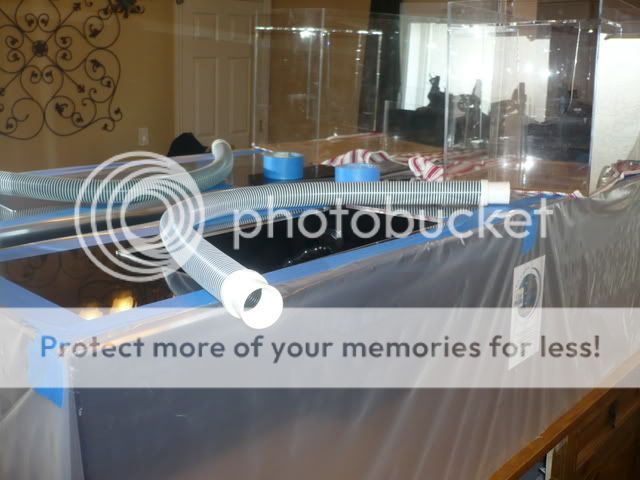
Did a test fit on the sump after the kid crashed on the couch.....
IT FITS!!!!
And the beauty of it is I can take the sump out thru the front door, dont have to put it in thru the back, was worried I would have to drain half the tank to be able to move the tank and stand.
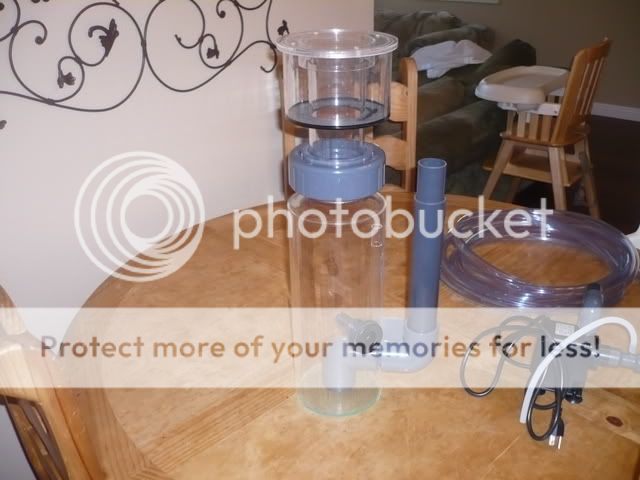
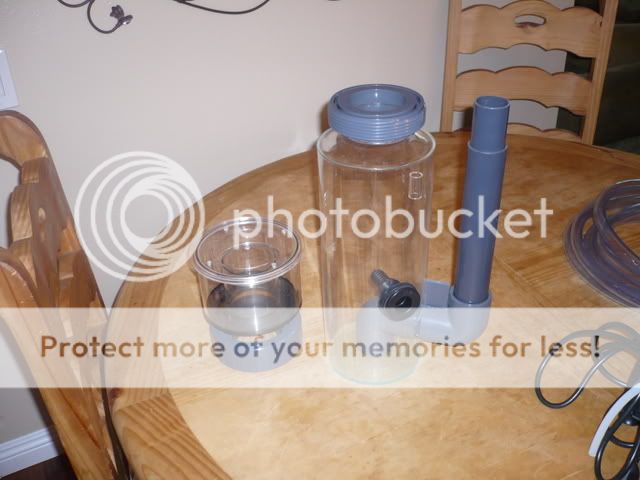
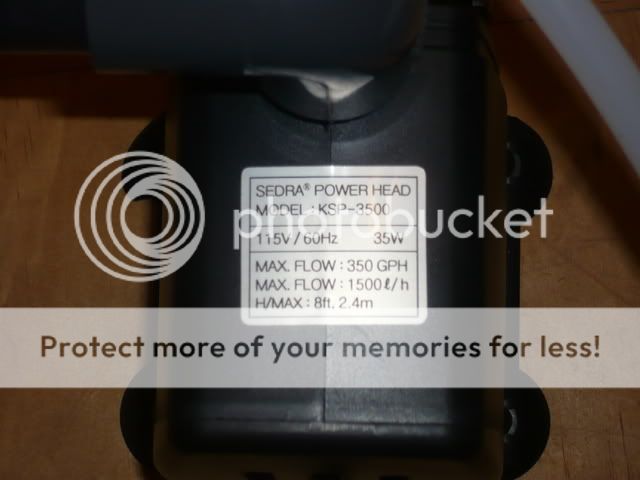
Ordered my skimmer today, that should be here by monday....Now in looking at lighting.. Still havent decided whether to go MH or t-5's...
When I was out at the LFS I was freakin out too when I saw all the parts he was tossing up on the counter. After walking it thru it was suprisingly simple on the setup... If I can figure it out, anyone can... :)
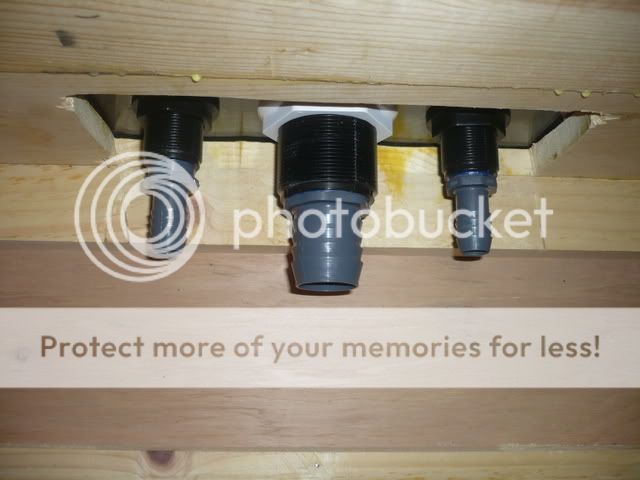
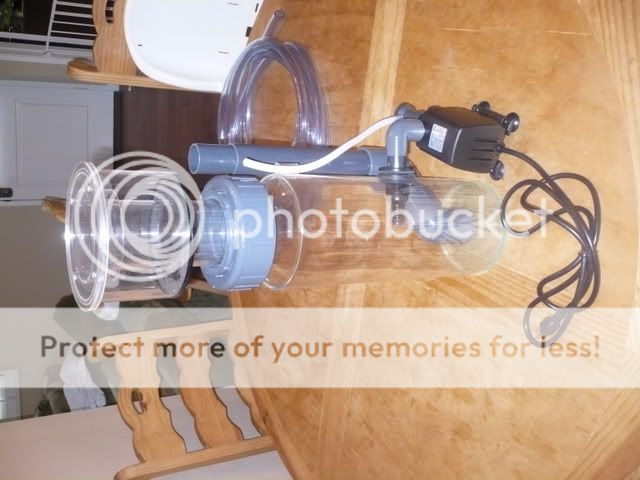
The 2 smaller one are returns to the top of the overflow box. Forgot to buy the tubing to connect them to the top and then to the return pumps. Will head over tommorrow to pick that up, plus my skimmer... Hopefully its in..
The bigger is the drain to the sump, 1 1/4" i think...
This is the drain hose to the sump, a bit long but I will trim it down to get it to fit. Question. It has a semi soft plastic end on it and will be a really tight fit onto the bulkheads. Any easy way to slip those on? with out using a chemical?
Oh, and my boy wanted to add a few items to the tank. See if you all approve..
A duckie!
And a truck. I asked him why a truck, he said " So the shishies (fishies) can go home and go nite, nite" I cant even make this stuff up....Arent kids great?
Your thread is moving along nicely.my vote goes for the rubber ducky.
I had that kind of flex hose on my other sump.It didn't go over a barb fitting,just a regular smooth fitting.Maybe use very hot water to soften it and help it slide on.Thats my method when using vinyl hoses,maybe it will work on that type too.
Reefs right,Hot water works great for getting vinyl hoses to slip over those barbed fittings.
Actually boiling water,only takes about 30 seconds to soften it up.
Great pics, nice chronicle of your build. congrats. oh!!! and I agree the rubber duck even days, the truck on odd days and both on the week ends. congrats.