monkiboy's 265g build thread

this was my inspiration at the time when I did my background way back when. Sorry for the double post, meant to add that to the other.

was the background all one solid color? was light applied? this makes me think that perhaps instead of a formal light box/shadow box i wonder if i can simple create gradient/radiance by doing an opaque background that is thin enough that a light behind it from the top shining will lighten its tone. something of a darker blue with a LED light bar up top. thanks for the info!
 
Thats what I was thinking. I believe that tank I posted was just a solid paint without the light but I do know when I did mine, the different colors "popped" with the white tank lights. I had it brighter in the top and left corners, a darker blue archway, and a lighter semi circle in the middle; but It took me 2 tries to be honest. The first one had some color banding so I learned that each color had to go all over the tank but applied heavier coats where I wanted them.. Started with the darkest color first with very thin coats. If you did it on a sheet of plexi glass, you could illuminate it from behind Im sure as long as you kept your coats light.
 
my buddy dave of nanoboxreef is doing BIG things. we got to talking about my build and next thing you know we are discussing accent colors for my new fixture, haha.

all of his fixtures nowadays are upgradable to the new coralux storm or storm x controllers. so he's going to hook me up with the storm x and i'm going to see about putting together a review of it and the fixture with photos and video since it's relatively new to the scene.

this will be the largest fixture he built and i got a lot of excitement from dave of the opportunity to build it for me. unbeknownst to him, i might be even more excited to give it a go. i had six d120s and three IT2060s set to go (wasn't sure what i wanted to use given the new apex control options) but found happy homes pretty quickly for the evergrows and just couldn't pass up this opportunity dave offered up.

he had planned to stay a couple days this weekend for install and tinkering but life happened and now we are looking at the end of the month. this actually works better so hopefully i can get some more work done, get my cerameco structures in, and my cycle going before he shows up.

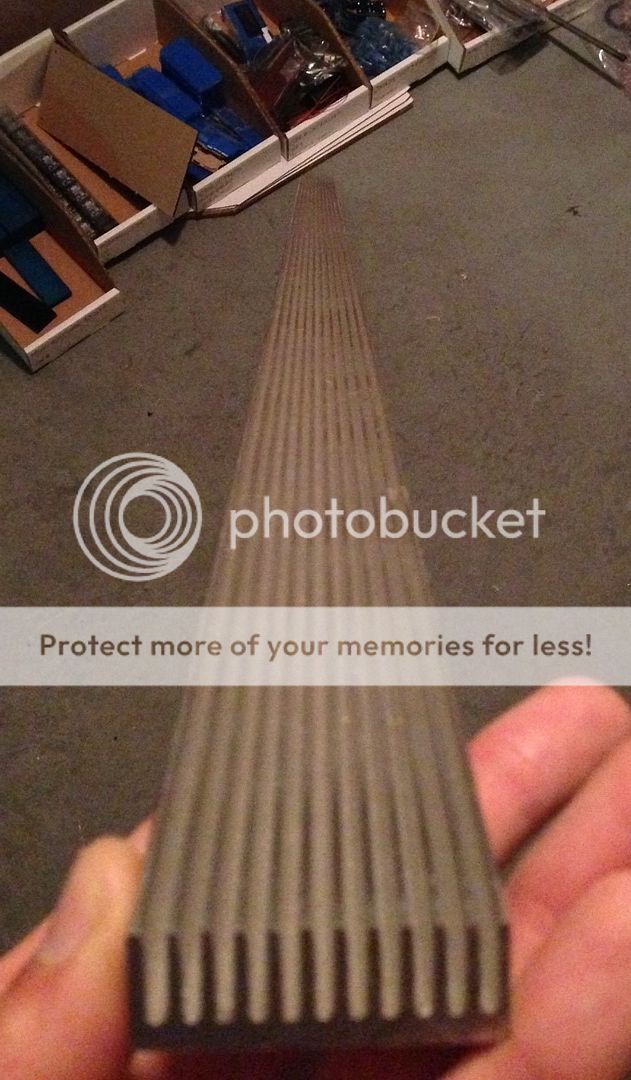
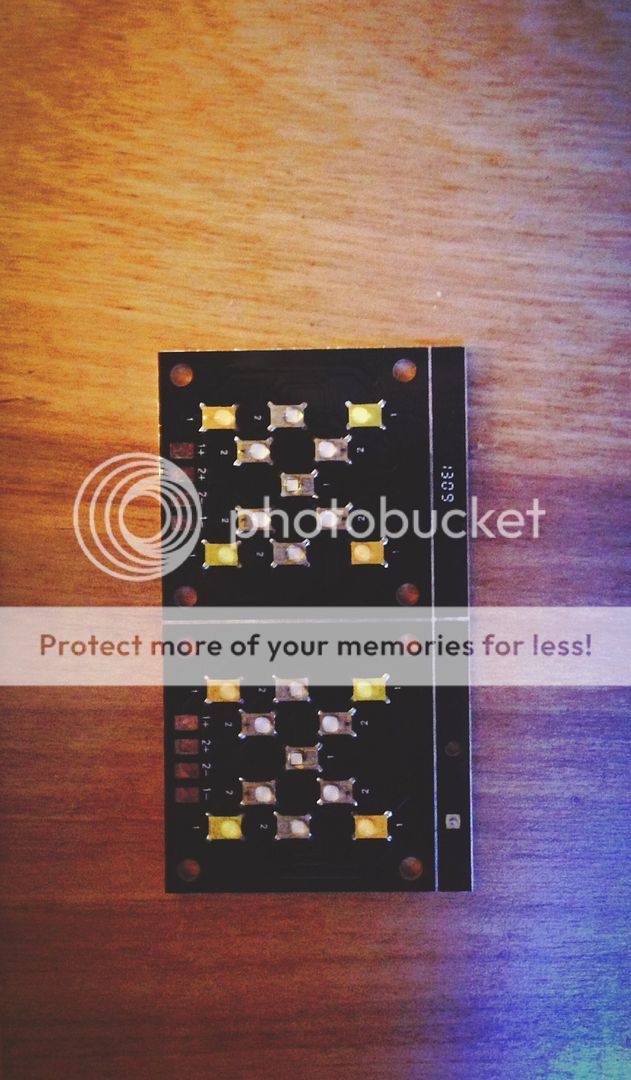
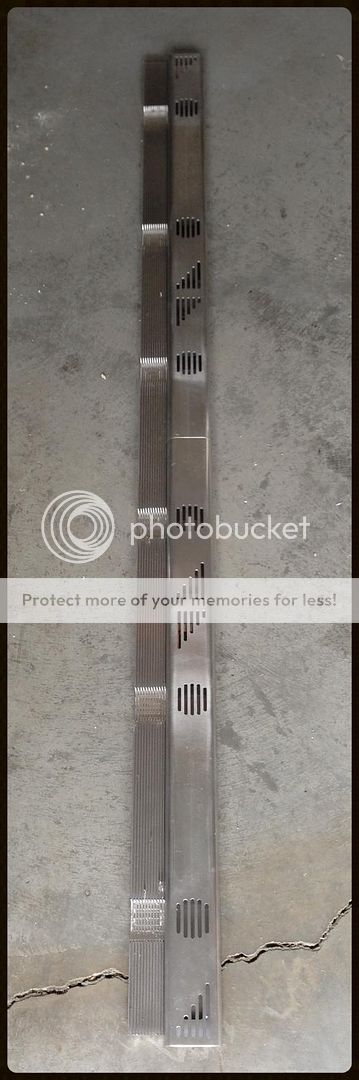
the fixture will be 72" long. it will have multiple banks for dimming to create a true dusk/dawn and sunrise/sunset from one side of the fixture to the other. will have UV, blue, royal blue, cyan, warm whites and neutral whites. the LEDs are Rebel ES and SEMILED for the violets/UV.

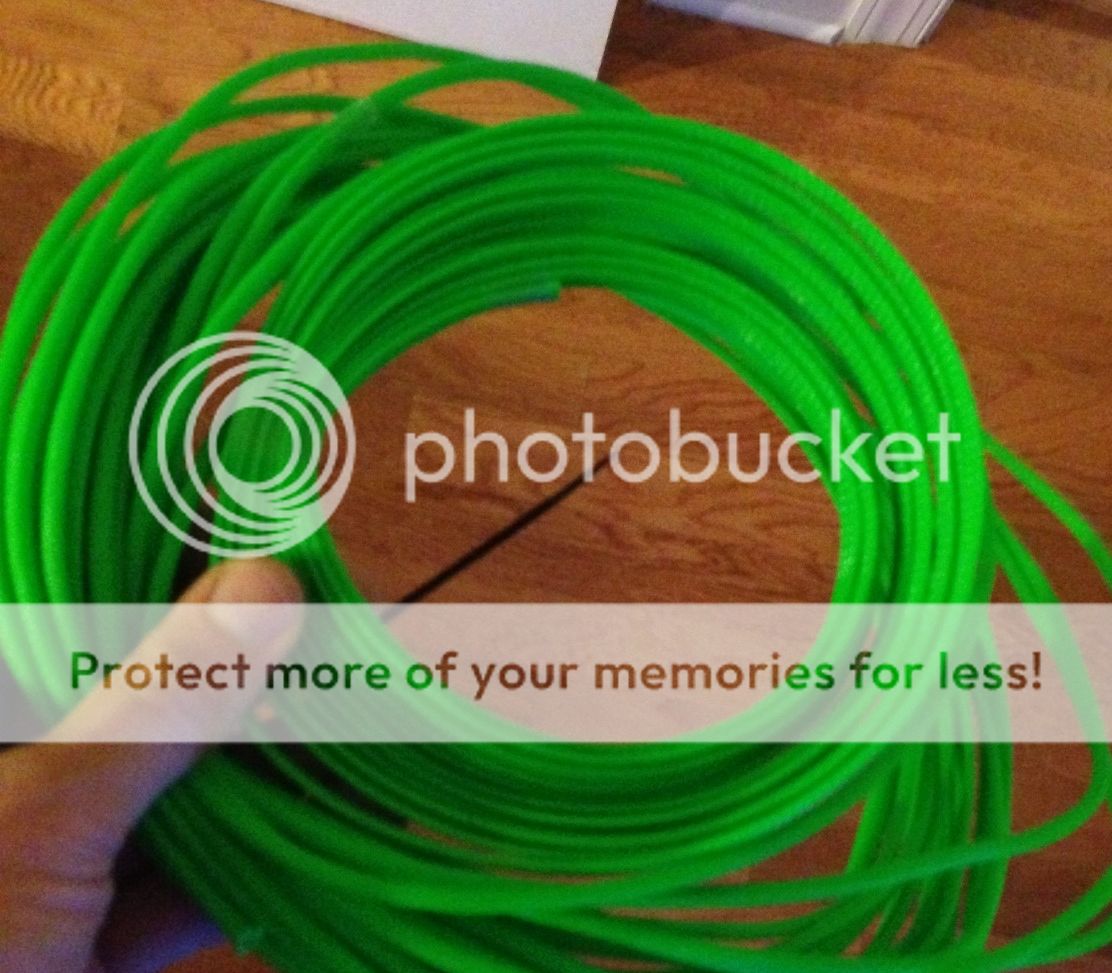
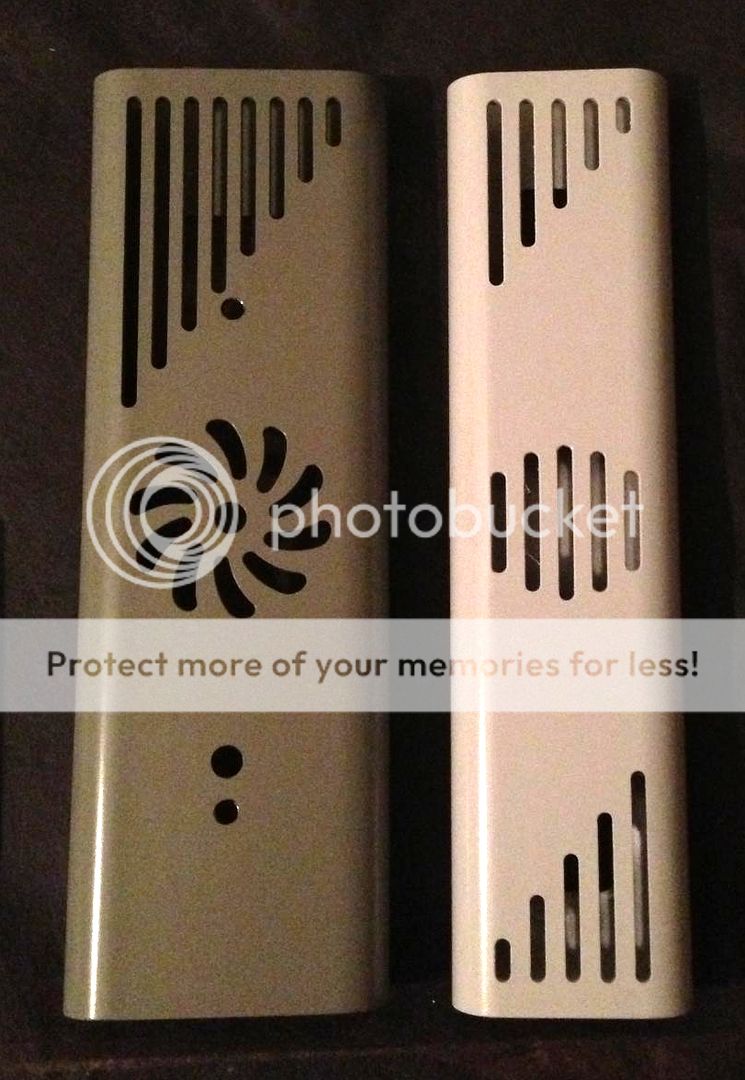
the finishing colors are stolen from my monster subaru, shocker green and matte black. this all will be wired up to the coralux storm x controller. it will also have four t5 80w bulbs as well on the front and rear of the fixture on custom brackets with individual reflectors. the housing is a custom-milled 3" wide housing (an inch shorter than the standard 4" he has been using until now).

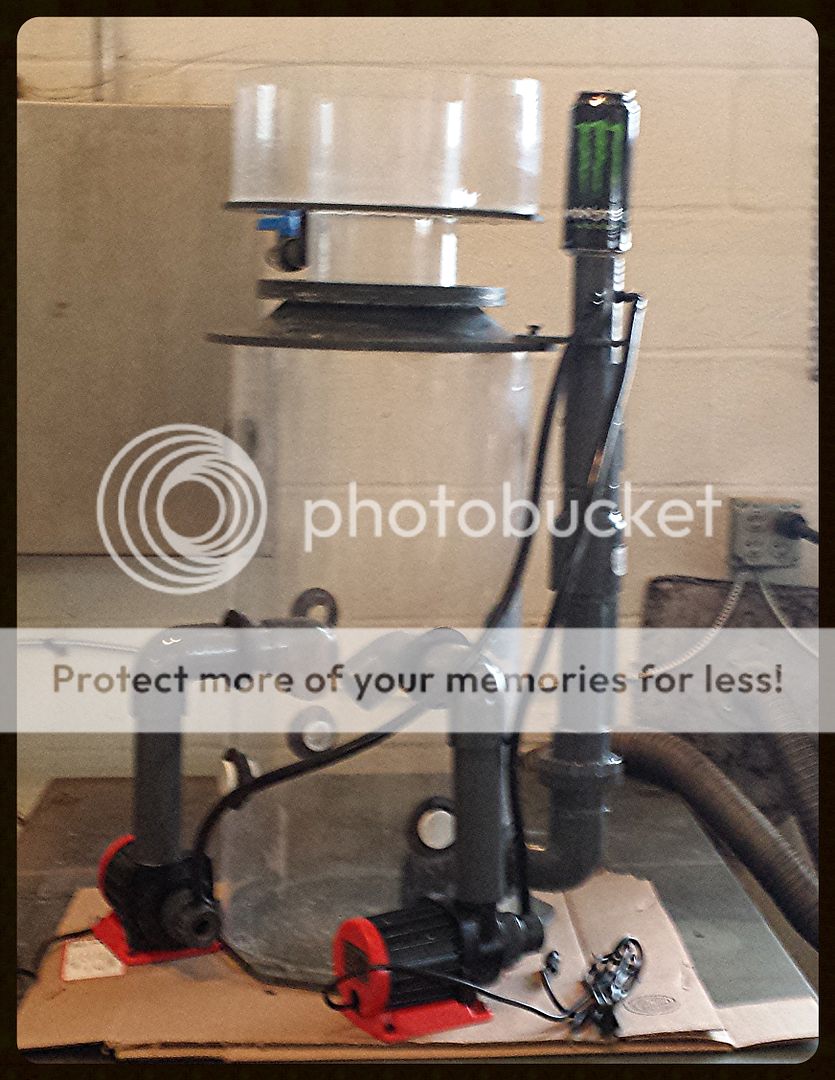
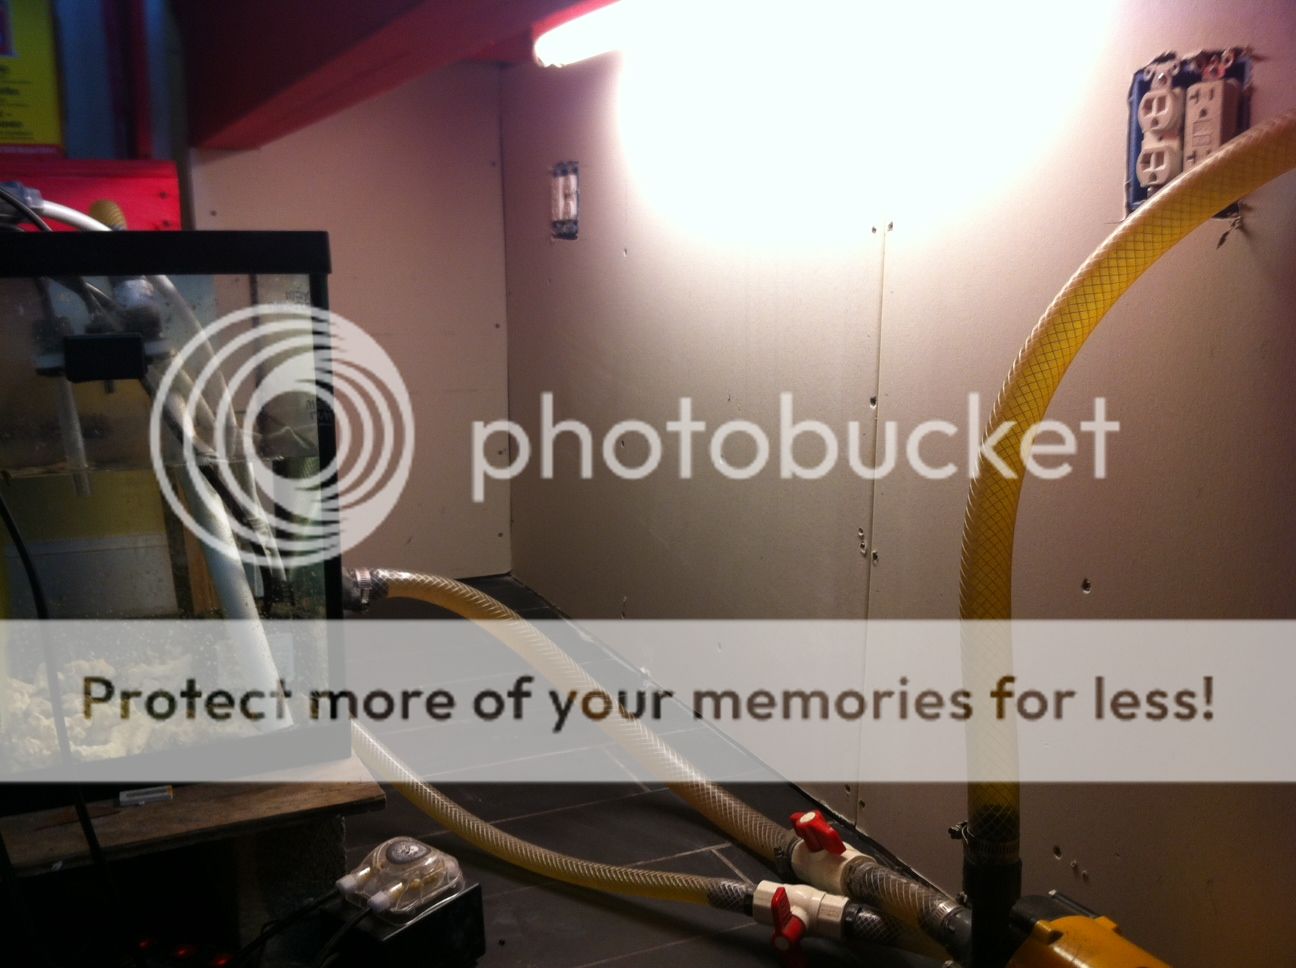
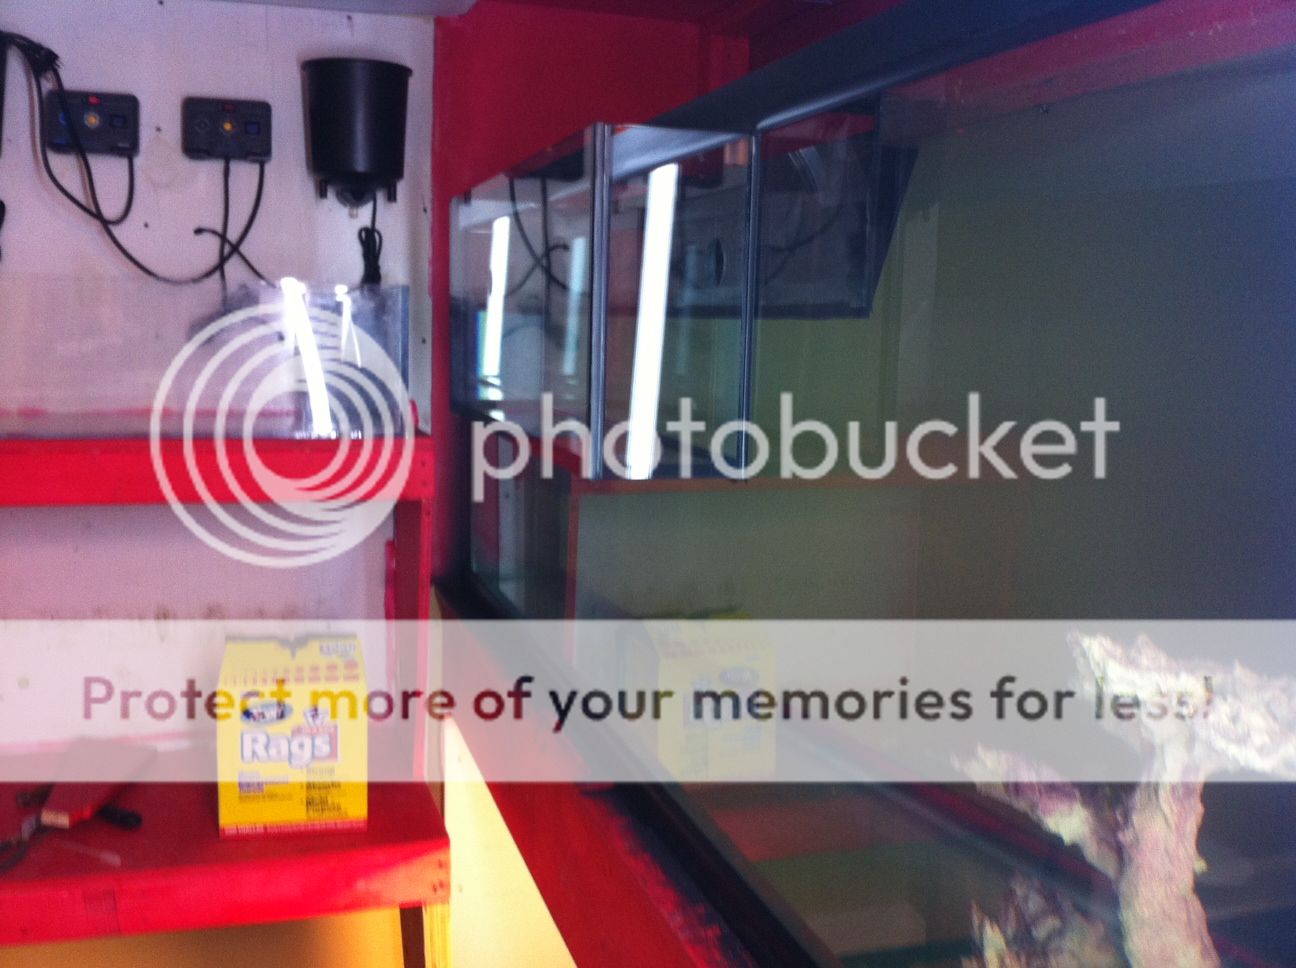
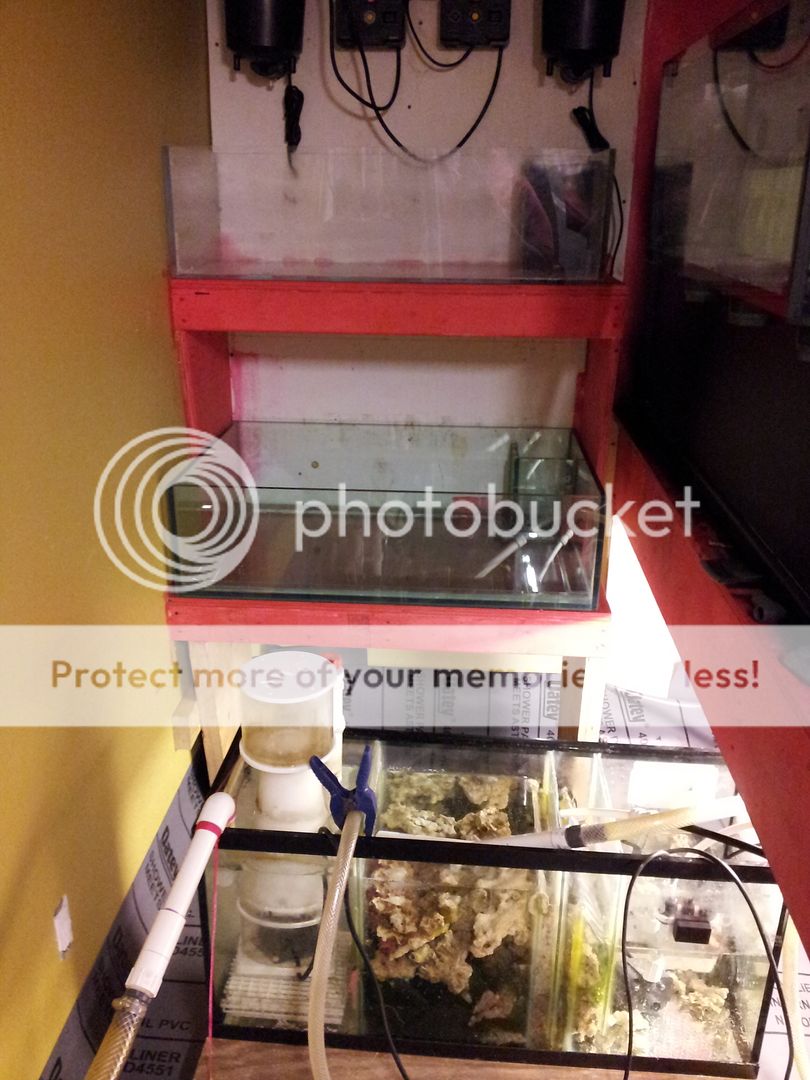
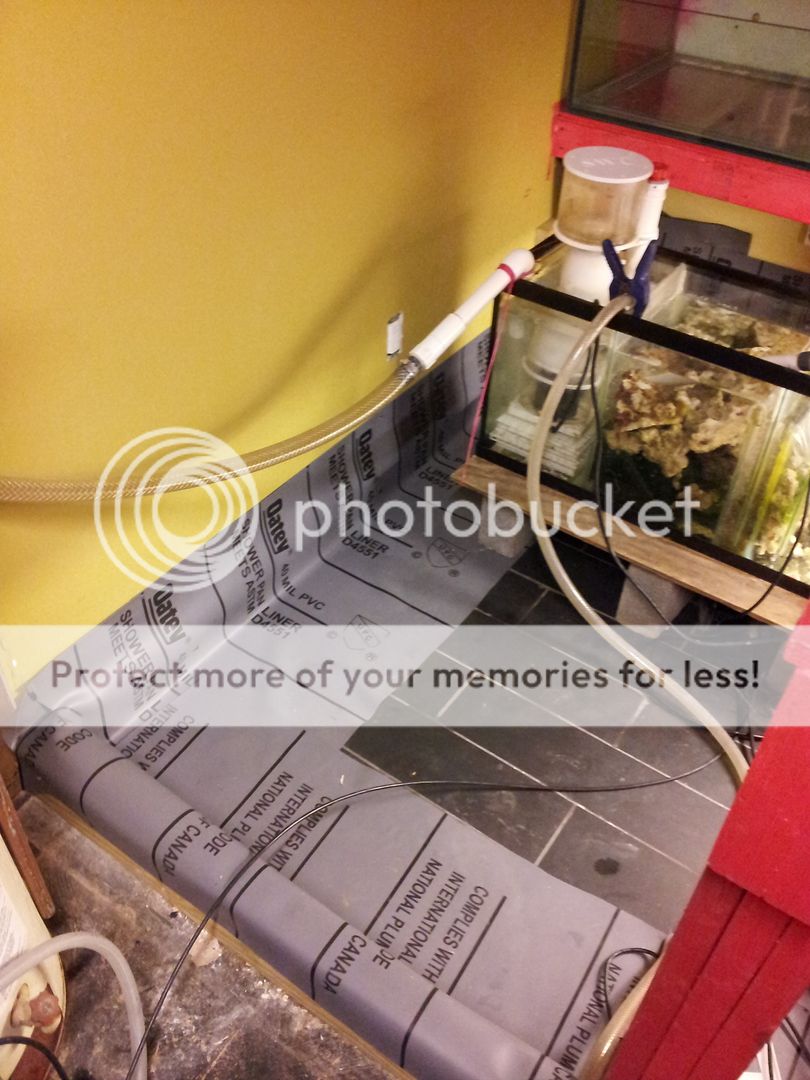
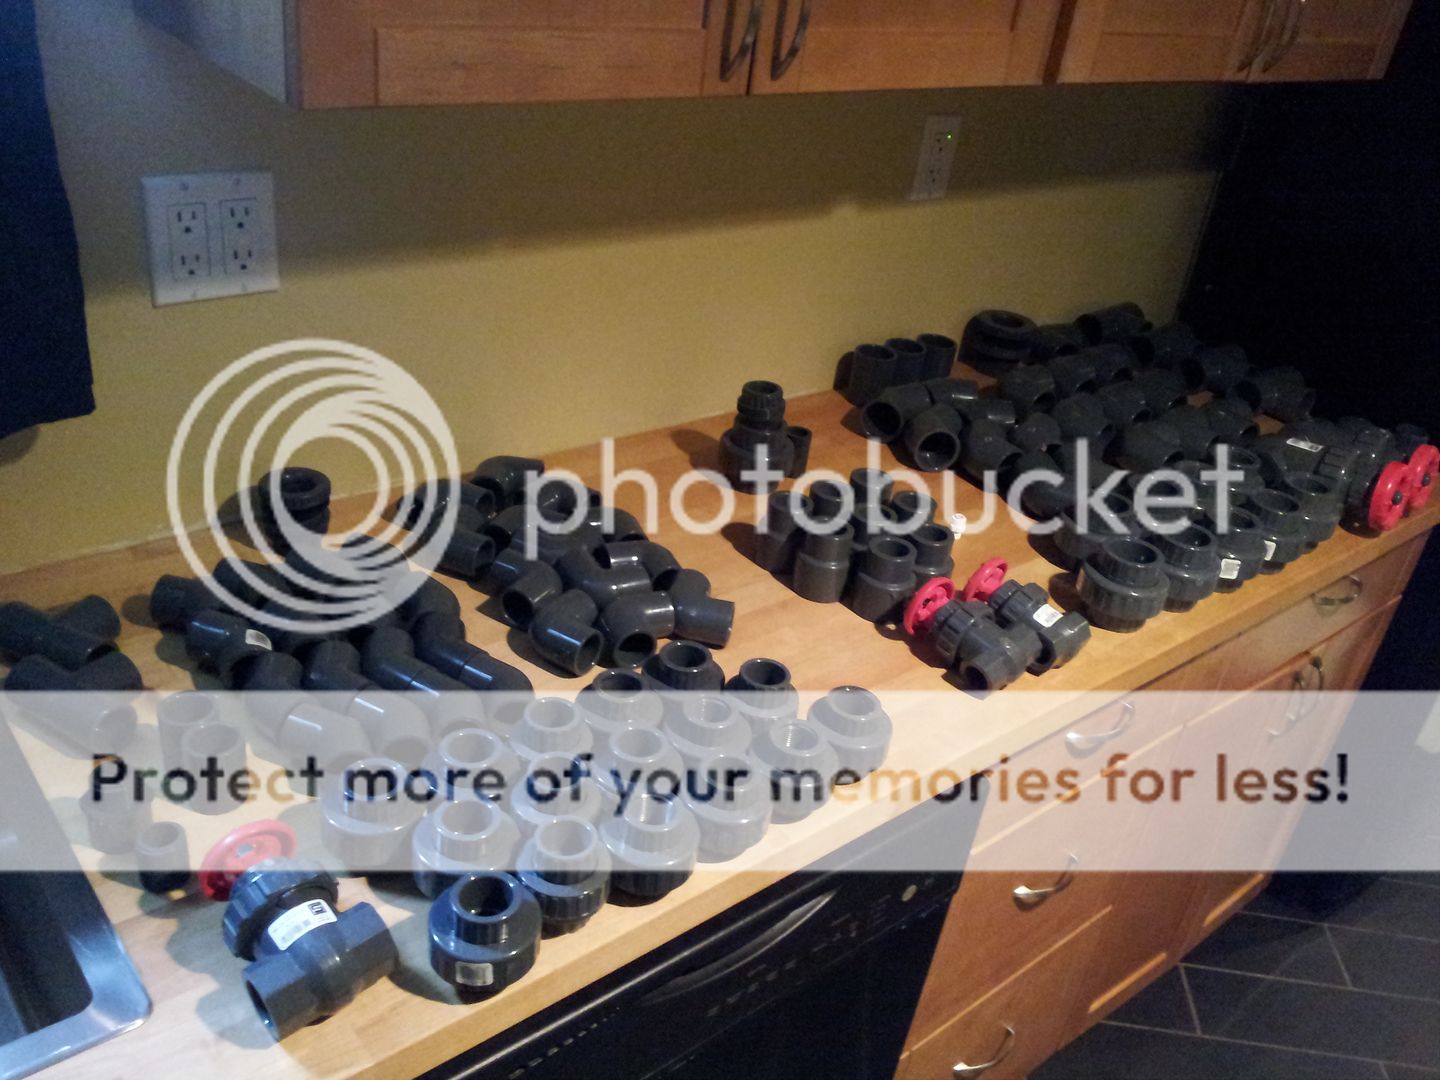
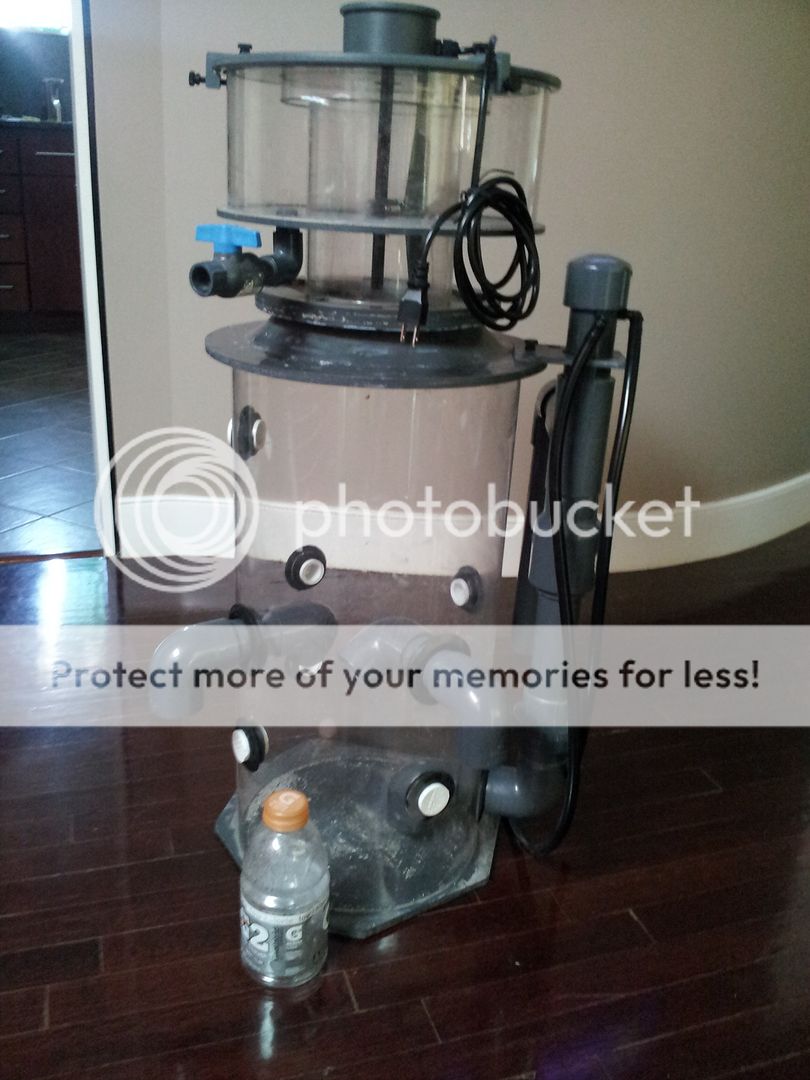
that's all the details i can recall for now. i'll be sure to post up more as they come available. here are some pictures in the mean time of dave's fine work!

2a9cf715-1b8f-4a44-8c9b-b6a375a9198a_zps8ee2a9fb.jpg


9dfcc89a-5679-4bc4-be36-fc3654eed860_zps6ff30eee.jpg


a4b07afe-b4f0-4948-9115-ade6581a9b31_zps45da1603.jpg


2a80ba5c-d7df-4942-83ca-2dbb1ba68b3c_zpse283fbb3.jpg


image_zps958c6763.jpeg
 
just realized that anything other than black is not going to work for my background.


the dow 795 is black. my external overflow is taller by about eight inches than my internal overflow there those eight inches of black seam are going to show through, unfortunately.


i could do a frosted with black and grey accents like i just had planned until recently and try to fade the hard black seam lines into the background as shadows but it will drive me nuts.


those black hard seam lines just won't look right looking at the tank from the front.


so...black i guess it is unless i do something on the inside of the tank like with kydex sheets but the two braces up top make that kind of unlikely as the union gap between the pieces inside wouldn't look right either.


so i'm just going to use black and grey light coats and see what i can come up with for creating depth with a light from above.
 
got an updated shot of my LED housing. so svelte and sexy.

e2efea3b-3429-4f4e-ae3e-4bfa9ceea024_zps8d665676.jpg


was contemplating change the color scheme by clearing the raw unfinished metal and going to black accents instead. i really like the look. or maybe stick with my original idea.
 
decided to go ahead and skip the previous color scheme and instead go with something a bit more industrial and went with the unfinished metal with the clear matte powdercoat on then black accents and endcaps and kevlar sheathing instead of the shocker green! this is going to be awesome!
 
dan from avast sent me an updated photo of my new skimmer being built. i shipped two diablo DC5500s to him for fitting up to the skimmer body. looking good so far, and a skimming monster, too! will have a swabbie installed, as well!

95d4c6ba-3987-4be1-aa83-6b87c7aefeca_zpsec9b8091.jpg
 
ordered up two diablo dc10500s this morning and already shipped! couldn't find them anywhere in stock then my luck turned around and mine are scheduled for arrival monday - let's get some plumbing done!


QTY Product Shipped Date


(2) "Diablo DC 10500 Variable Speed Water Pump" 21-Aug-2013

OC9229-2T.jpg


OC9229-6T.jpg
 
Last edited:
had a pretty rough day but tried to get some stuff done ...

sound blocking/damping insulation, vapor barrier, and drywall up under the stand

photo1_zps5527ac28.jpg


cleaned up the rear pane and alcohol swiped -
photo_zpsc67a8b10.jpg


decided to try some "black out" privacy window film - not fun AT ALL. incredibly difficult trying to do it in one piece with the cut out for the external overflow and little room to work with on the left and the material sticking to itself and then working all the bubbles out afterwards.

744c935d-fd29-4e7c-b078-2e91162ba791_zps2979fc22.jpg


shower liner time -
20130822_144508_zpse236f00e.jpg


replaced bulkheads on refugium and frag tanks and reinstalled on stand. then had to resetup the entire sump system for the upstairs tank again. i just made it a nice water change and drained and refilled everything once done with the shower pan liner.
20130822_204029_zps51f7242c.jpg


20130822_204020_zpse12f5b72.jpg


next is to install sheet PVC all around on the walls from the bottom 4' up which will lay on top of the shower pan liner and completely cover the wall under the stand as well to protect the drywall there from sump salt creep/splashing/etc and add added sound dampening (albeit minimal).
 
Looks to be easily $400 sitting there, I nearly died at the register when I bought all of my plumbing for my 180. I'm sure the unions and valves will all pay off in the future
 
Back
Top