My ever coninuing questions thread...

oh k. I still dont understand. What do you do to keep it from blasting the sand? make it so the solid part is at the bottom so the water doesnt go in that direction?
 
If you'll take your hand and feel the water coming out of the power head you'll notice theres more flow on one side.
Just rotate the power head untill the side with the most flow it pointed up toward the top.
It also helps to kind of point the whole thing up a bit too.
 
PH = powerhead. There's a cover that has slots in it. Part of the cover is solid, not slotted. If you put that part towards the bottom, water won't shoot out the bottom.
 
How come 1 of the pumps came with a screen type thing that goes over the front, and the other didn't? its not really necessary I don't think, its not like anything is going to swim against the current all the way up into the propeller?
 
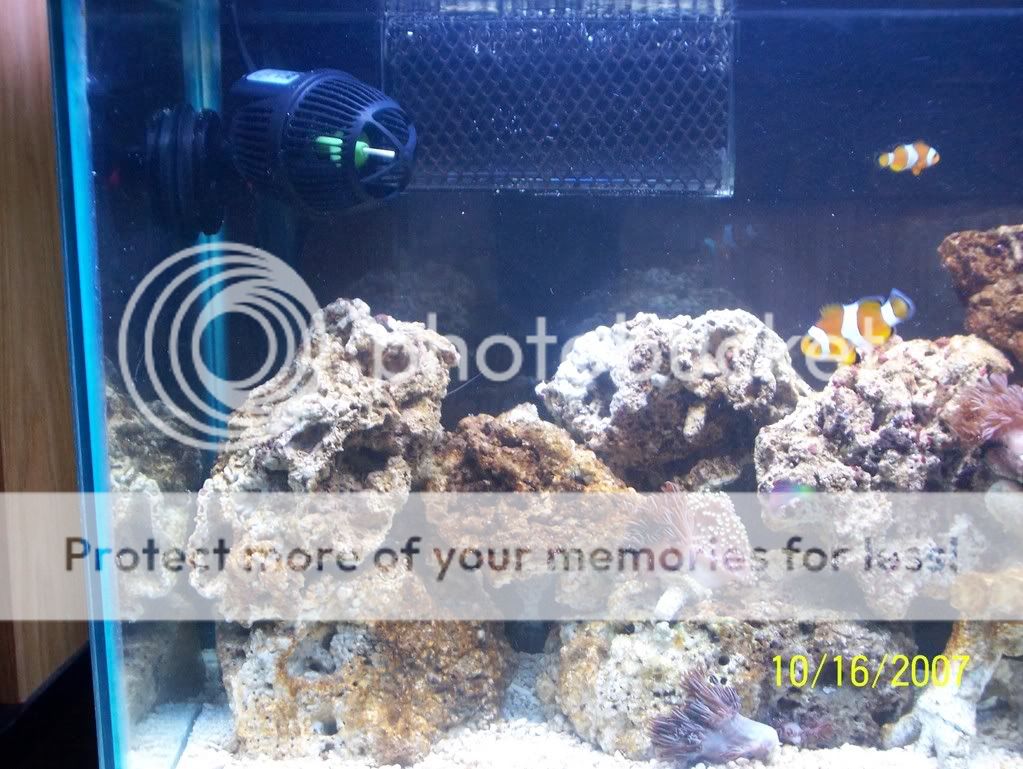
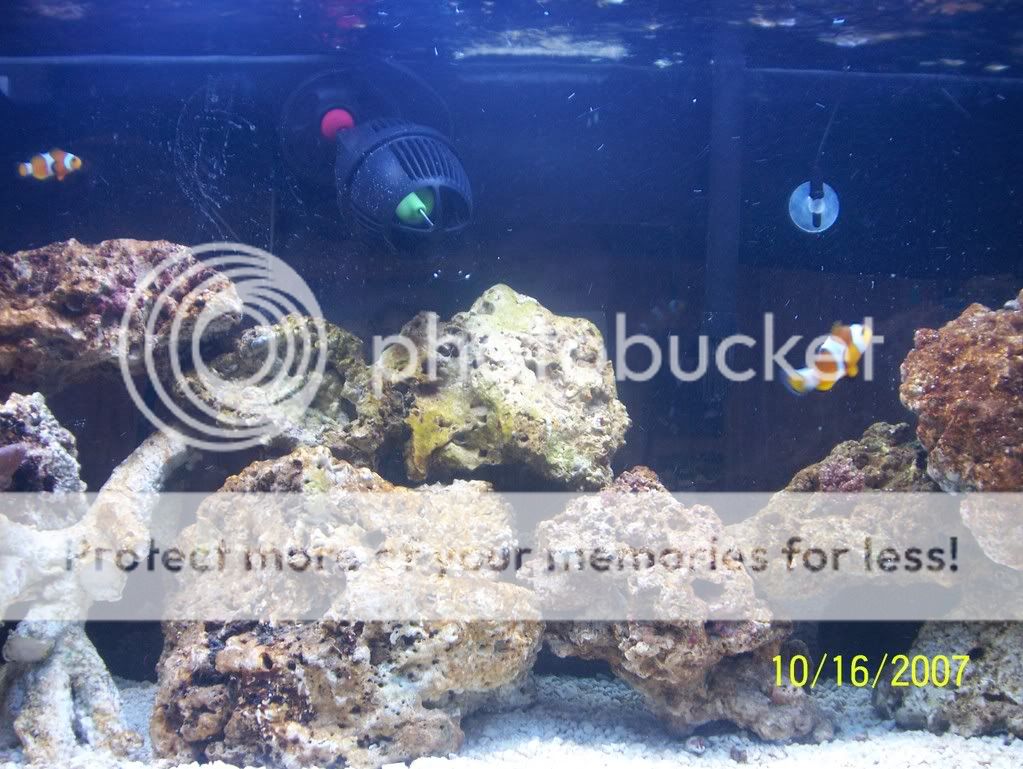
Holy cow, thats excessive flow I think... my clowns can hardly swim into the current, my xenias are just flapping in the current... I cant really aim them anymore indirect at them either... Ive got the PH in the middle on my day timer so it will be on during the day and off at night to let it calm down a little bit...
Aquarium141.jpg


Aquarium142.jpg


Aquarium143.jpg


I tried the one in the bottom right corner aiming strait across the tank, but i HATED the way it looked in the tank...
 
I just got around to cutting my bonded filter media that I picked up the other day too, cut a chunk and put 1 piece 3/4 the length of each baffle between each baffle. Wow that made a difference, not a single bubble in my tank anymore! So thats awesome. Since I added all the circulation my leathers closed up and havent come out yet... do they not like the flow do you think?
 
Leathers need a lot of flow. They shed this mucous periodically, and they need strong flow to blow it off. I think the amount of flow you have in your tank is probably fine.
 
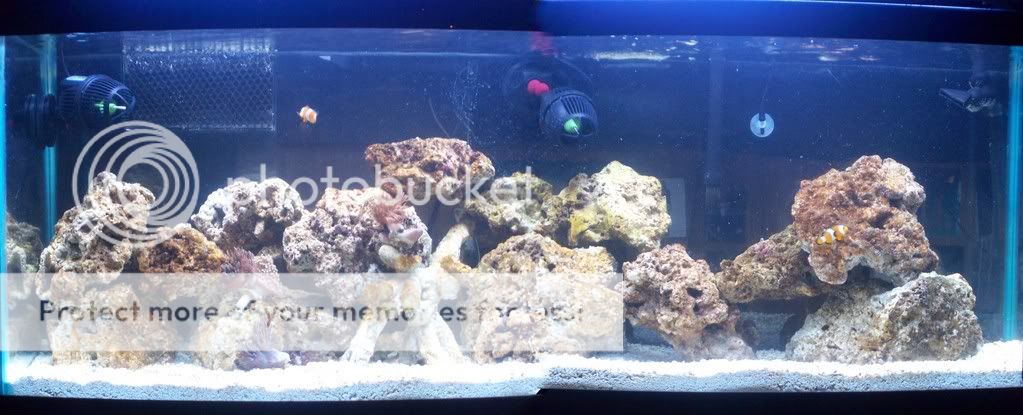
I now have a 1800 GPH circulation in my 50 gallon tank. I just turned one of the PH's so that it has the calm part facing towards the pulsing xenias so they are a bit happier I think, they dont look like palm trees in a hurricane anymore.
 
Will these xenia have problems though? they cant pulse and do thier finger grabby motions if they are being blown everywhere, but I think i got it figured out now, I aimed the middle one differentely so that it doesnt have stray current aiming at the corals. I just also threw the little aiming cone thing on the side one, thats helping a lot too, seems about perfect now
 
I'm thinking another DIY in the near future, I was messing with my overflow last night (not sure if it was directly related to my problem or not) but it was making a gurgling noise, so I tried moving it up and down the water level. This morning my sump was full at normal operating capacities and when I got home from school 7 hours later my pump was almost dry! quick topped it off with half a gallon of water almost.
I wanna build a nice ATO, I go on a lot of vacations and dont want to add any extra burdens to my family members that stay behind. They can just throw in some food for me if I can get this worked out. I was looking for DIY ATO threads but the only one didnt result in a build. Biff said she had one built, so hopefully she can give me some insight.
 
IMAO, some things are a great idea to DIY, and others are worth spending the money to purchase. Sumps? great DIY project. Lighting? Not for me, with my luck, I would cook off the boys and lose any self respect I have left. ATO? for me, that would be worthy of a purchase. There is so much to go wrong, but hey...If you have the time, energy and desire - go for it.

-Dr Marco :sfish:
 
Okay. Before we start the DIY ATO lesson, I want to share some inspirational words with you all that I strive to live by day to day.

b5565b4799a2.jpg


Now then. Here are the reservoirs for my ATO. Two 6-gallon water jugs.

101607001.jpg


They are connected by irrigation tubing and a Y joint/thingy. You can find these parts at Lowe's/Home Depot/Ace. The outputs were also found in the irrigation section. It's just an adaptor that fits the irrigation line. Neal drilled holes in the jugs and siliconed in the adaptors.

101607002.jpg


Here is the irrigation line going to my sump. It is connected to a toilet float. Found in the plumbing department. Be sure to buy a float that is ALL plastic, no metal parts!

101607004.jpg


Here is a picture of the float in the return section of my sump.

101607003.jpg


Here is the irrigation line that was used. Oh, and that's my newest tattoo. Eight starfish going around my wrist. EAT IT, ADRASTOS!

101607006.jpg


When I need to refill the ATO, I just run the line from my RODI unit into one of the jugs. Since the two jugs are connected by the Y irrigation line, one automatically refills the other.

101607007.jpg


Since this is a gravity fed ATO, you need to be sure your jugs are positioned HIGHER than the sump.

Total cost for parts, not including the two jugs: $15.
 
Like I was saying just a minute ago. ATO + DIY = piece of cake.....:frustrat:

-Dr Marco :sfish:

I tell ya, that Biff....one of these days....
 
IMAO, some things are a great idea to DIY, and others are worth spending the money to purchase...ATO? for me, that would be worthy of a purchase. There is so much to go wrong, but hey...If you have the time, energy and desire - go for it.

-Dr Marco :sfish:

Wuss! This ATO was the easiest DIY project of my entire tank ;)
 
yeah, yeah, yeah....your lips are moving and all I hear is blah, blah, blah...

-Dr Marco :sfish:
 
Back
Top