Hey, sorry guys, I was busy with writing a brief for the court of appeals and then sick in bed with a cold. I managed to build a little more of the tank and will post some of the pictures either tonight or tomorrow. I will probably have the rest of it built and posted before the end of the weekend. Thanks for being patient!
You are using an out of date browser. It may not display this or other websites correctly.
You should upgrade or use an alternative browser.
You should upgrade or use an alternative browser.
Mystery 8gal Nano Build
- Thread starter ilyad
- Start date
Trigger Happy
Reefing newb
:claphands photos...photos...photos...:D
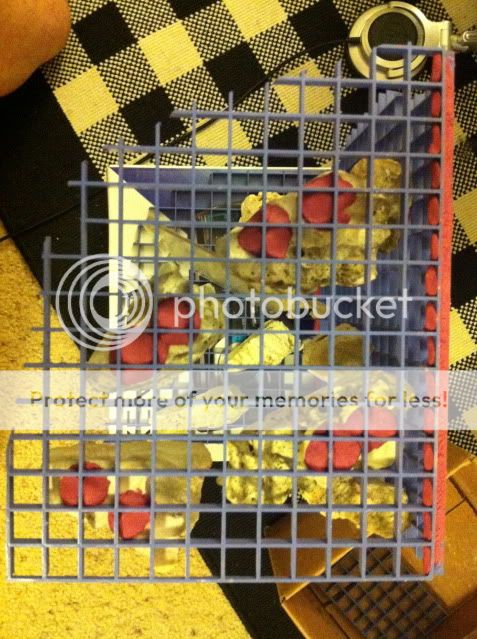
OK ok ... here is what I have so far.
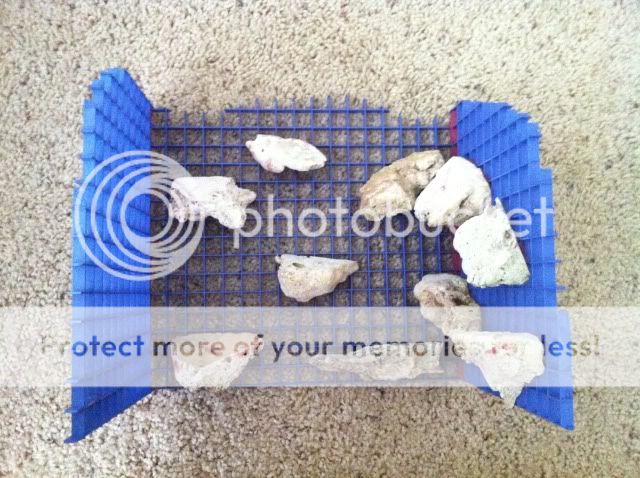
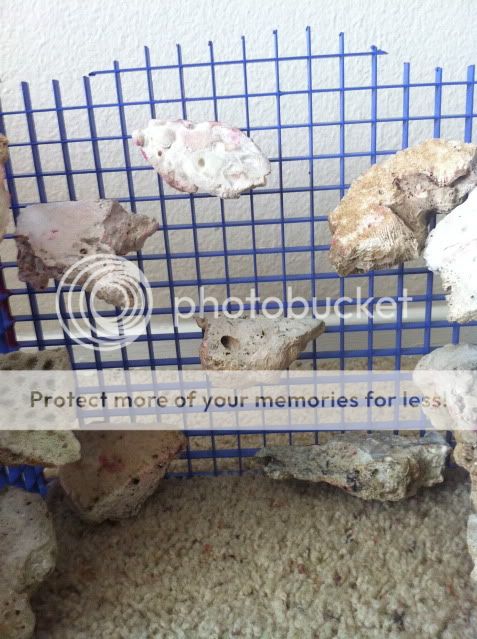
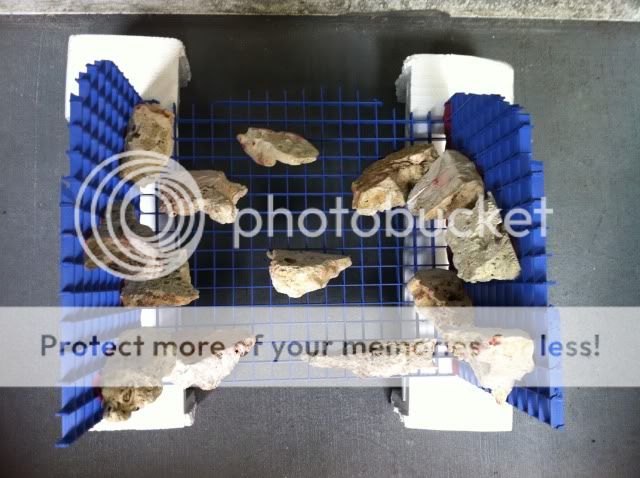
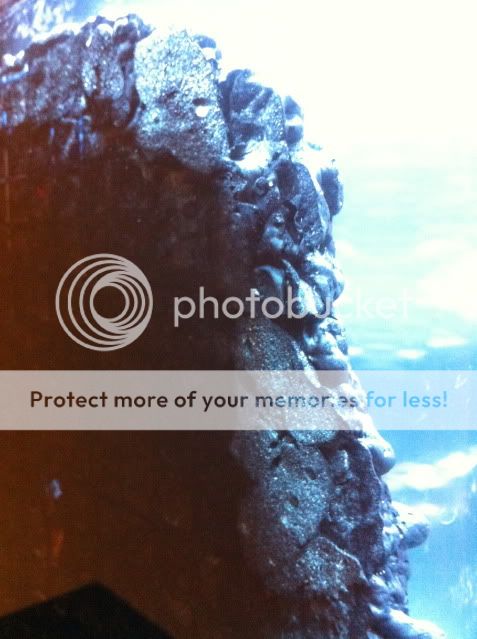
After I went ahead and cut up the rocks using the same tool and bit, I mocked it up against the eggcrate to get an idea of how it'll look
Here is the result,
The Right

From Above
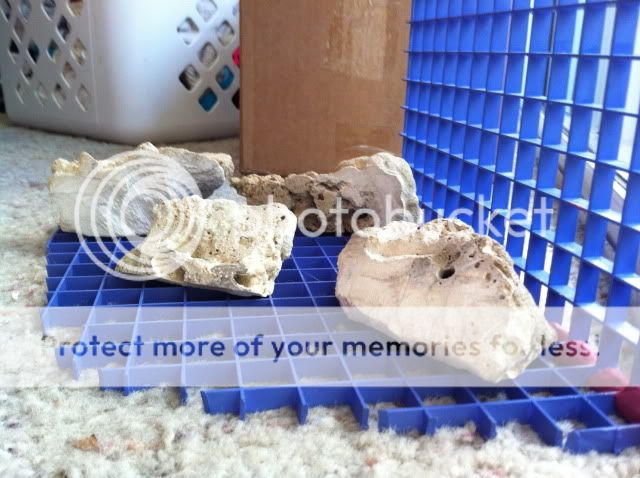
The Back

The Left
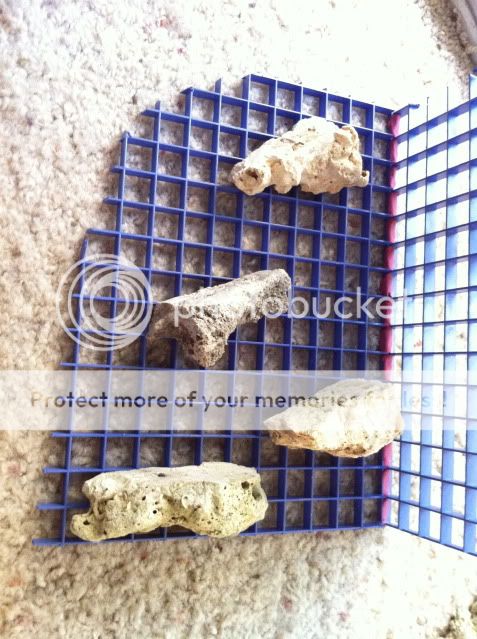
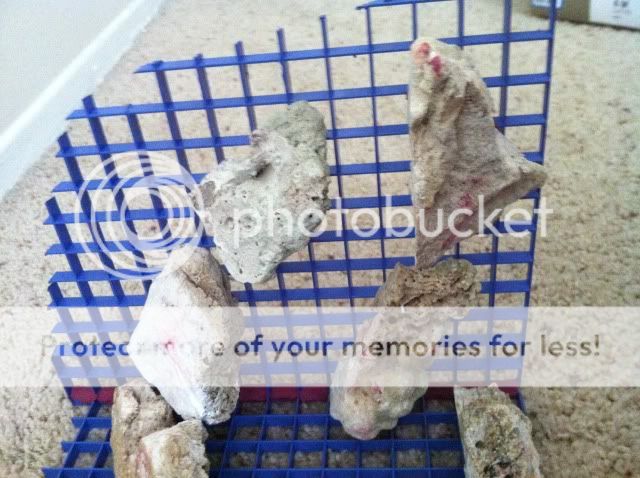
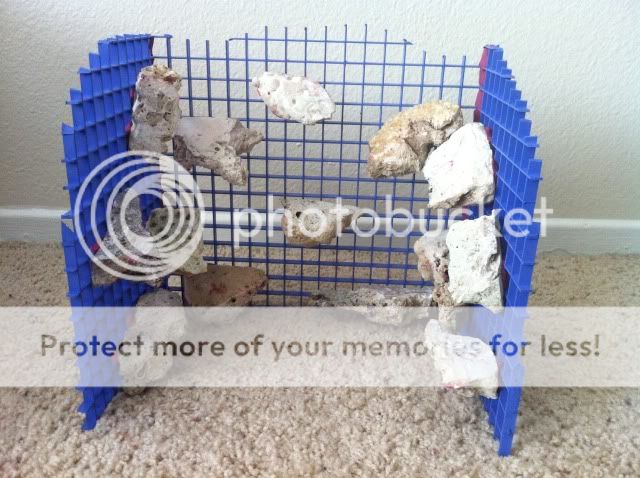
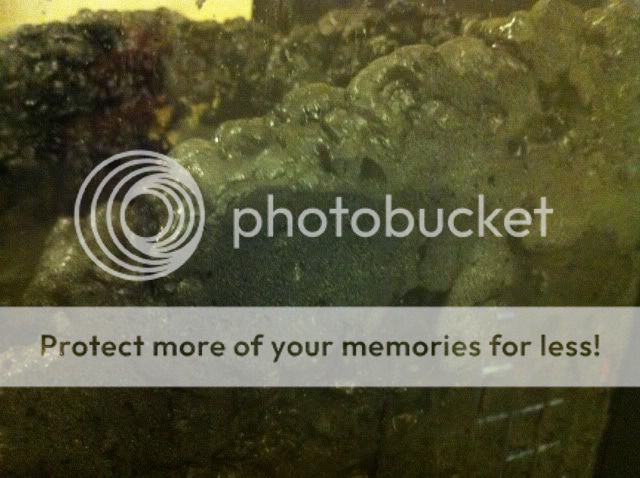
I then went ahead and cut the part of the rock which would sit flush with the eggcrate at different angles so that I get about a 90 degree angle on the bottom and more acute angles towards the top to make sure more of the rocks is visible when looking from the top as well as to allow for more light to penetrate to the bottom.
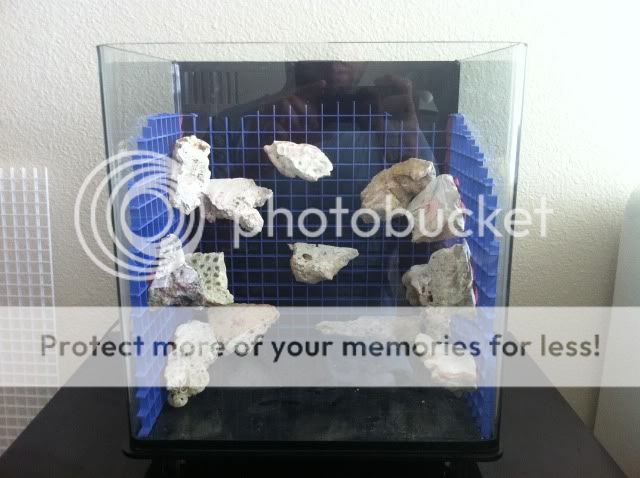
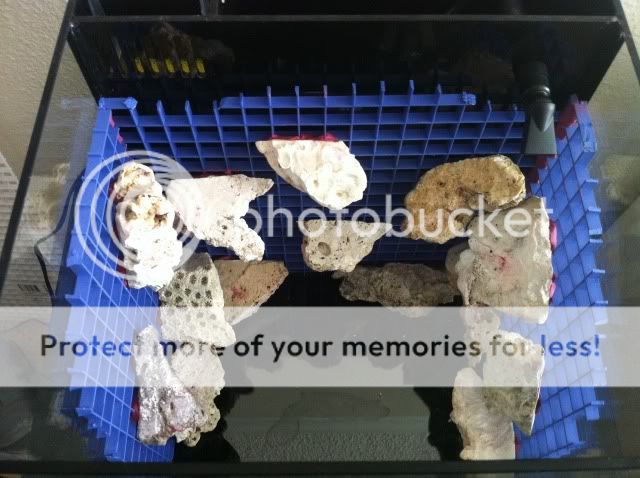
And now I went ahead placed one side on the floor and used the same epoxy to glue the rocks (allowing for 24 hours for each side to cure and set)
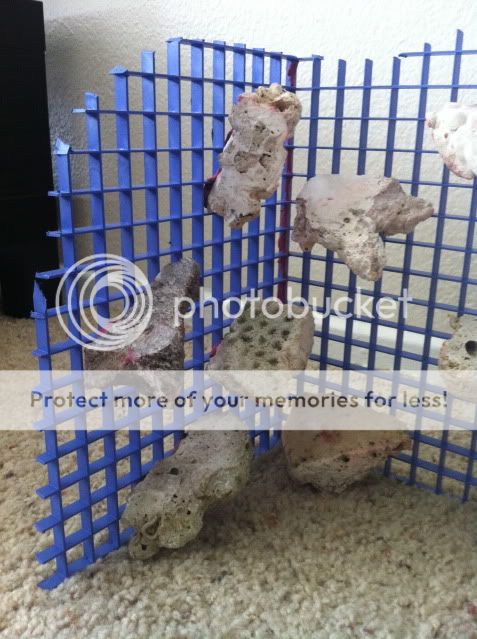
The Back
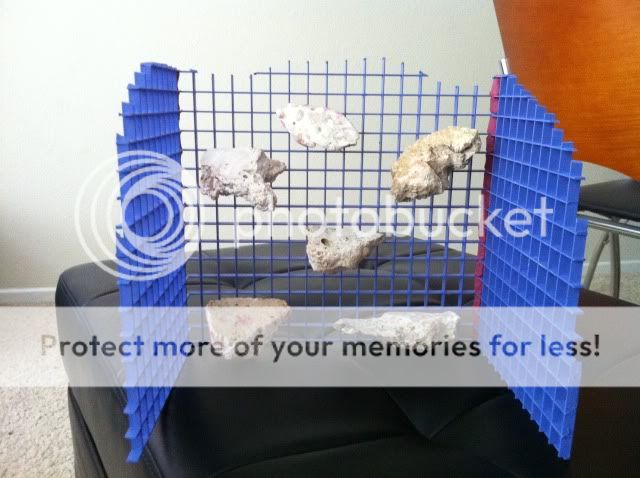
Close Up
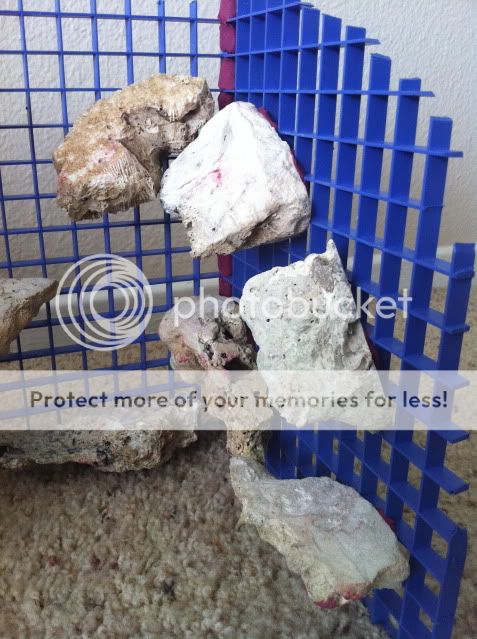
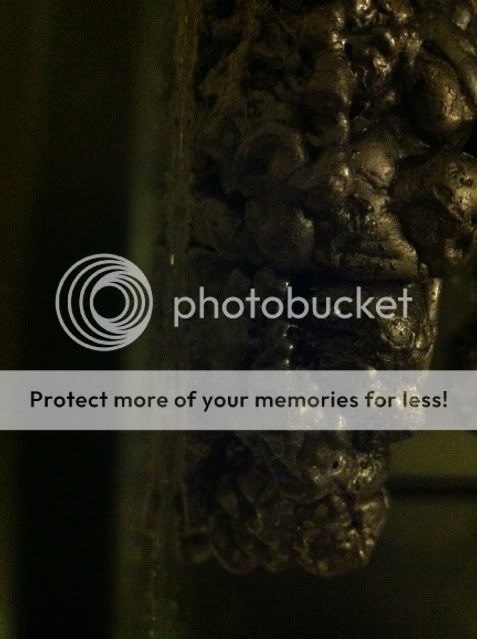
The next day I did the right side
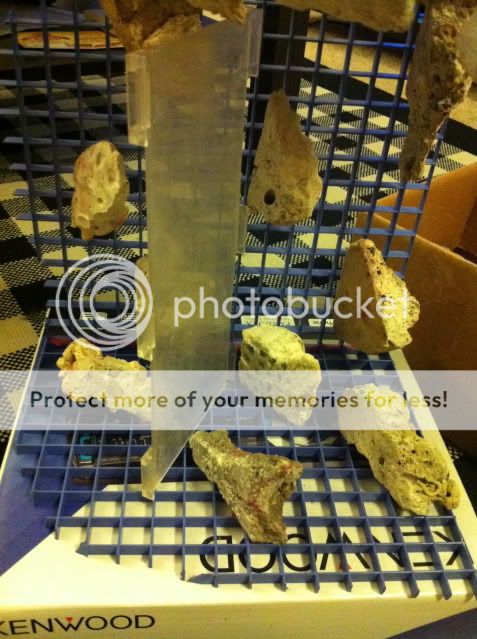
After it had 24 hours to set, I checked to see if the rocks would hold in place
Then I went ahead and flipped the whole thing on its left side and epoxied the rocks to that side (because the rocks on the right side were creating a substantial weight, I had to place a plastic piece to hold it upright until the rocks cured so that it wouldnt break or stress the epoxy connecting the parts of the eggcrate)
And example of how the epoxy is holding the rocks to the eggcrate
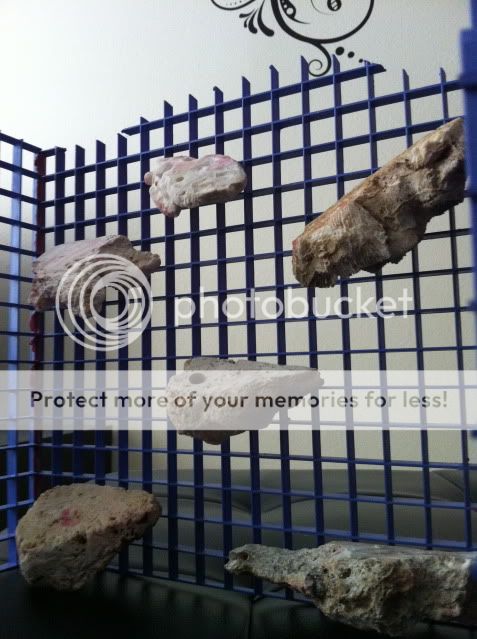
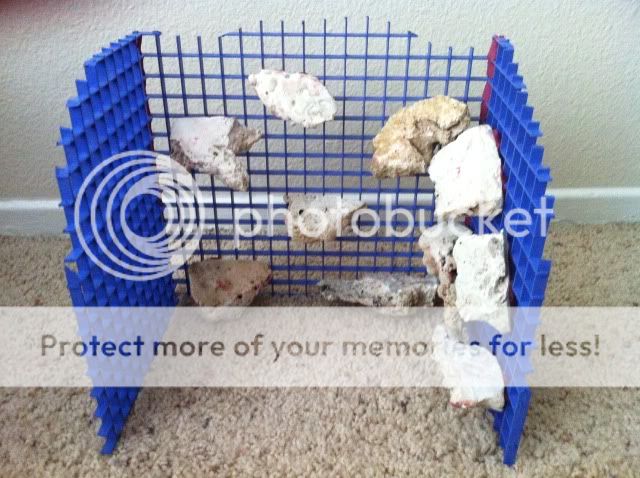
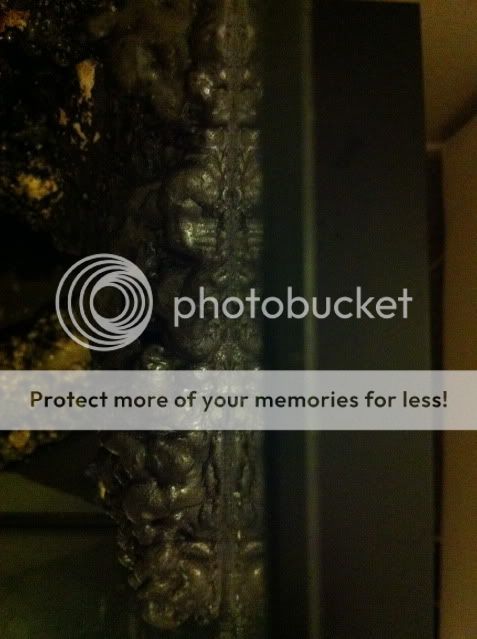
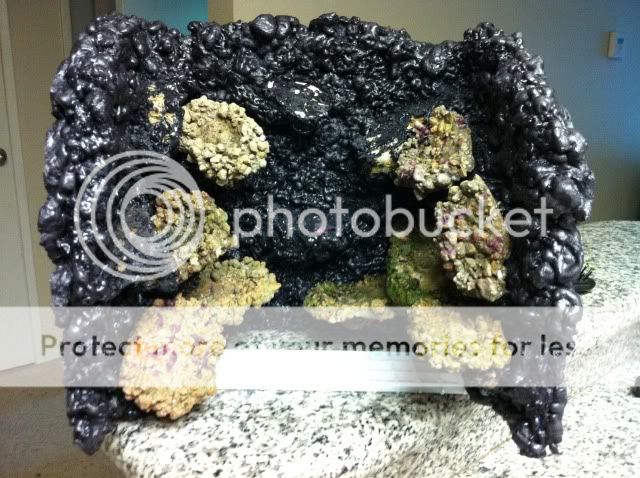
The final products
Left
RIght
Back
After I went ahead and cut up the rocks using the same tool and bit, I mocked it up against the eggcrate to get an idea of how it'll look
Here is the result,
The Right
From Above
The Back
The Left
I then went ahead and cut the part of the rock which would sit flush with the eggcrate at different angles so that I get about a 90 degree angle on the bottom and more acute angles towards the top to make sure more of the rocks is visible when looking from the top as well as to allow for more light to penetrate to the bottom.
And now I went ahead placed one side on the floor and used the same epoxy to glue the rocks (allowing for 24 hours for each side to cure and set)
The Back
Close Up
The next day I did the right side
After it had 24 hours to set, I checked to see if the rocks would hold in place
Then I went ahead and flipped the whole thing on its left side and epoxied the rocks to that side (because the rocks on the right side were creating a substantial weight, I had to place a plastic piece to hold it upright until the rocks cured so that it wouldnt break or stress the epoxy connecting the parts of the eggcrate)
And example of how the epoxy is holding the rocks to the eggcrate
The final products
Left
RIght
Back
Trigger Happy
Reefing newb
thank you... I'm tuning in after the weekend :-)
beeguiles
they call me fish geek ;p
Looks like its coming along great! Good job!
Last edited:
chichimom79
reef junkie
Nice work so far!
little_fish
Moderator
the floating rocks of pandora! I love it :D
ErinCahir
Sausage Wrangler
That is AWESOME!
OK guys, I apologize for keeping you guys in suspense so much more than promised. Ive just been swamped recently and honestly, working on two tanks is soooo much more time consuming than just one... especially since I dont want my main one to lose out....
Anyways, a huge update this time.
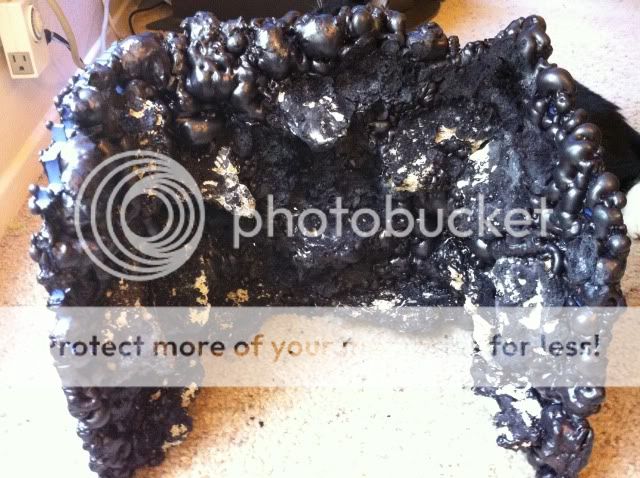
To foam the wall, I found some styrofoam (lol so much foam) to prop it up on so that it doest get glued down to the ground
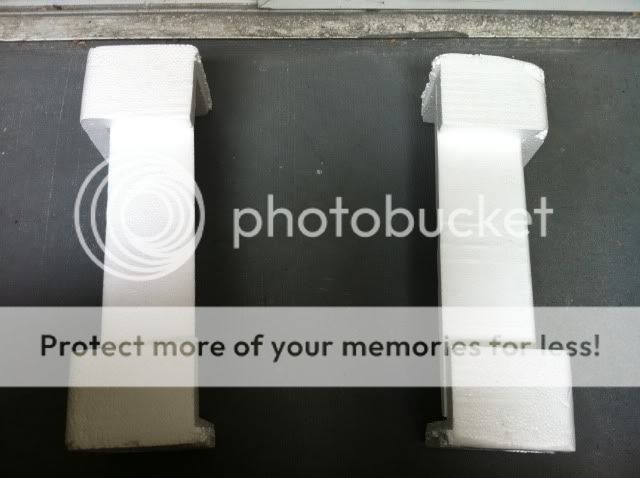
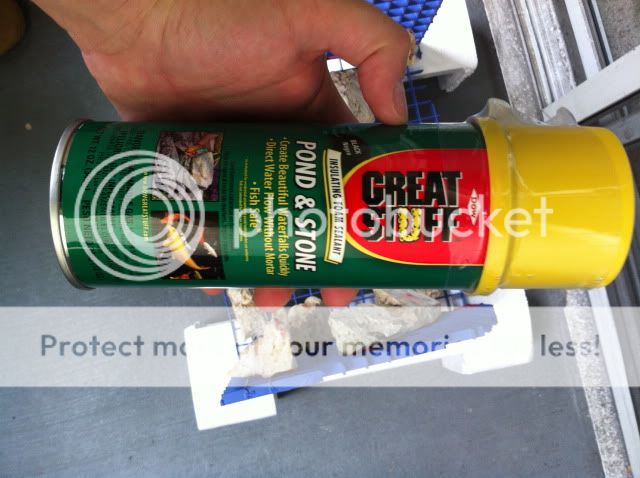
This is the stuff I used to foam the wall
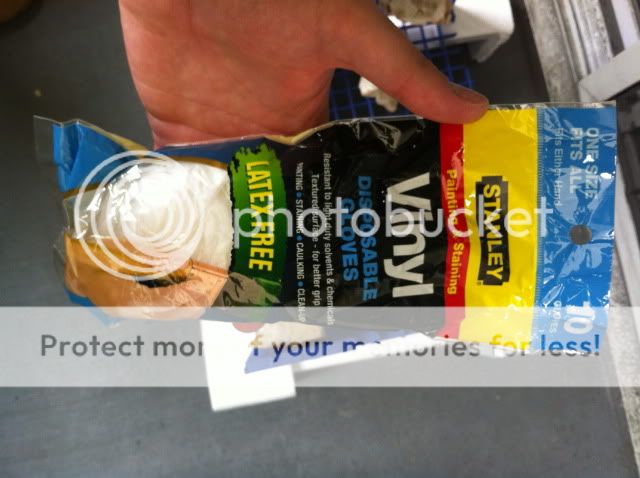
I highly recommend wearing latex gloves because this stuff does not get off your hands for days
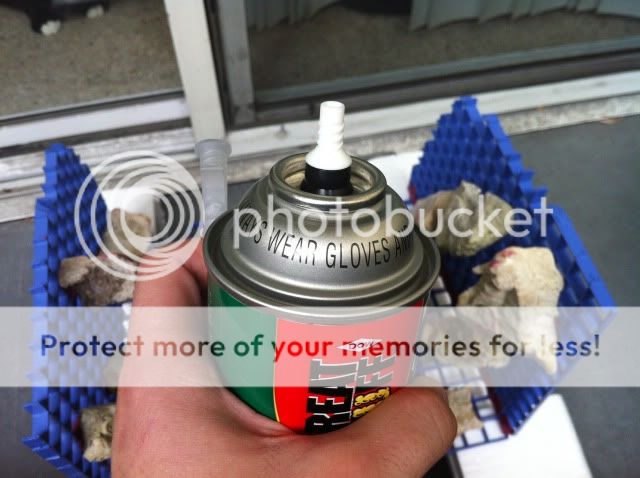
This is the tube the foam is dispensed, but luckily for me, the seal was broken and it would just squirt out the side... so I had to put the foam in my hand and dab it all over the eggcrate
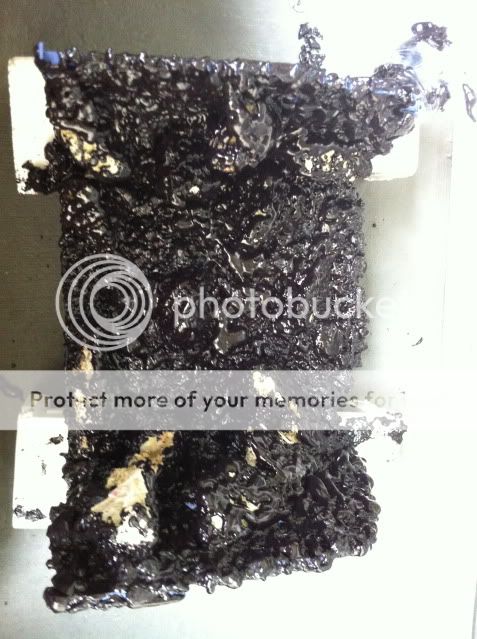
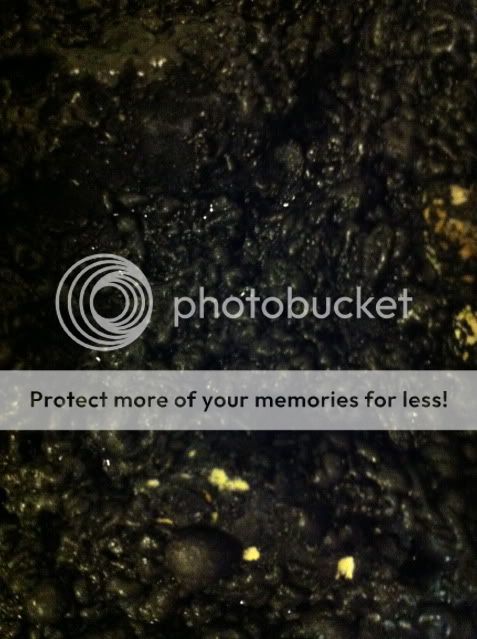
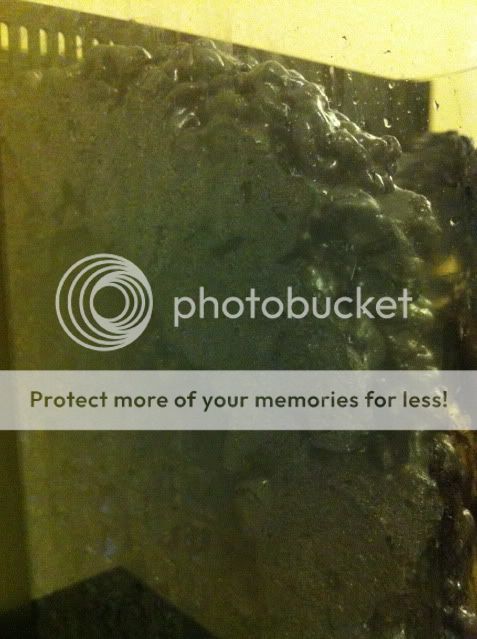
after a little, it started to foam out of the tube, and I began applying it that way, here is the end result
Close Up
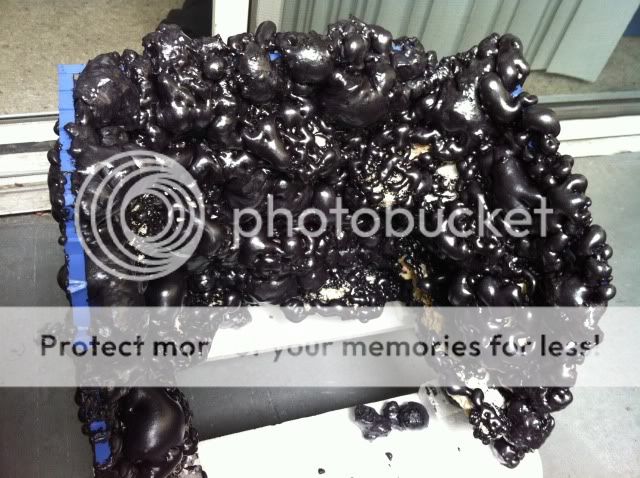
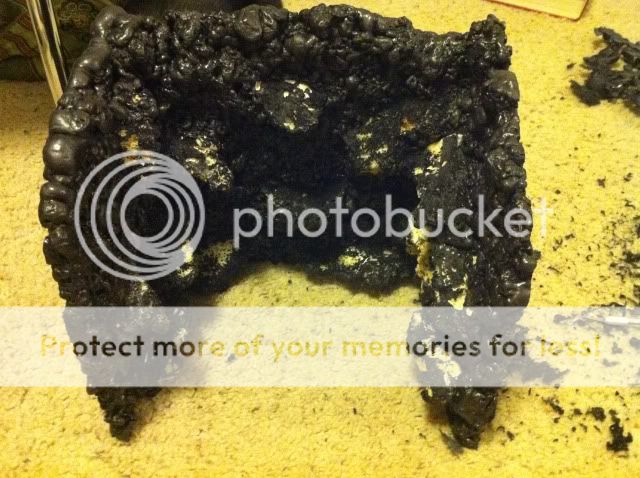
I noticed that the spots that I applied by hand did not create as round of a foam and had a more realistic look, so the big "boulders" had to go
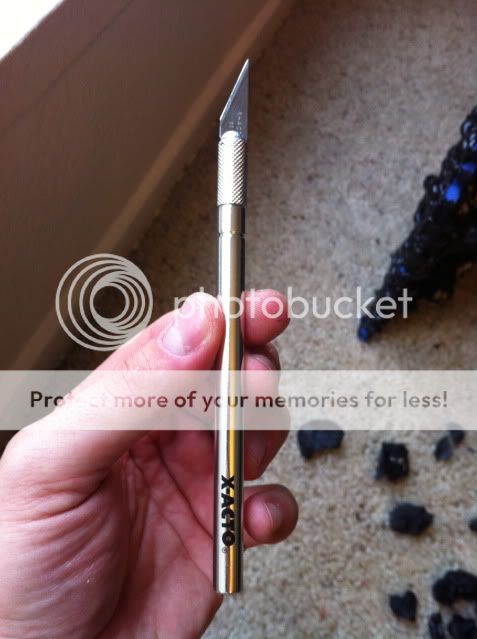
I used an X-Acto knife and my fingers to cut up and rip off all the big pieces
and also to clear up the rocks a little, which got swallowed up by the foam
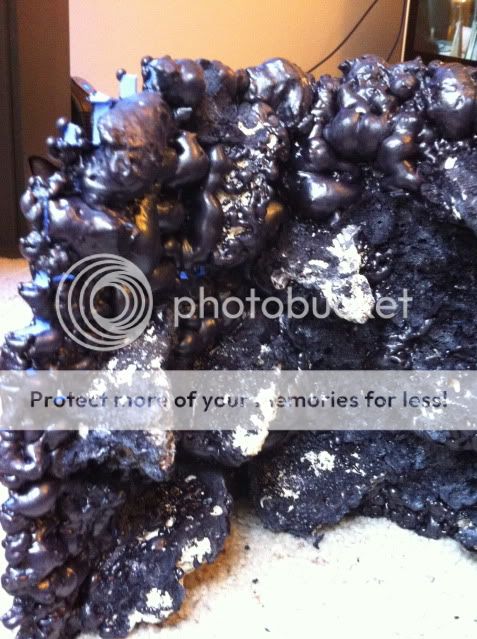
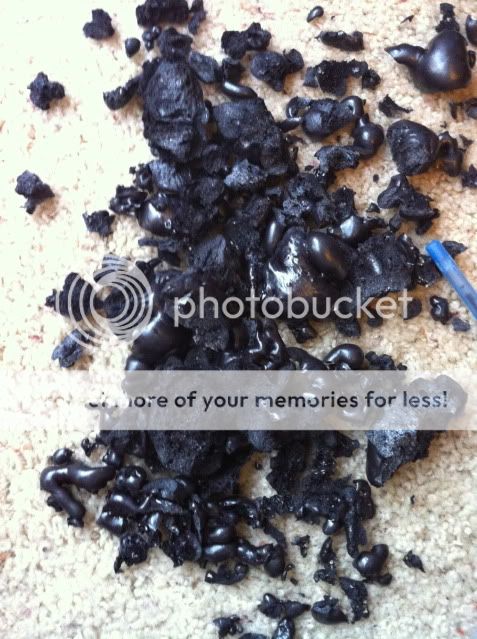
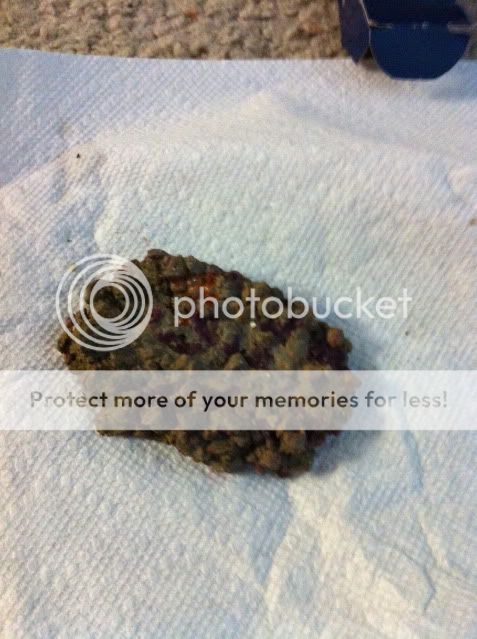
The extra foam I took off
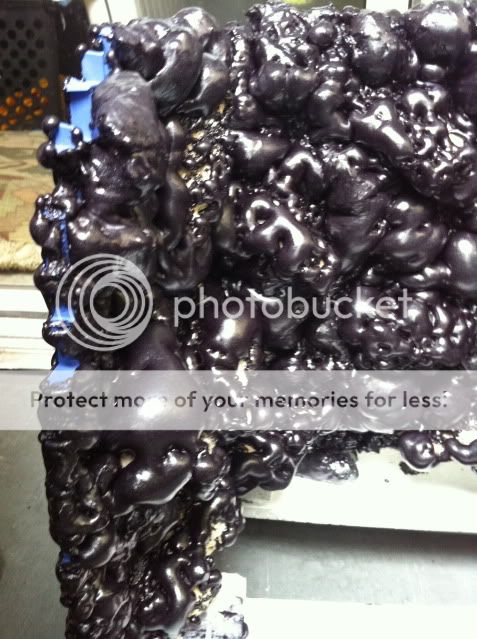
So back to try again, I used the foam and sprayed it into my hand (with gloves) and dabbed it on the parts where I picked off the foam. I also sprayed the back sides of the wall to get it more sealed.
QUICK TIP: if you use a water spray bottle and spray the foam while its drying, it speeds up the curing process and keeps it from expanding as much.
Compare the back where I left it alone
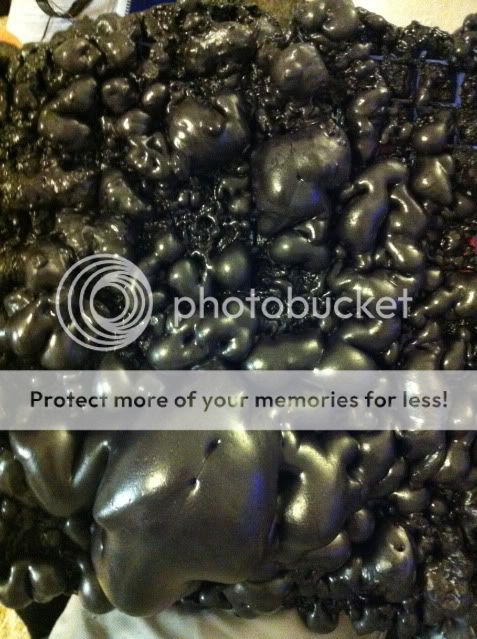
And the front which I sprayed with water
Anyways, a huge update this time.
To foam the wall, I found some styrofoam (lol so much foam) to prop it up on so that it doest get glued down to the ground
This is the stuff I used to foam the wall
I highly recommend wearing latex gloves because this stuff does not get off your hands for days
This is the tube the foam is dispensed, but luckily for me, the seal was broken and it would just squirt out the side... so I had to put the foam in my hand and dab it all over the eggcrate
after a little, it started to foam out of the tube, and I began applying it that way, here is the end result
Close Up
I noticed that the spots that I applied by hand did not create as round of a foam and had a more realistic look, so the big "boulders" had to go
I used an X-Acto knife and my fingers to cut up and rip off all the big pieces
and also to clear up the rocks a little, which got swallowed up by the foam
The extra foam I took off
So back to try again, I used the foam and sprayed it into my hand (with gloves) and dabbed it on the parts where I picked off the foam. I also sprayed the back sides of the wall to get it more sealed.
QUICK TIP: if you use a water spray bottle and spray the foam while its drying, it speeds up the curing process and keeps it from expanding as much.
Compare the back where I left it alone
And the front which I sprayed with water
wontonflip
I failed Kobayashi Maru
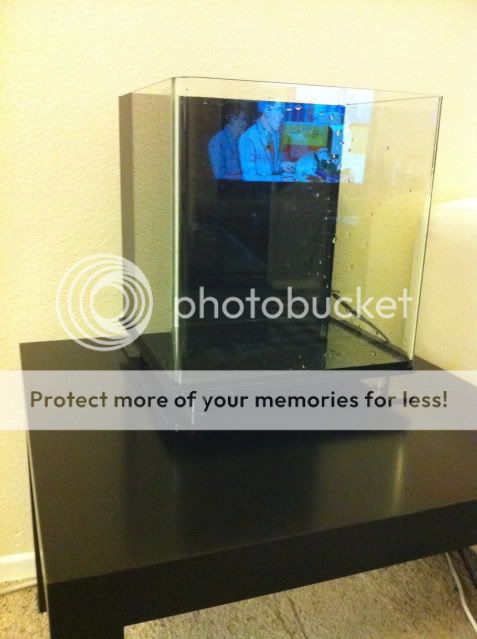
That looks like an Ikea side table that it's sitting on :mrgreen:
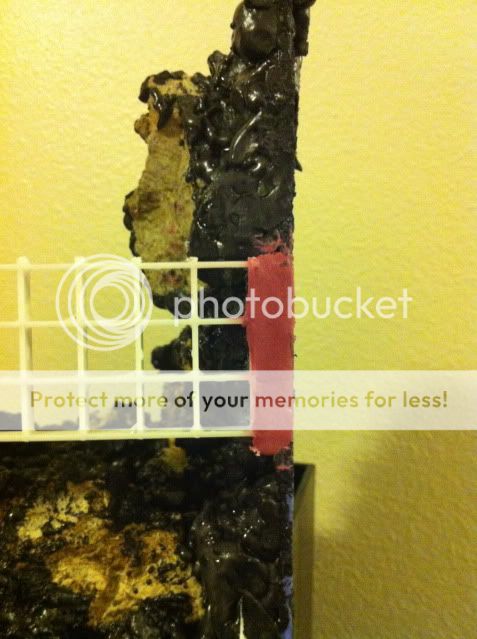
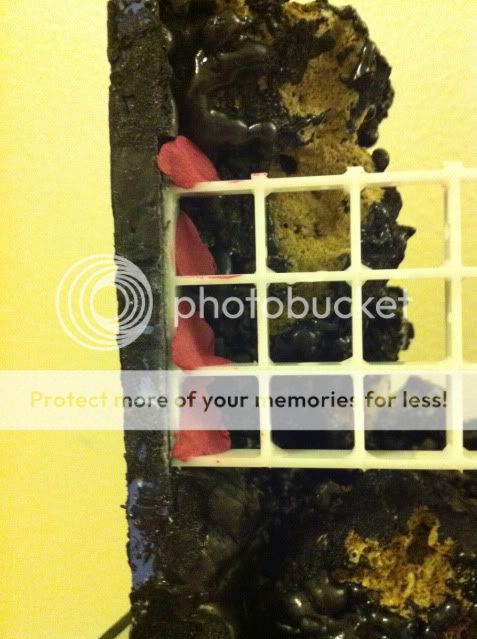
Now I had to go ahead and remove all the extra foam from the back sides so that it can fit flush in the tank
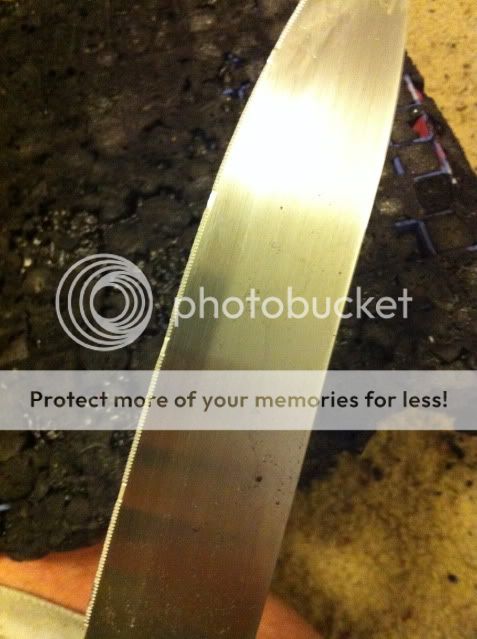
Using a serrated blade made the process easier because it let me "saw" through the extra foam
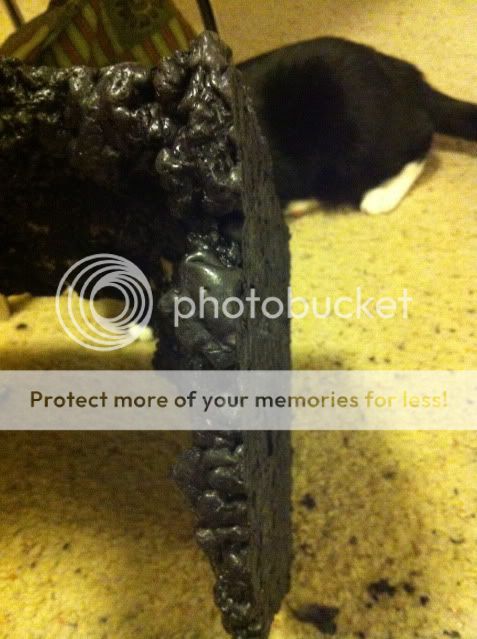
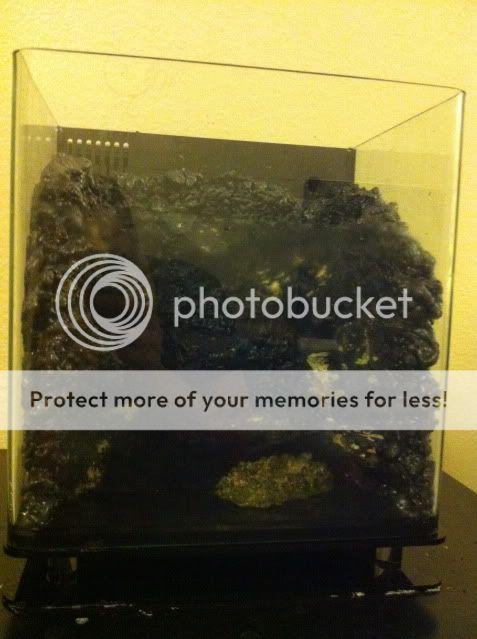
And the final product
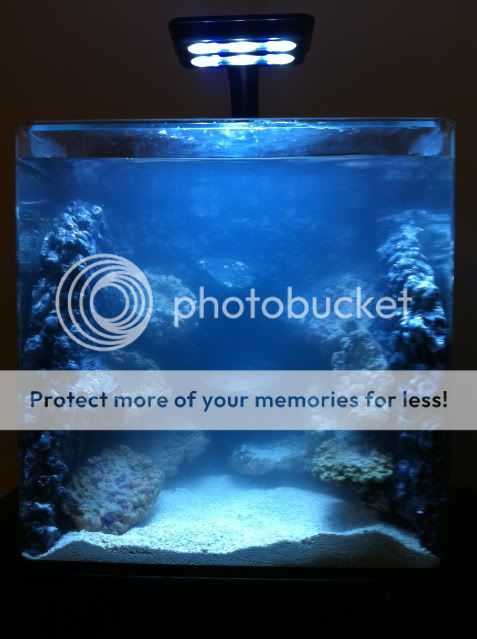
So I cleaned up the tank, and set everything back up to start the cycle
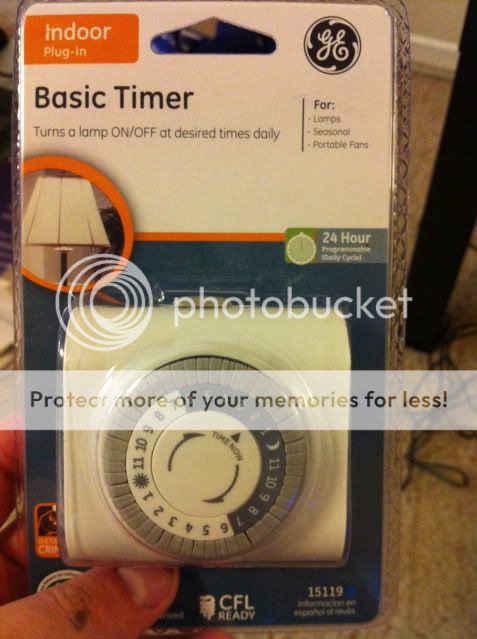
I used this timer from Home Depot for the lights
Finally everything in place
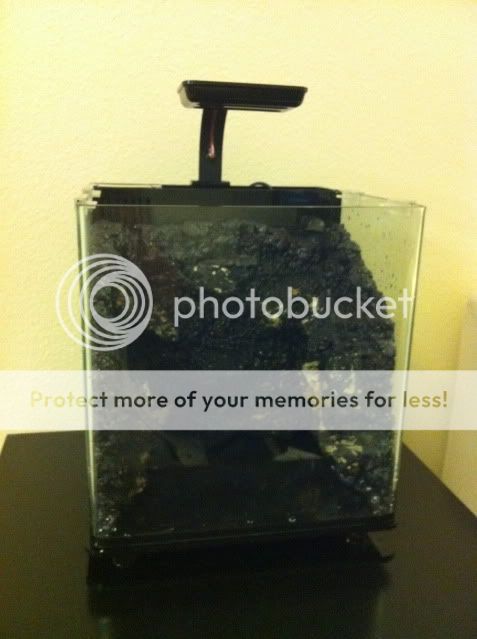
Added the saltwater and a piece of LR from my display tank
FTS
The next morning when I woke up, I noticed that the left side of the rock wall skewed a bit and did not fit as flush to the tank as Id like it to
Compare to the right
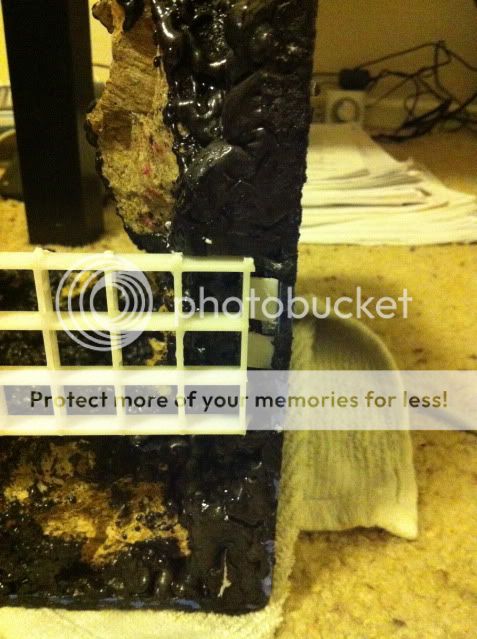
SOLUTION 1: Add a brace on the bottom
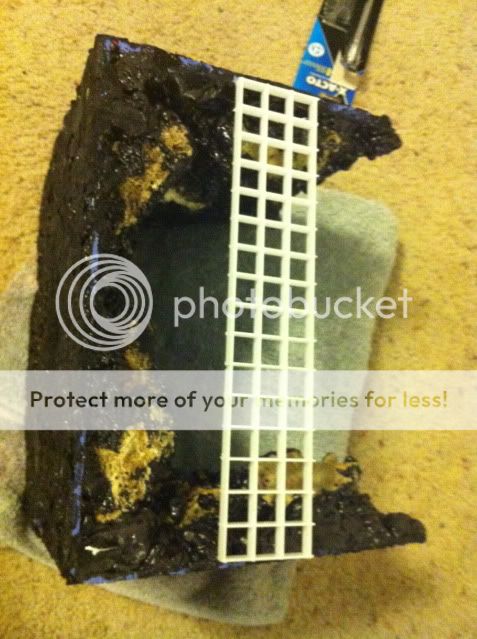
I went ahead and cut up some extra eggcrate, used the x-acto to cut out some foam and then glued it in place with crazy glue
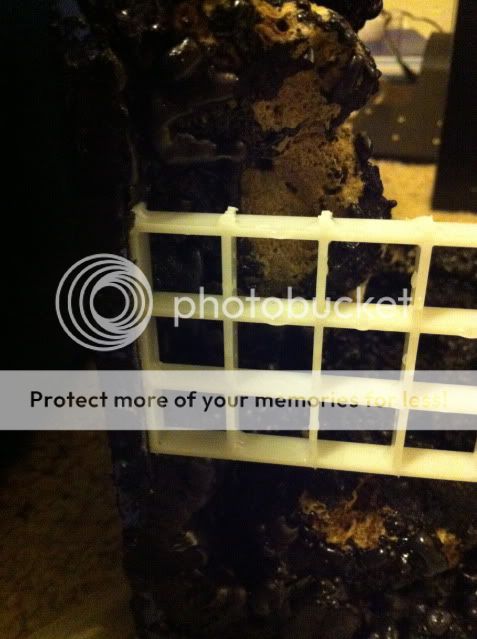
That helped get the bottom to sit more flush, but the top still sticked away a bit.
SOLUTION 2: use spare pieces of foam and glue them in
That helped a bit, but there was still a gap..
SOLUTION 3 (the one I did not want to do): Add extra foam to the top parts
After cutting the foam with more left over, it helped a lot to close the gap
The left
The right
Using a serrated blade made the process easier because it let me "saw" through the extra foam
And the final product
So I cleaned up the tank, and set everything back up to start the cycle
I used this timer from Home Depot for the lights
Finally everything in place
Added the saltwater and a piece of LR from my display tank
FTS
The next morning when I woke up, I noticed that the left side of the rock wall skewed a bit and did not fit as flush to the tank as Id like it to
Compare to the right
SOLUTION 1: Add a brace on the bottom
I went ahead and cut up some extra eggcrate, used the x-acto to cut out some foam and then glued it in place with crazy glue
That helped get the bottom to sit more flush, but the top still sticked away a bit.
SOLUTION 2: use spare pieces of foam and glue them in
That helped a bit, but there was still a gap..
SOLUTION 3 (the one I did not want to do): Add extra foam to the top parts
After cutting the foam with more left over, it helped a lot to close the gap
The left
The right
The return

The overflow

How it looks from the outside
and FTS
When I added the foam, it made the brace too wide and really tough to fit the foam in the tank, so I pulled it out AGAIN, adjusted the brace to be less wide
After a final fitting to make sure everything was smooth, I epoxied the brace in place
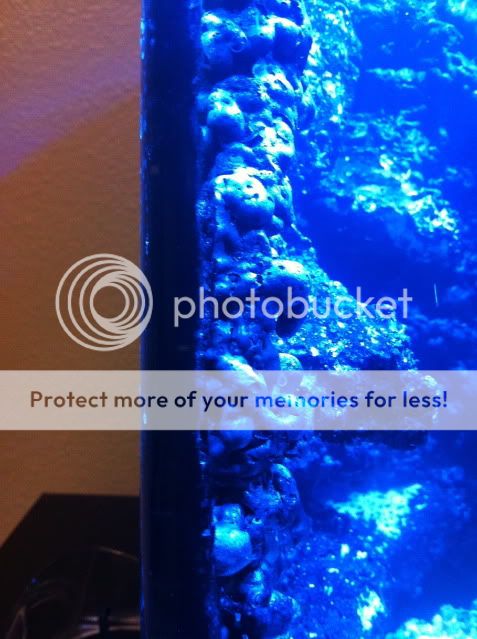
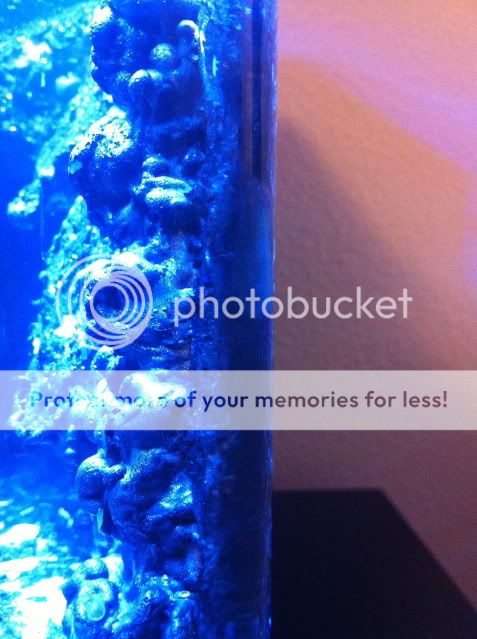
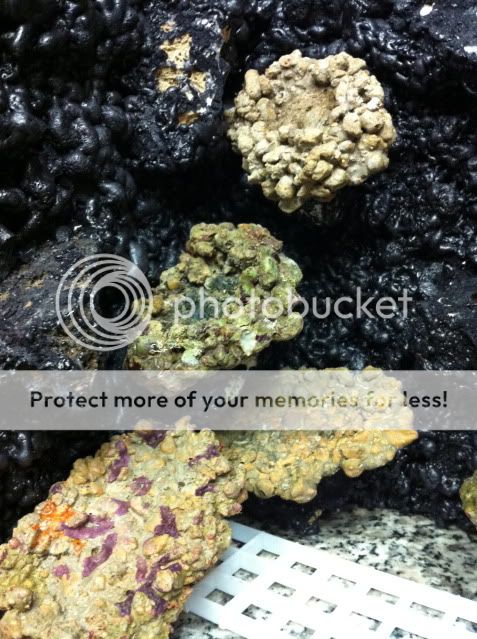
Now to add some more rock, my local LFS (coral collection) buys their coral aquacultured on these manmade rock pieces
So far I dont have all the pieces, but I epoxied the ones I had to the rock wall
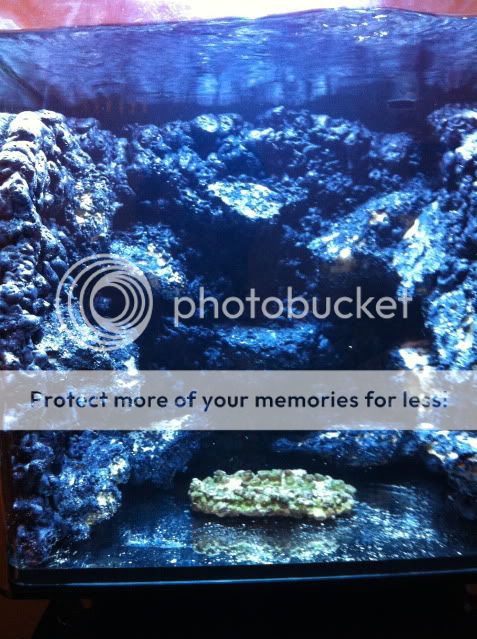
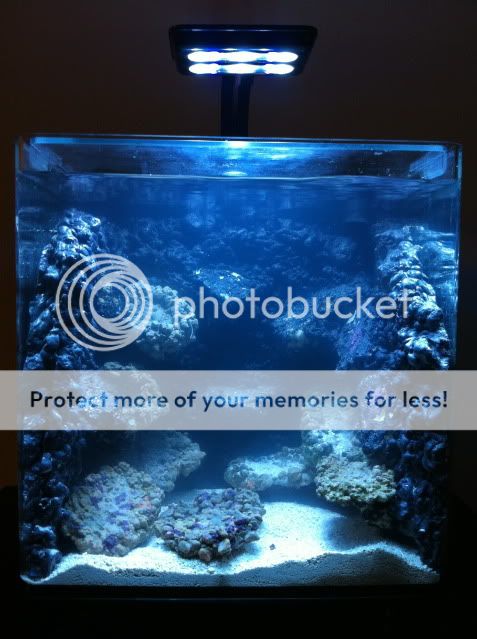
After the rockwall was back in the tank, I added sand to cover up the brace

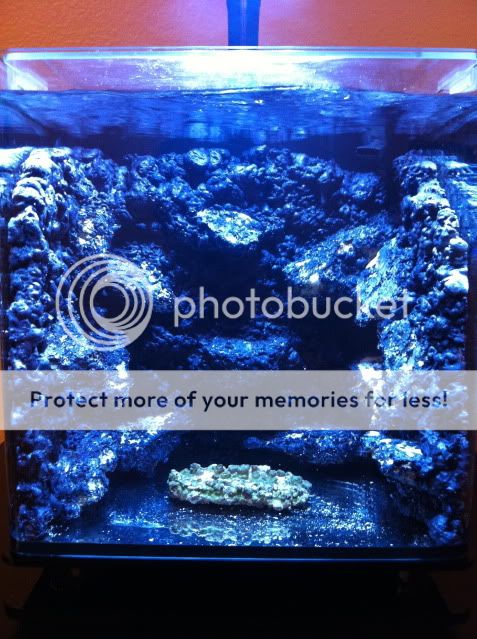
FTS - 3/28/12
The next day when the sand settled down it looked great!
FTS - 3/29/12
The overflow
How it looks from the outside
and FTS
When I added the foam, it made the brace too wide and really tough to fit the foam in the tank, so I pulled it out AGAIN, adjusted the brace to be less wide
After a final fitting to make sure everything was smooth, I epoxied the brace in place
Now to add some more rock, my local LFS (coral collection) buys their coral aquacultured on these manmade rock pieces
So far I dont have all the pieces, but I epoxied the ones I had to the rock wall
After the rockwall was back in the tank, I added sand to cover up the brace
FTS - 3/28/12
The next day when the sand settled down it looked great!
FTS - 3/29/12
That looks like an Ikea side table that it's sitting on :mrgreen:
It is :P

Washburn82
Reefing newb
Its a very neat idea, gotta admit you did a great job. It looks good, not sure if id like only having the one side to see through, but to each their own. Very creative. Will the black foam stuff change colour eventually?
Its a very neat idea, gotta admit you did a great job. It looks good, not sure if id like only having the one side to see through, but to each their own. Very creative. Will the black foam stuff change colour eventually?
It does not change color. But coralline will cover it up...
Also, this is what I'm doing with the tank - a zoa and paly garden. So eventually, it'll be covered with colanie and polyps, and you won't see any of it.
Washburn82
Reefing newb
Its gonna look great. Very nice work. :)
chichimom79
reef junkie
Looks good!
Trigger Happy
Reefing newb
Wow the black is going to make the colors really POP!
Similar threads
- Replies
- 13
- Views
- 2K